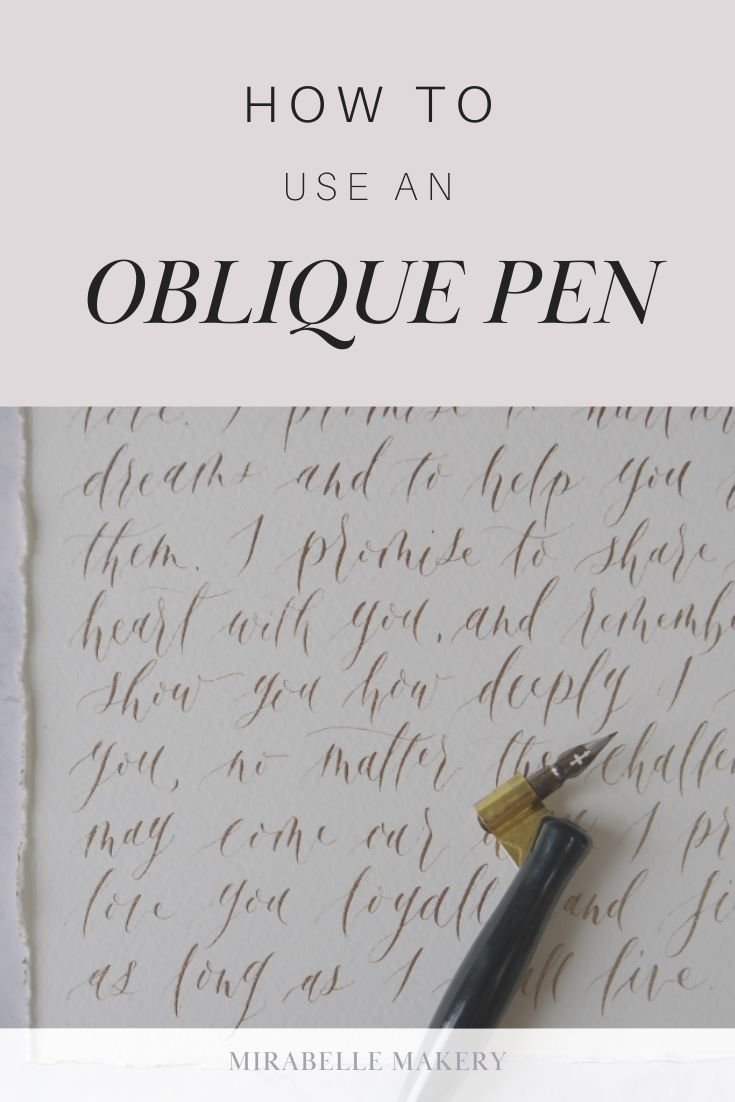
How to use an Oblique Pen - Tips for Beginners
Learn how to use an oblique pen to create beautiful calligraphy
So, what is an oblique pen? It’s a question I get asked a lot along with ‘why?’
For beginner calligraphers there’s always some mystery surrounding oblique calligraphy pens but they’re not as hard to use as they look. Yes, oblique pens are different to straight pens in the best way! - but don’t let that put you off.
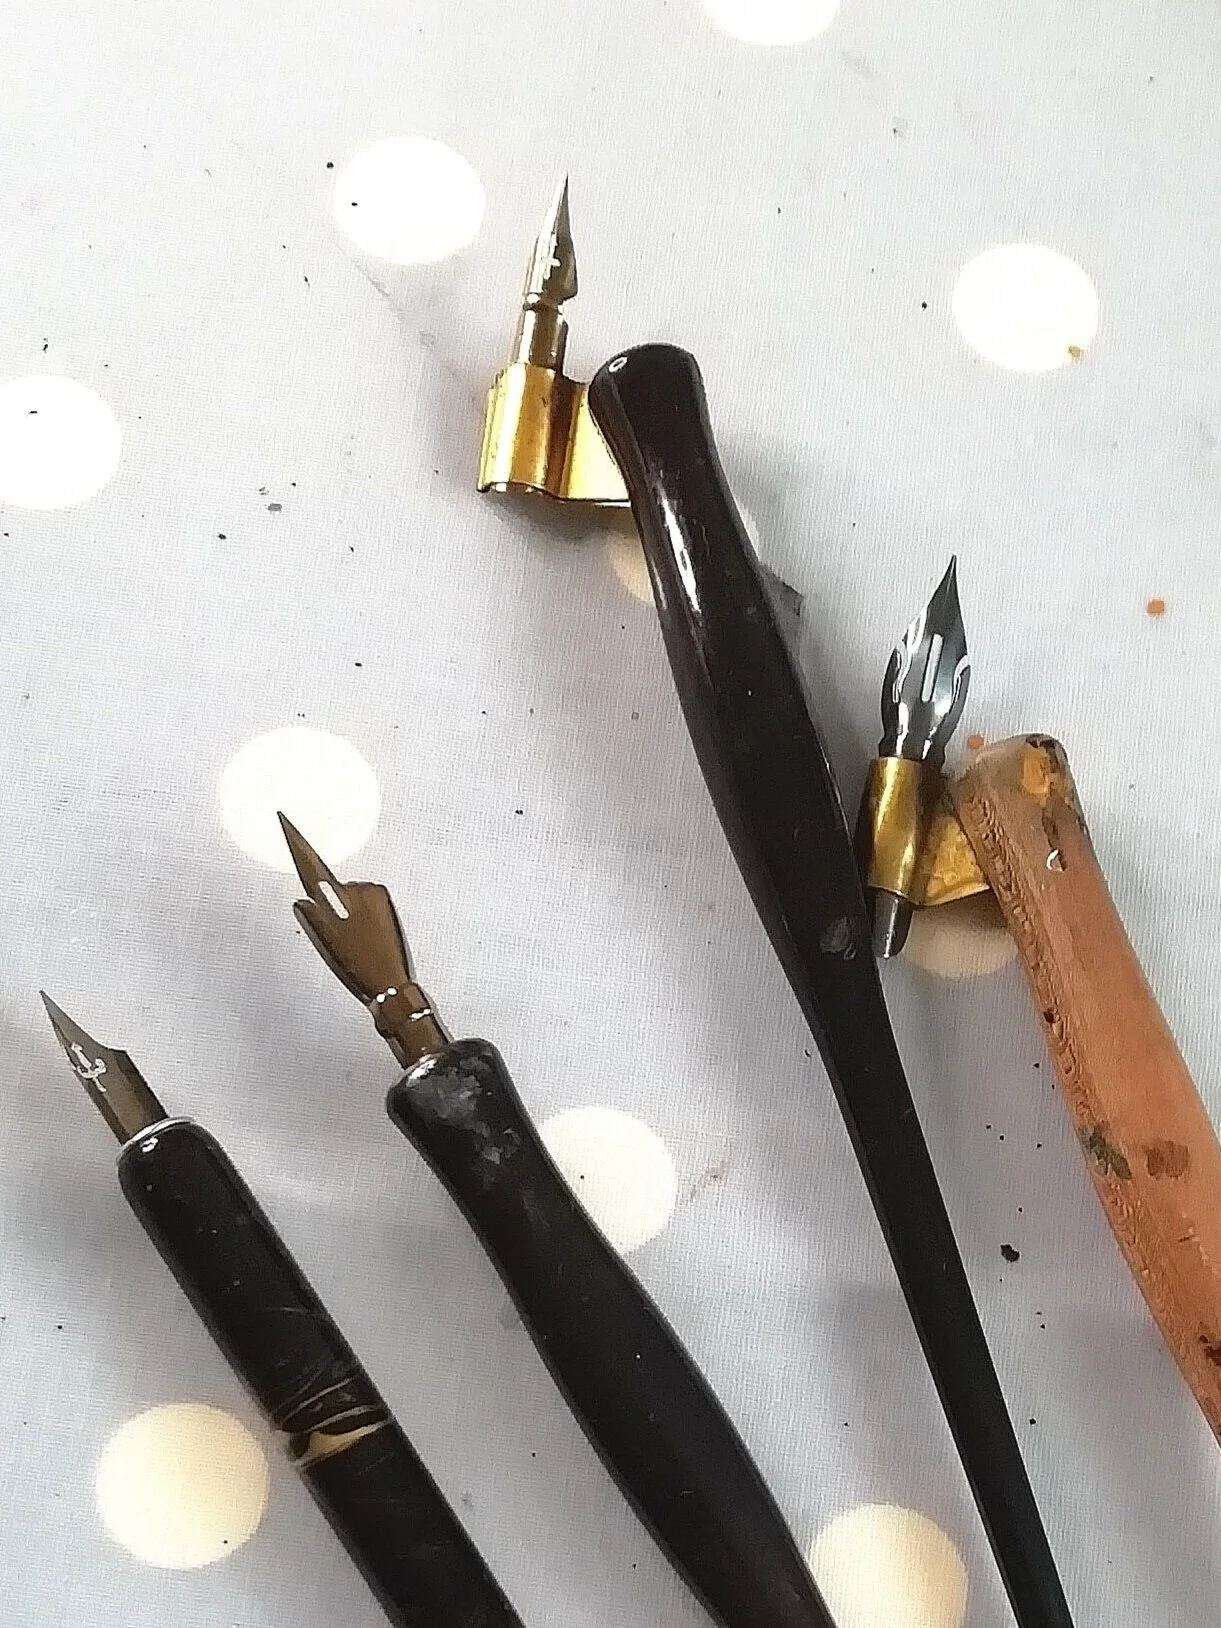
Different types of calligraphy pen including straight and oblique pen holders which have a metal flange coming out of the side that holds the nib.
When I first used the correct oblique pen (I’ll tell you what oblique pen NOT to use too) everything began to feel right and it moved my calligraphy forward. With a little bit of getting used too it’s now the only pen I use and I haven’t used a straight pen since.
In this blog post I’m going to cover:
- What is an oblique pen?
- Why you should use an oblique pen
- What oblique pen not to use
- How to set up your oblique pen
- How to hold an oblique pen
- How to write with an oblique pen to create beautiful calligraphy
I hope you find this blog post about oblique pens useful and that it inspires you to venture out and use one.
1. What is an oblique pen?
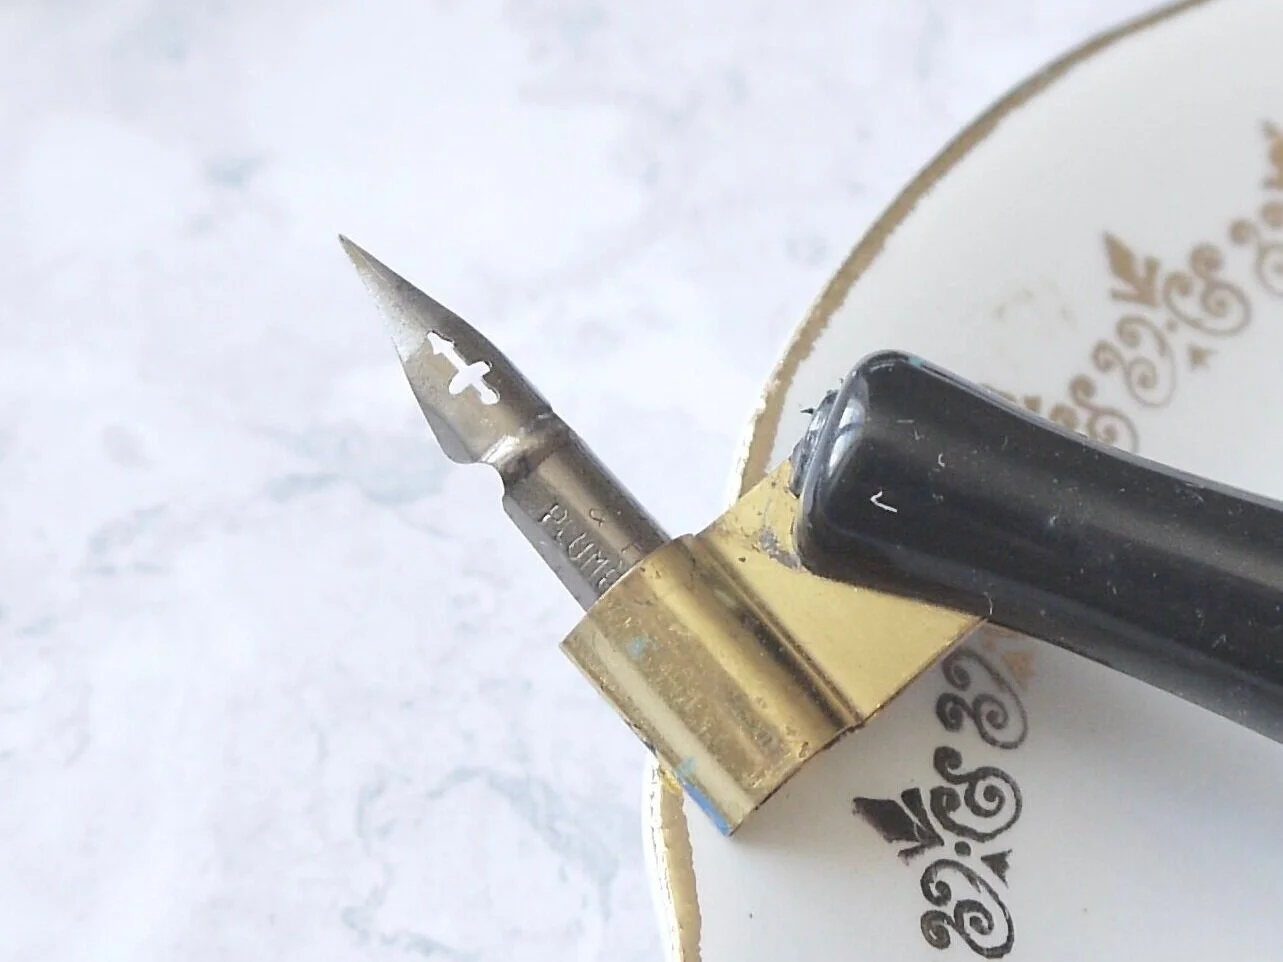
Unlike a straight calligraphy pen, an oblique pen has that weird-looking sticky-out bit coming out of the side which is called the flange. They’re usually made of brass which means it’s strong yet flexible and won’t rust.
The flange does an important job as it holds the nib at an angle and this bit is key to what an oblique pen is used for.
The nib can be secured either by fitting it between the brass or with a screw.
2. Why you should use an oblique pen
Oblique calligraphy pens are generally for right-handers who want to achieve more of a right-slant angle to their calligraphy or just what to write at a more comfortable angle.
Left–handers (see photo below) have an advantage as the nib angle naturally points to the right - so the desired angle is already there. Logic would say that a left-handed oblique pen would make your writing stand up straight if you wanted it to – but correct me if I’m wrong!
Left handers can use a straight pen to write their calligraphy with a slant - so there’s no need for an oblique pen
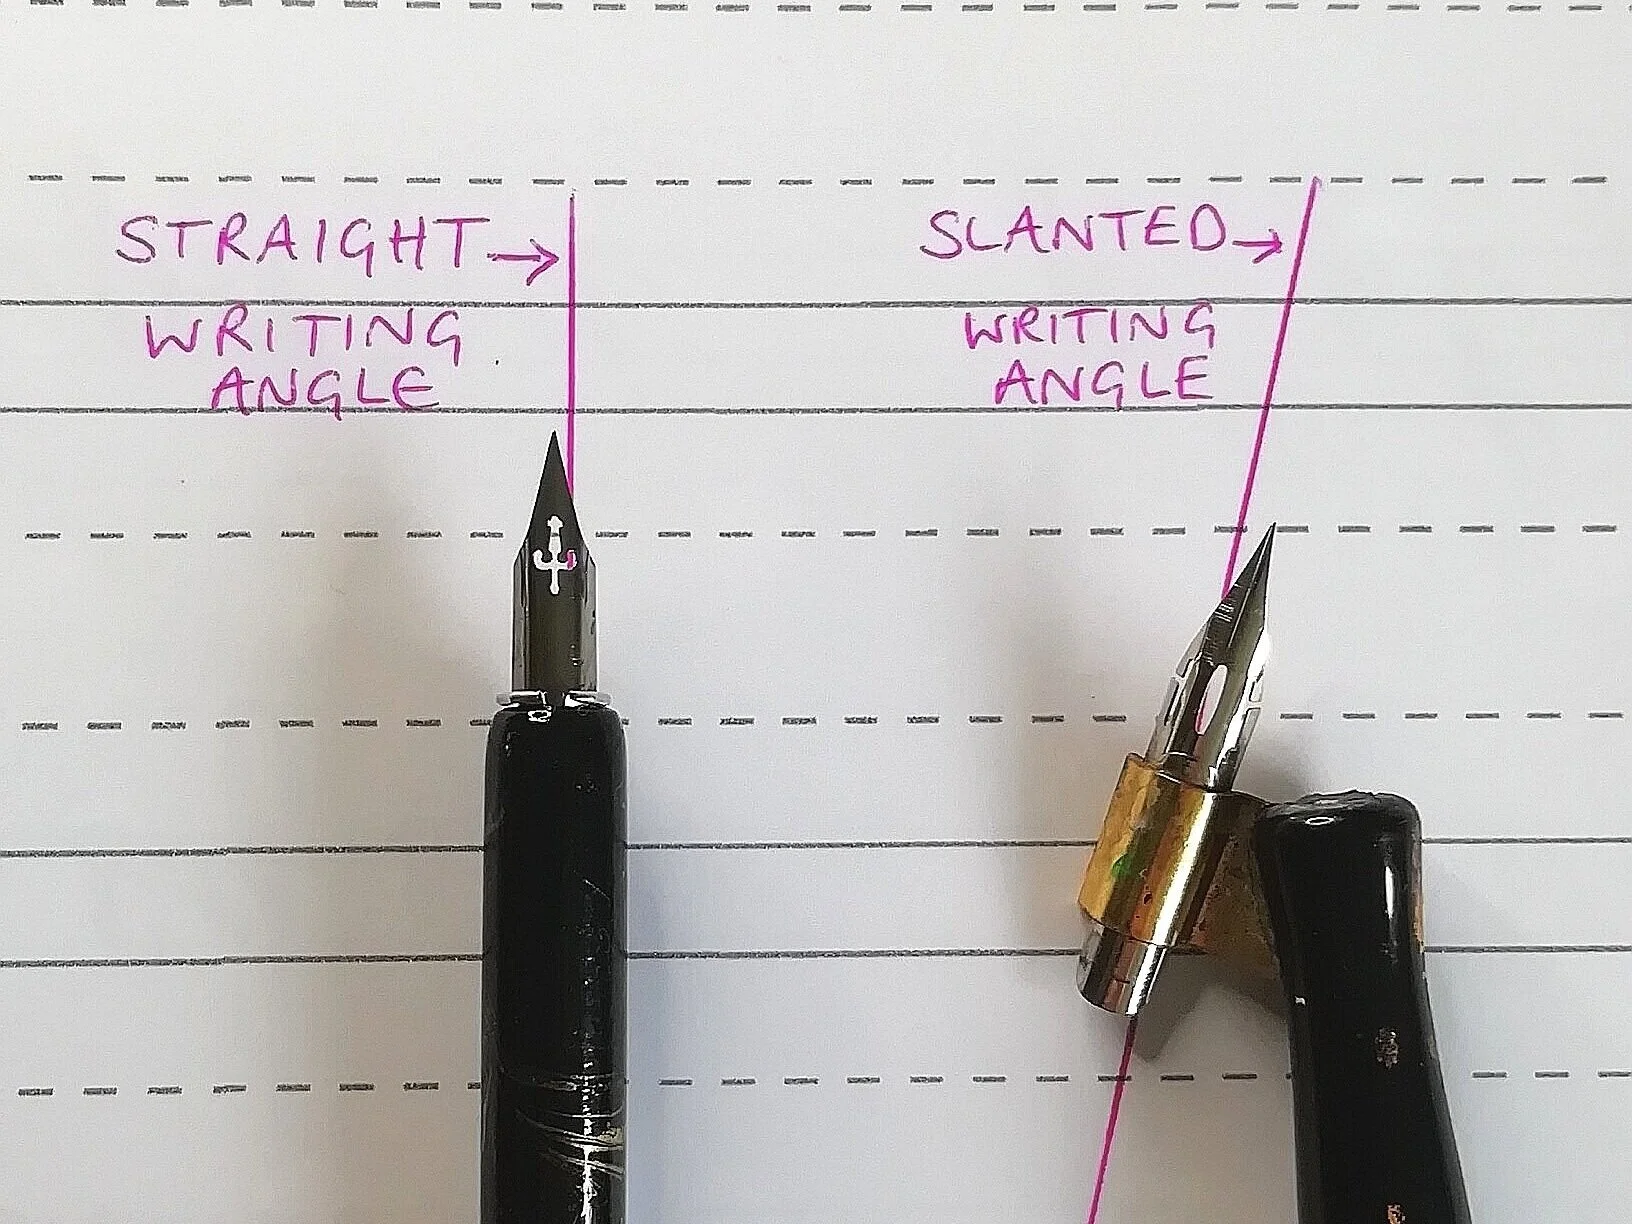
Using a pointed dip pen - whether straight or oblique - requires the nib to be positioned in line with the downstroke you’re creating. This way the pressure on your tines will be even and you’ll achieve lovely clean strokes.
If you’re using a straight pen you really have to turn the paper to achieve the desired slant which can end up uncomfortable, not to mention near impossible to see what you’re doing. The magic of the oblique pen is that you can achieve an angled slant without turning the paper as much.
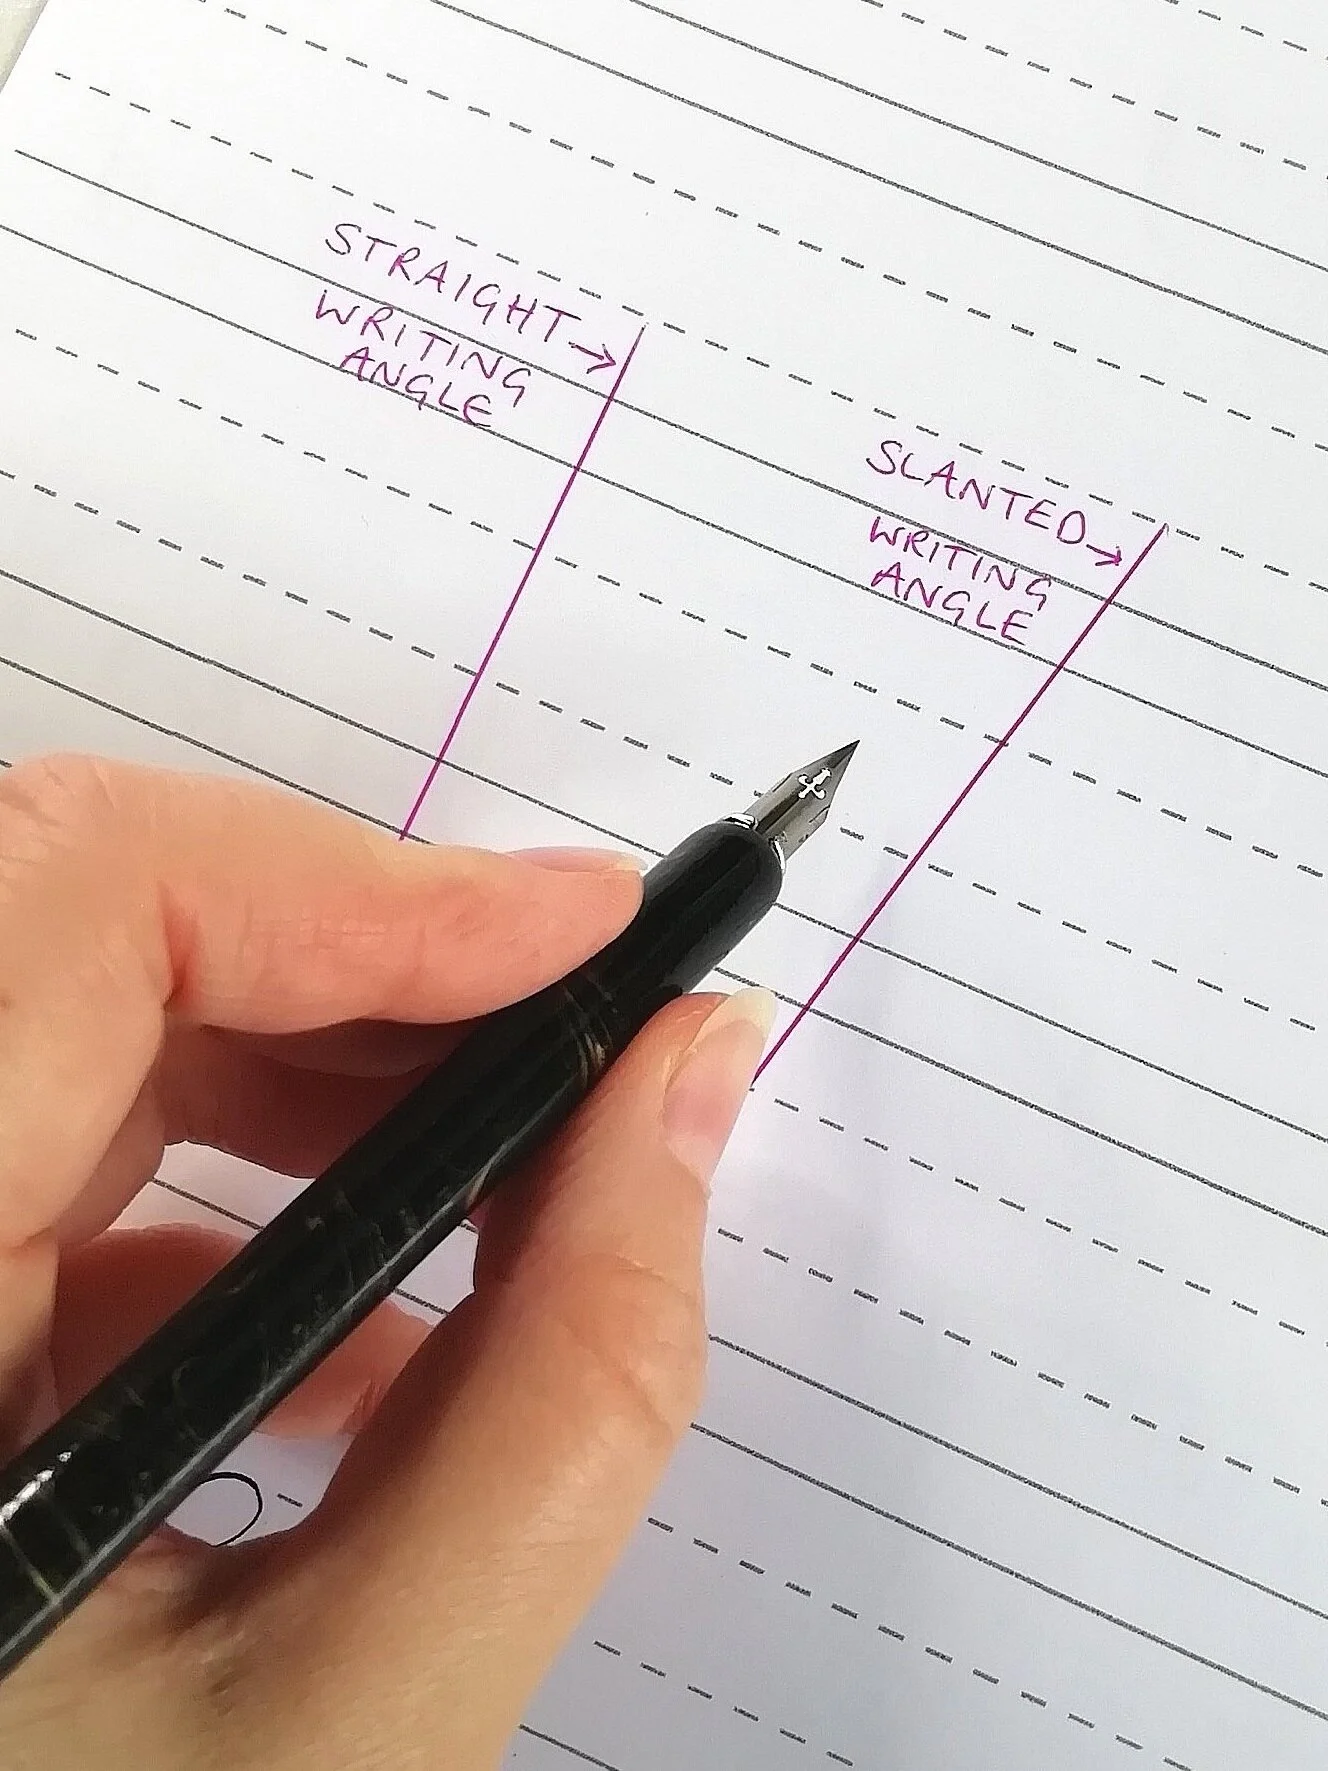
To write on a slant with a straight pen you can see how much the paper has to be rotated so that the nib lines up properly. Even if you want to write straight, the paper still has to be turned significantly.

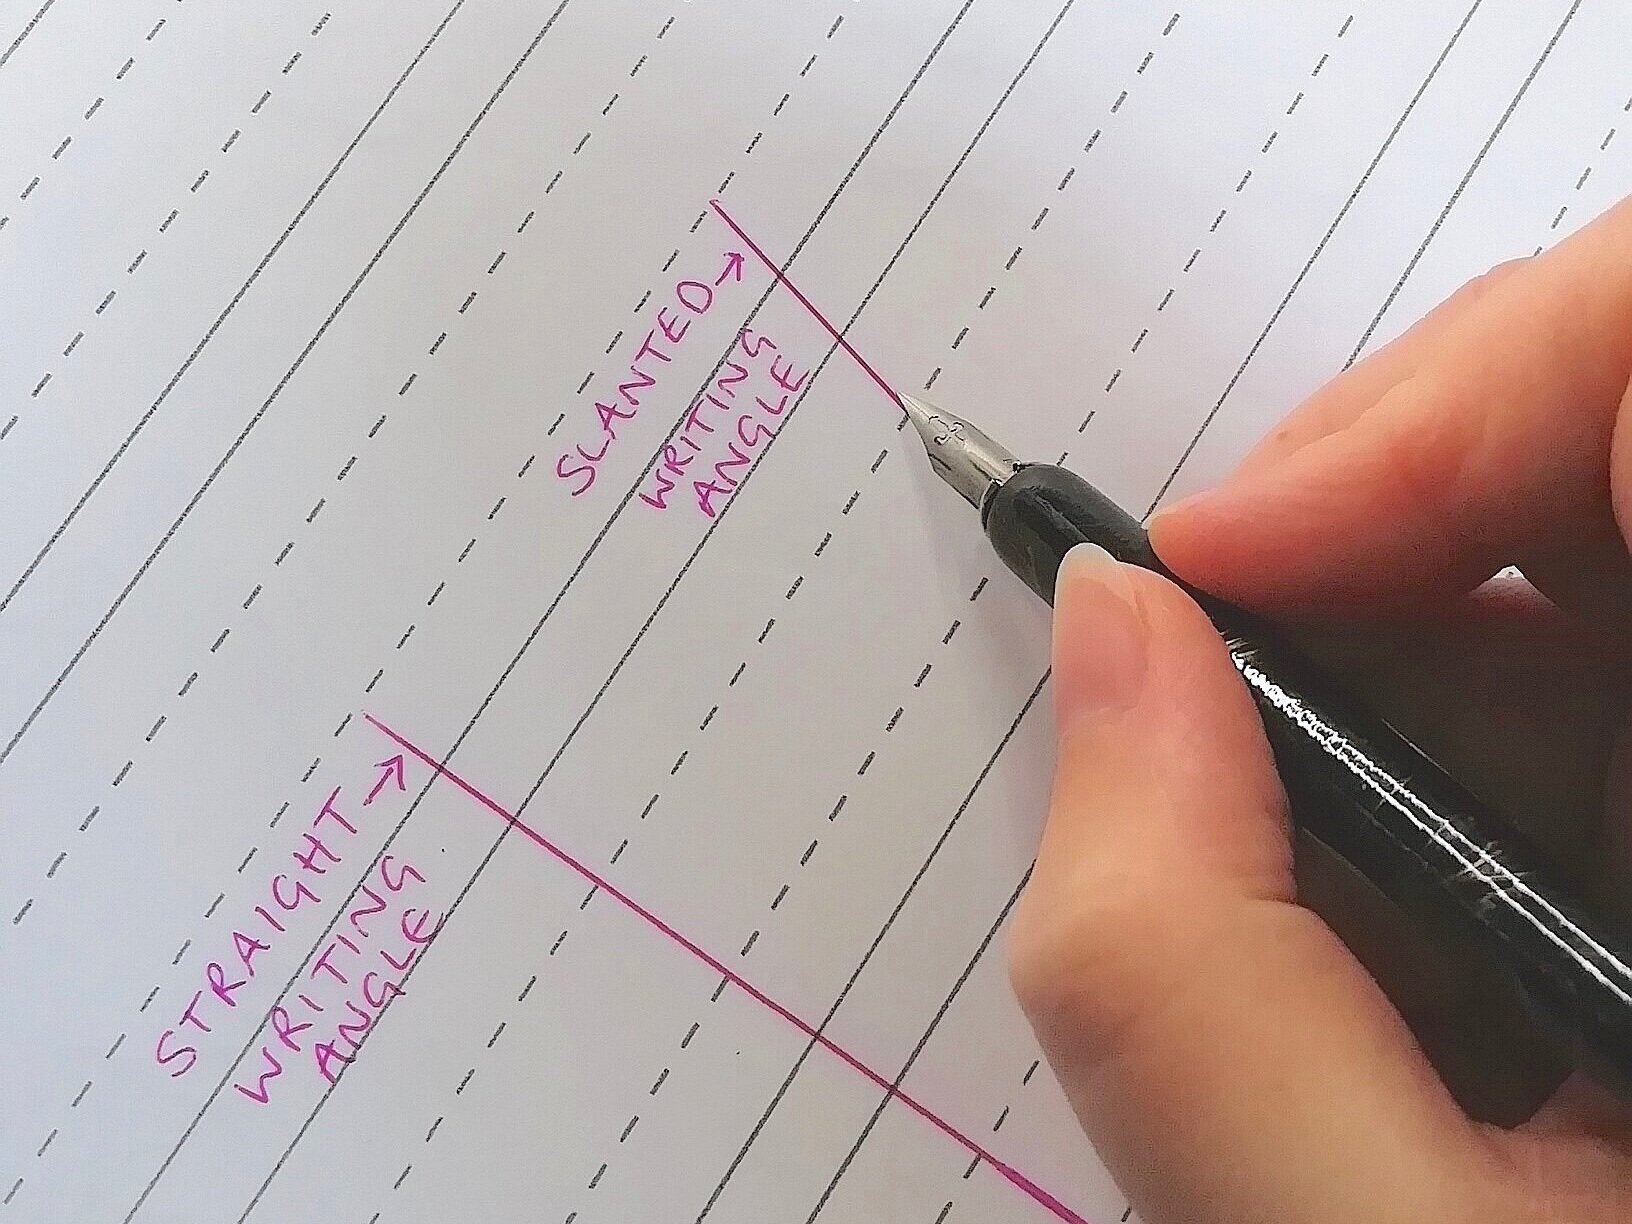
Notice how you don’t have to rotate the paper as much when you’re using an oblique pen - it’s much more comfortable.
With an oblique pen you can see what you’re doing better without getting yourself in a twist. And a bonus - because your hand isn’t directly underneath the nib but to the side, you can get the nib angle lower and therefore control your ink flow better - always a plus!
3. What oblique pen not to use
When I first used an oblique pen I made the mistake of using the wrong one - okay, the cheapest one, but they tend to go hand in hand. ‘Buy cheap buy twice’ is very true here! Eventually I saw the error of my ways – but after a while of not feeling like I was in control of the nib.
Please don’t be tempted to use this oblique pen. It really isn’t fit for purpose.
Only when I used the right oblique pen did I realise that it was holding my calligraphy back.
Here’s why:
The plastic flange on these cheap pens aren’t adjustable, they’re fixed, which means you can’t adjust the position or the angle of where the nib sits. A brass flange can be adjusted to the left and right, up and down, and how far the nib sits in it.
The problem with not being able to adjust the nib means that you can’t line it up correctly which’ll give you maximum control.
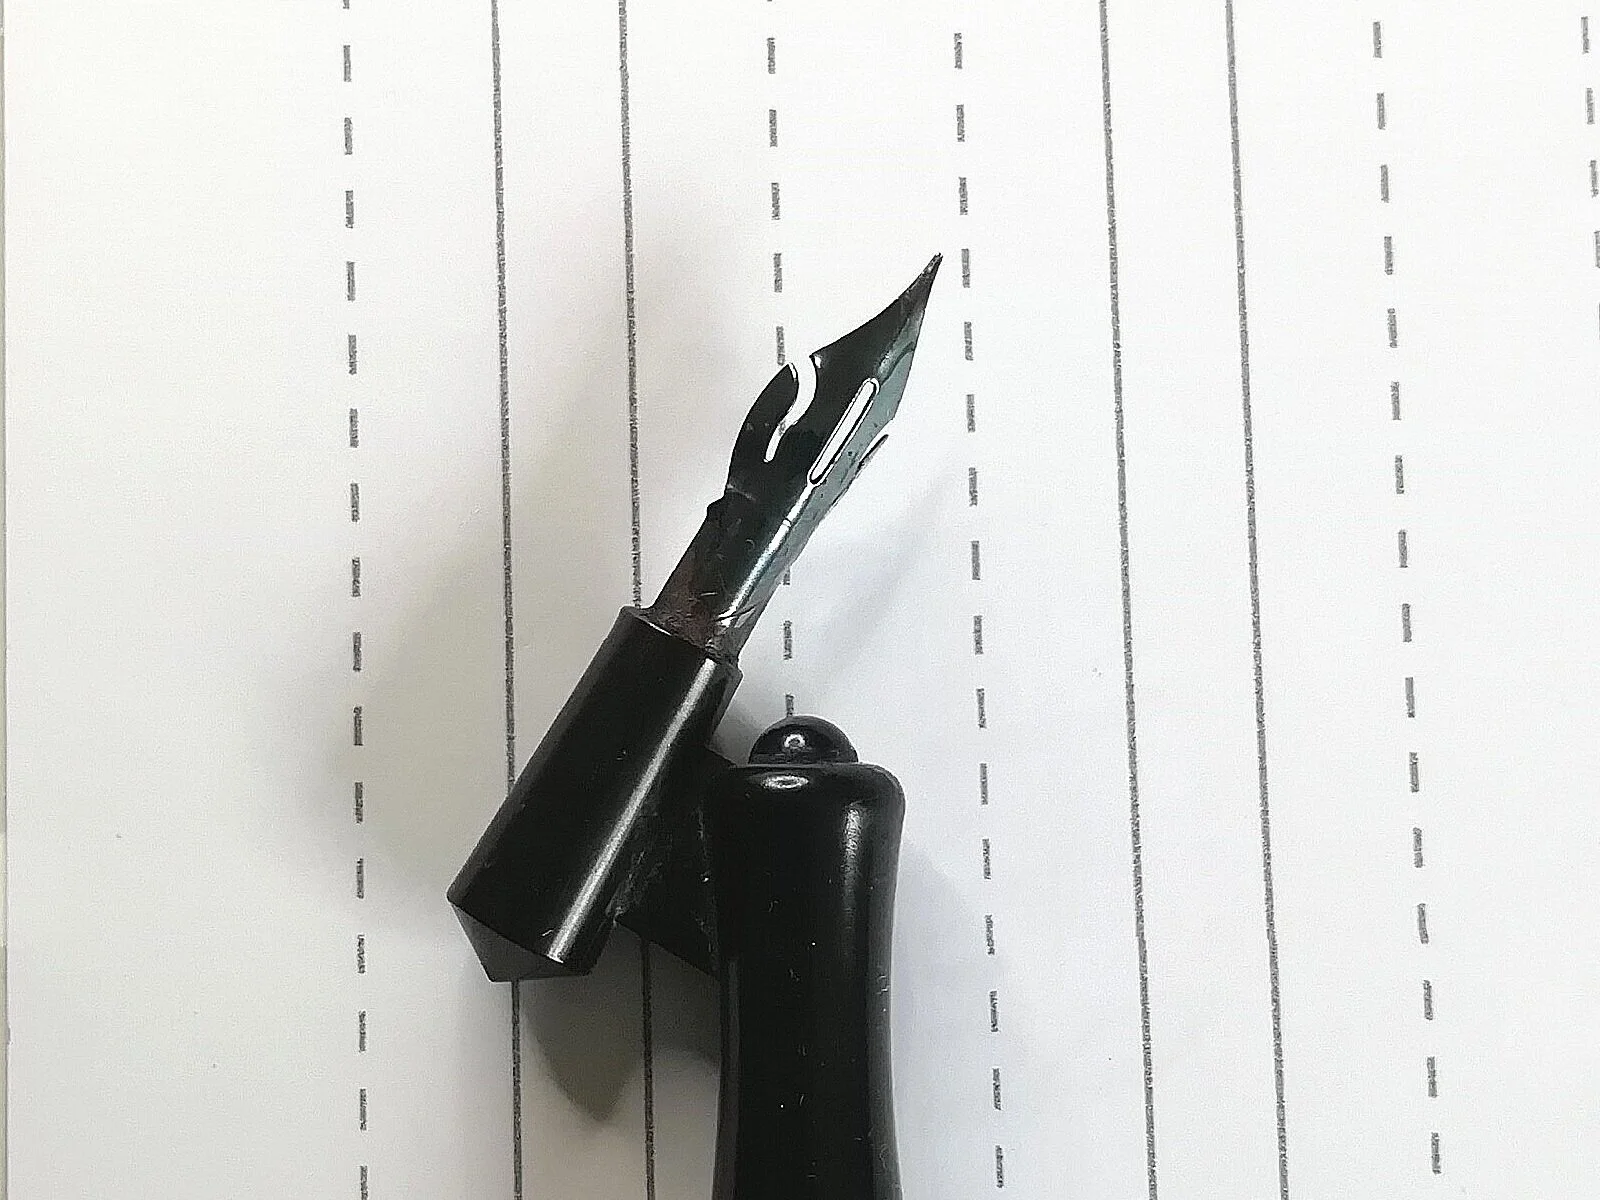
The nib should sit on the imaginary line coming from the centre of the pen, but as you can see with the photo above, it completely overshoots. If you already have one of these cheap excuses for an oblique pen then do your calligraphy a favour and turn it into a ink stirrer instead and upgrade!
SUBSCRIBE
Sign up for tips and tricks to help you learn to write beautiful calligraphy with a dip pen and ink
4.How to set up your oblique pen
It takes a couple of minutes to set up your oblique pen and once it’s done you’ll be ready to write.
You’ll need a small screwdriver or something sharp (but please don’t do any injury to yourself) and some small pointed pliers are ideal.
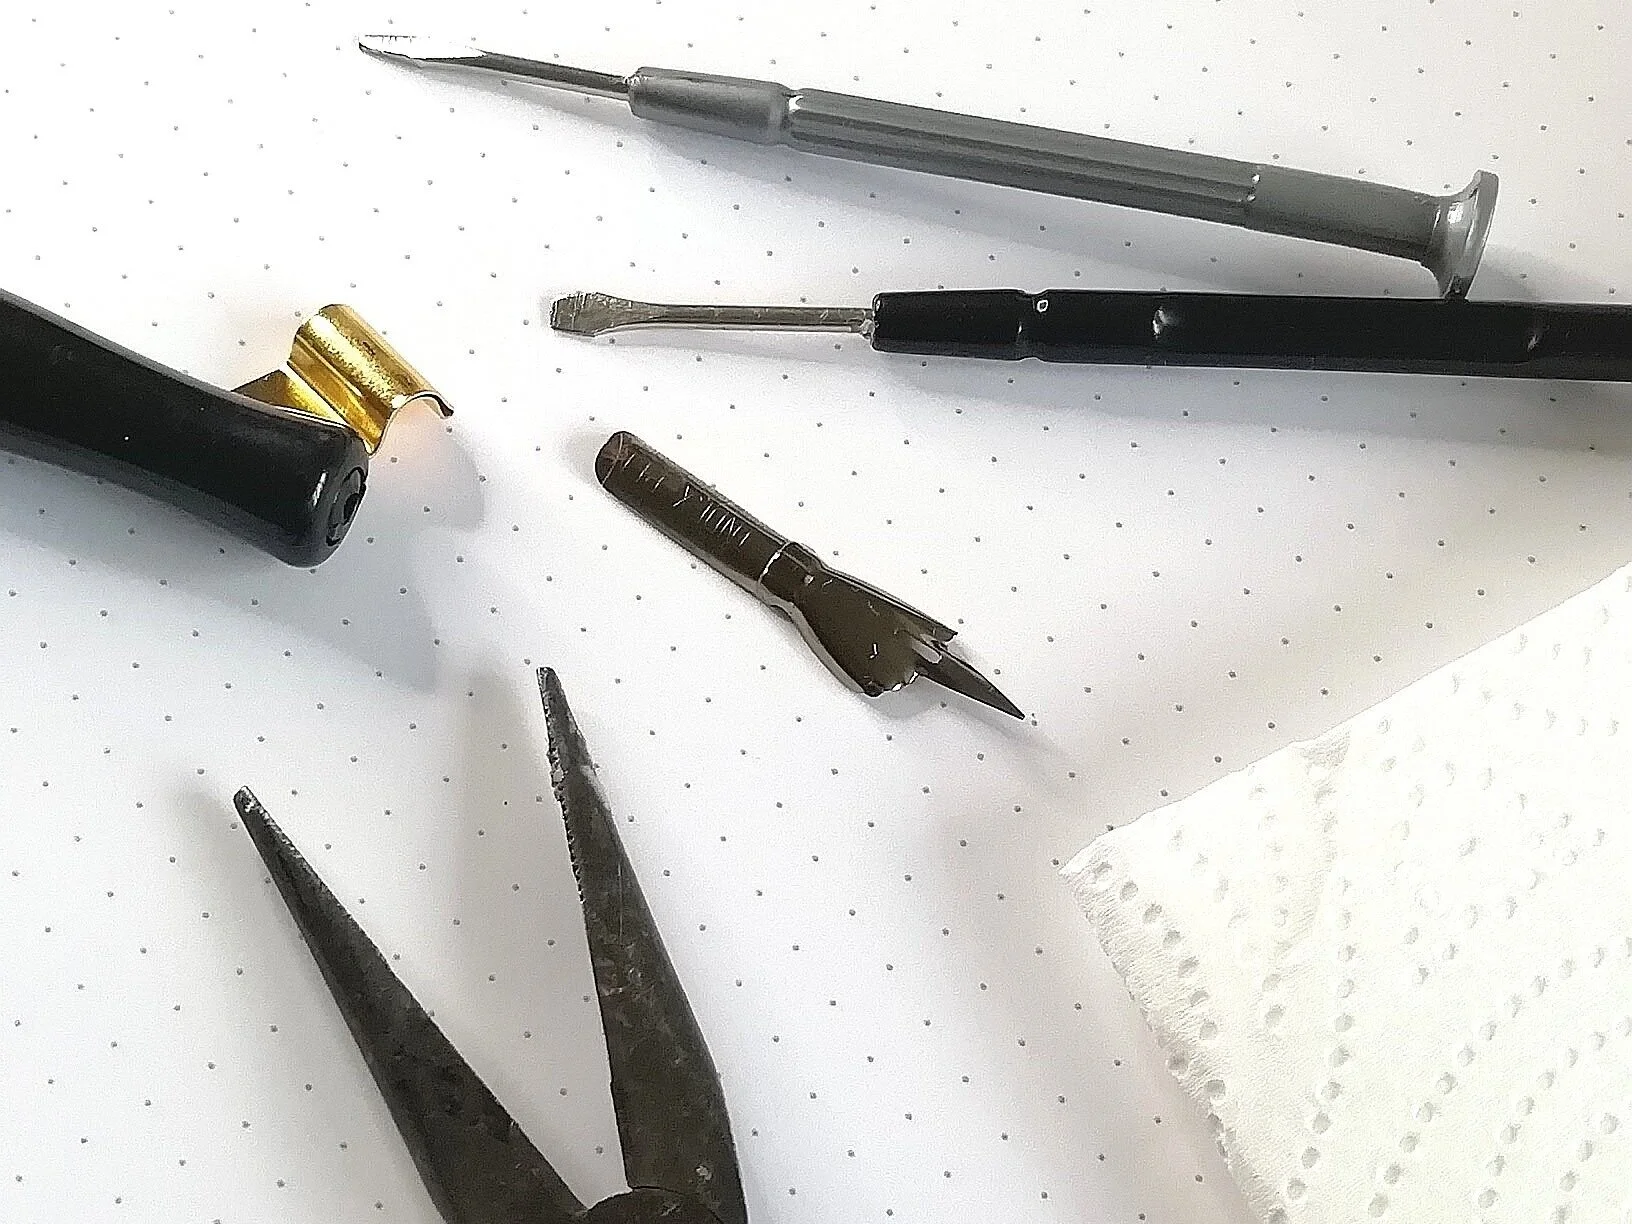
Tools that will help you set up your oblique calligraphy pen: small pointed pliers and a small flat head screwdriver (the ones you gets in Christmas crackers are ideal).
Here’s what to do:
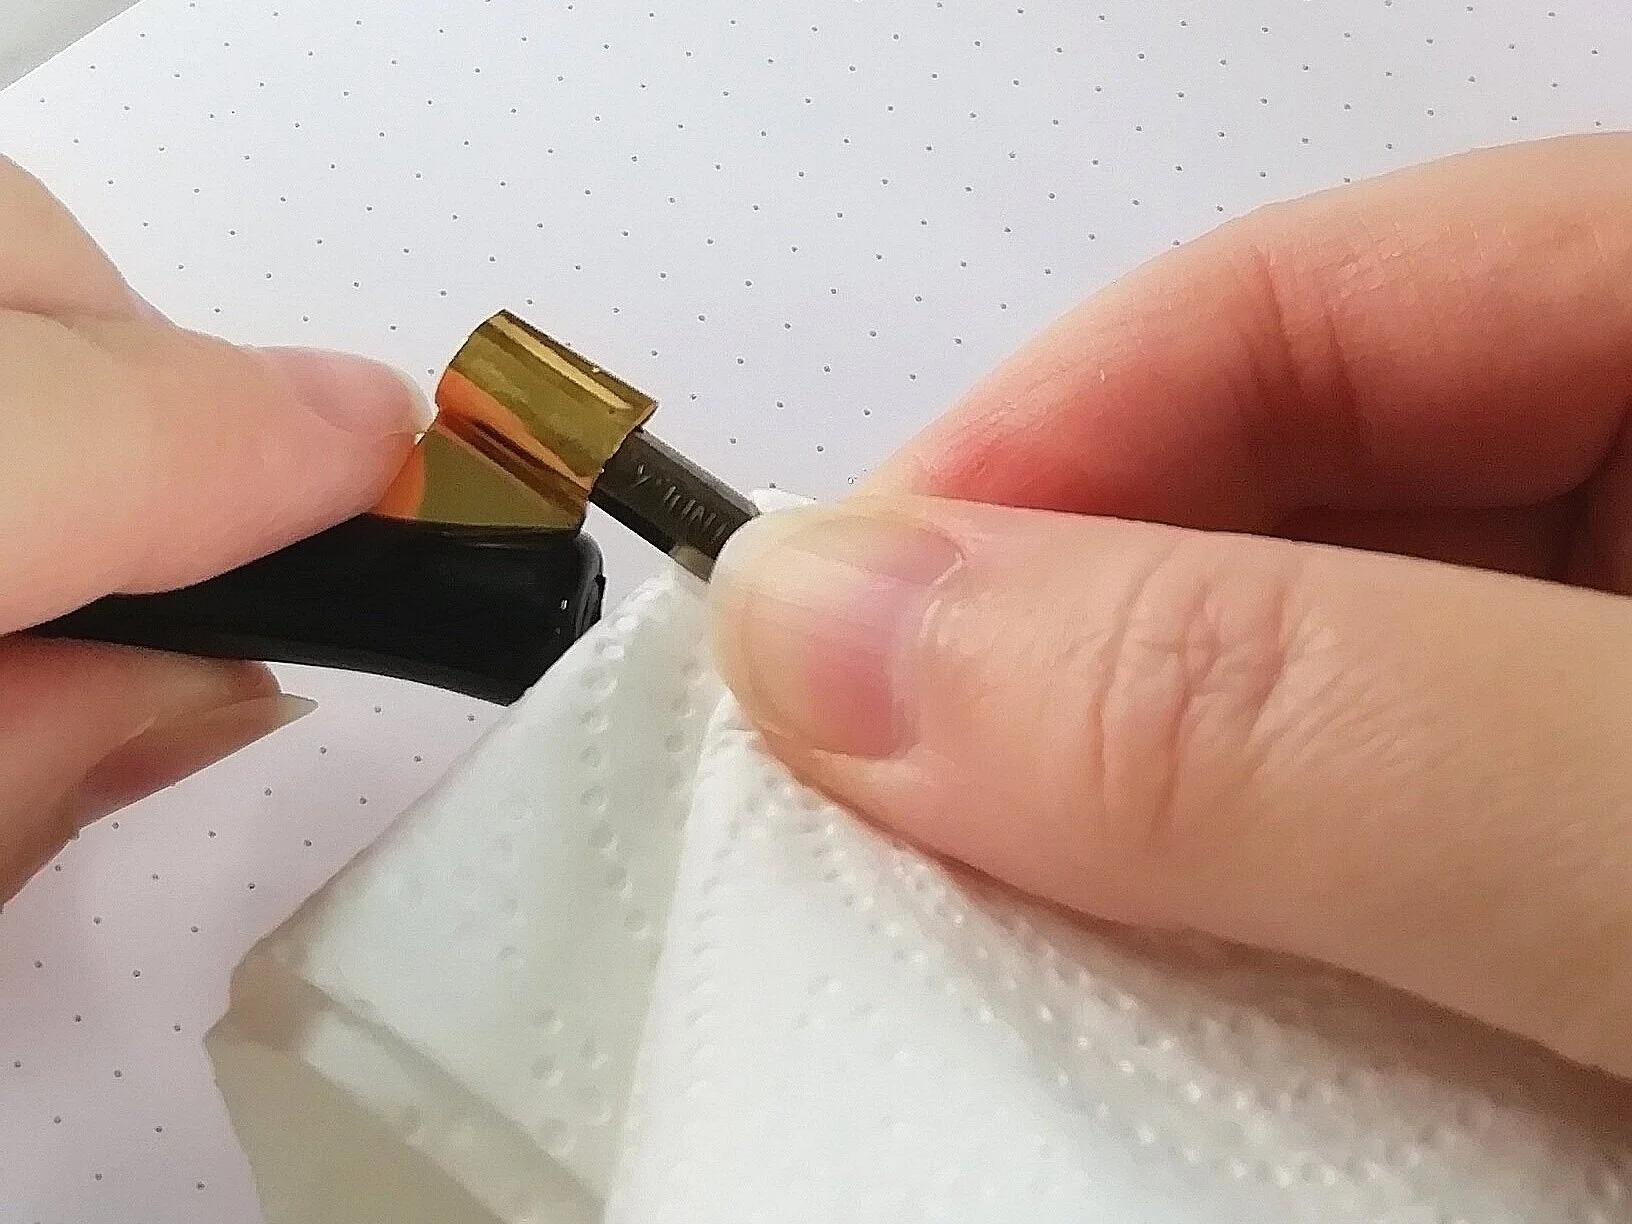
1. To fit the nib into the flange use a small flat screwdriver to gently prise it open - they can be quite tight. Insert the screwdriver just a bit into the opening then gently twist. You might need to do this at the back as well as the front. Repeat until the gap is just wide enough for your nib to fit. The centre of some pens come loose so press your thumb on top to stop it from flying out – and go careful.

Use a gentle twisting motion to open the brass flange wide enough to fit the nib into your oblique pen.

Holding down to the top part of the oblique pen will keep it in place when you’re making any adjustments and inserting or removing the calligraphy nib.
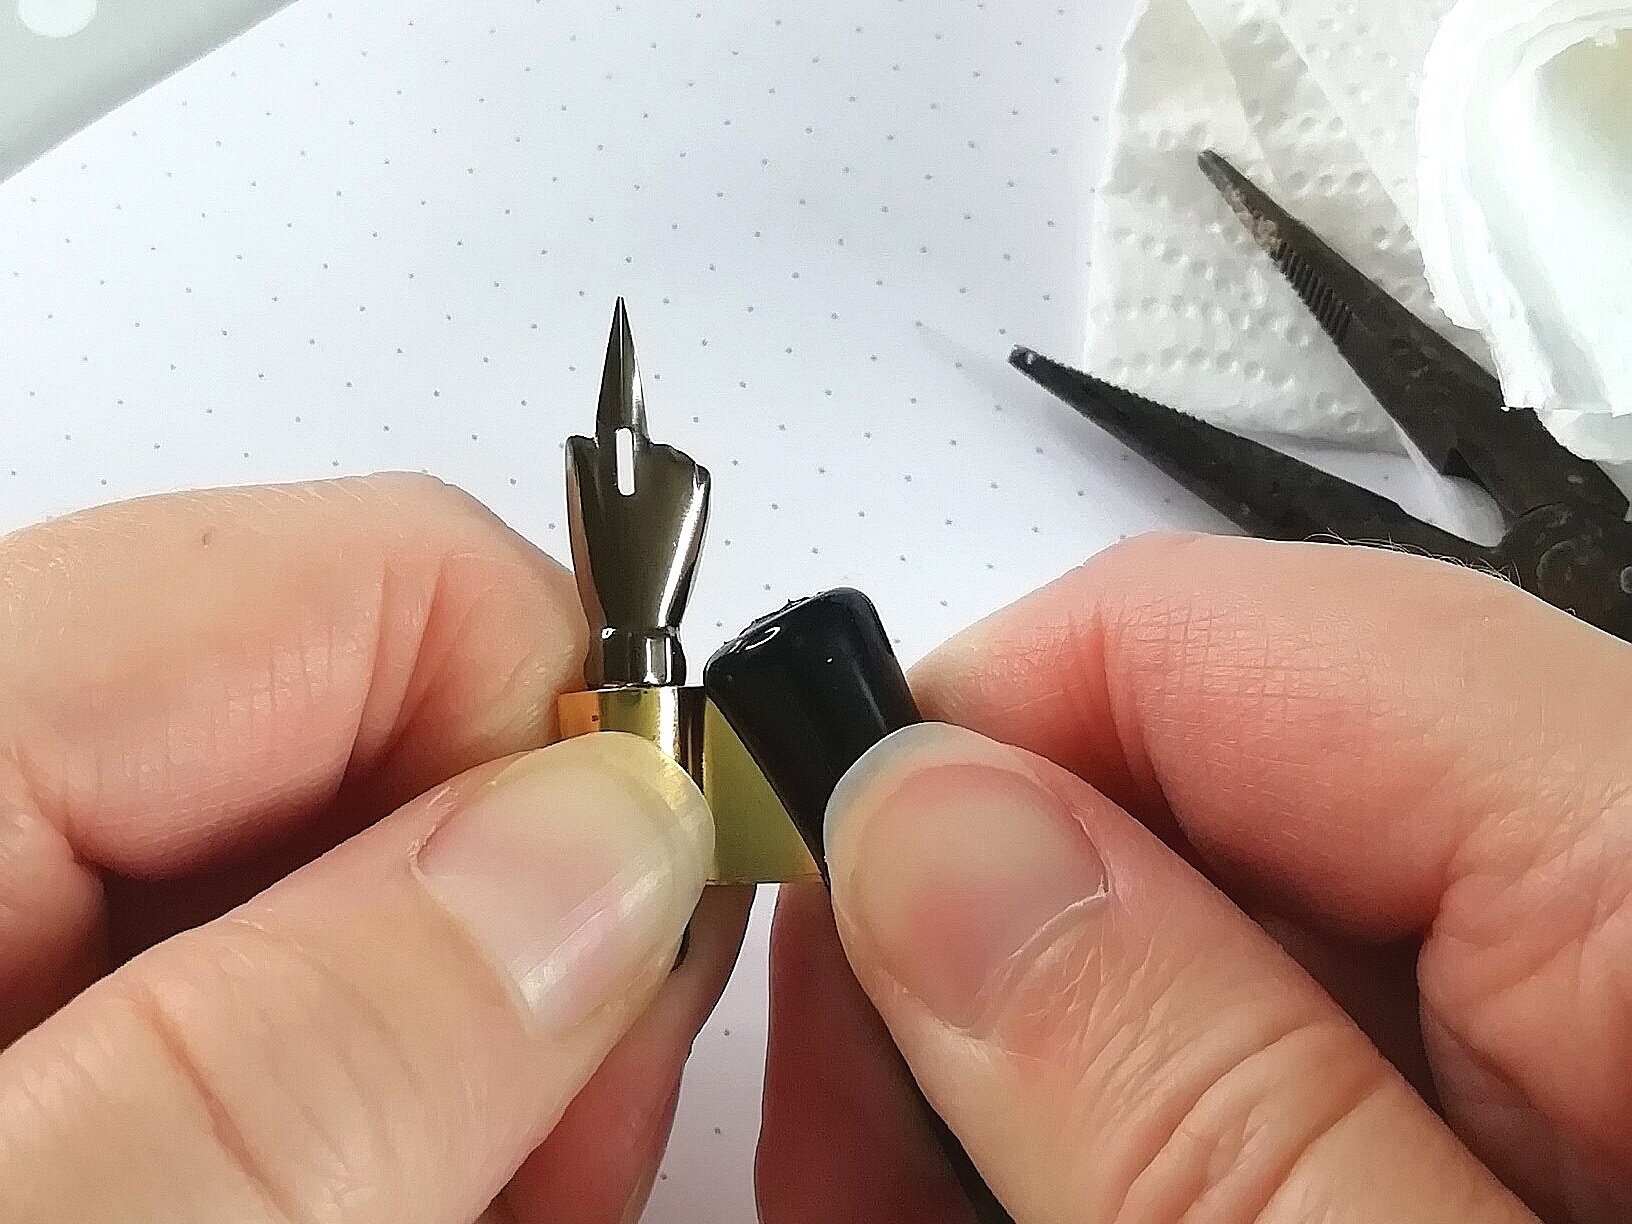
2. When the gap is large enough to fit the nib base in then go ahead - wiggling the nib side to side helps. I’d recommend using some kitchen paper or cloth to protect yourself from the sharp nib tip. Push the base of the nib in so that the tip of the nib lines up with the centre of the pen. Don’t worry if it’s not perfect right now as there are a few more adjustments to make.
Use some kitchen paper or cloth to protect your fingers when inserting and removing nibs from calligraphy pens - they’re super sharp!
3. You want the nib to be snug and not loose so use the pliers to squeeze the flange tighter if you need to.
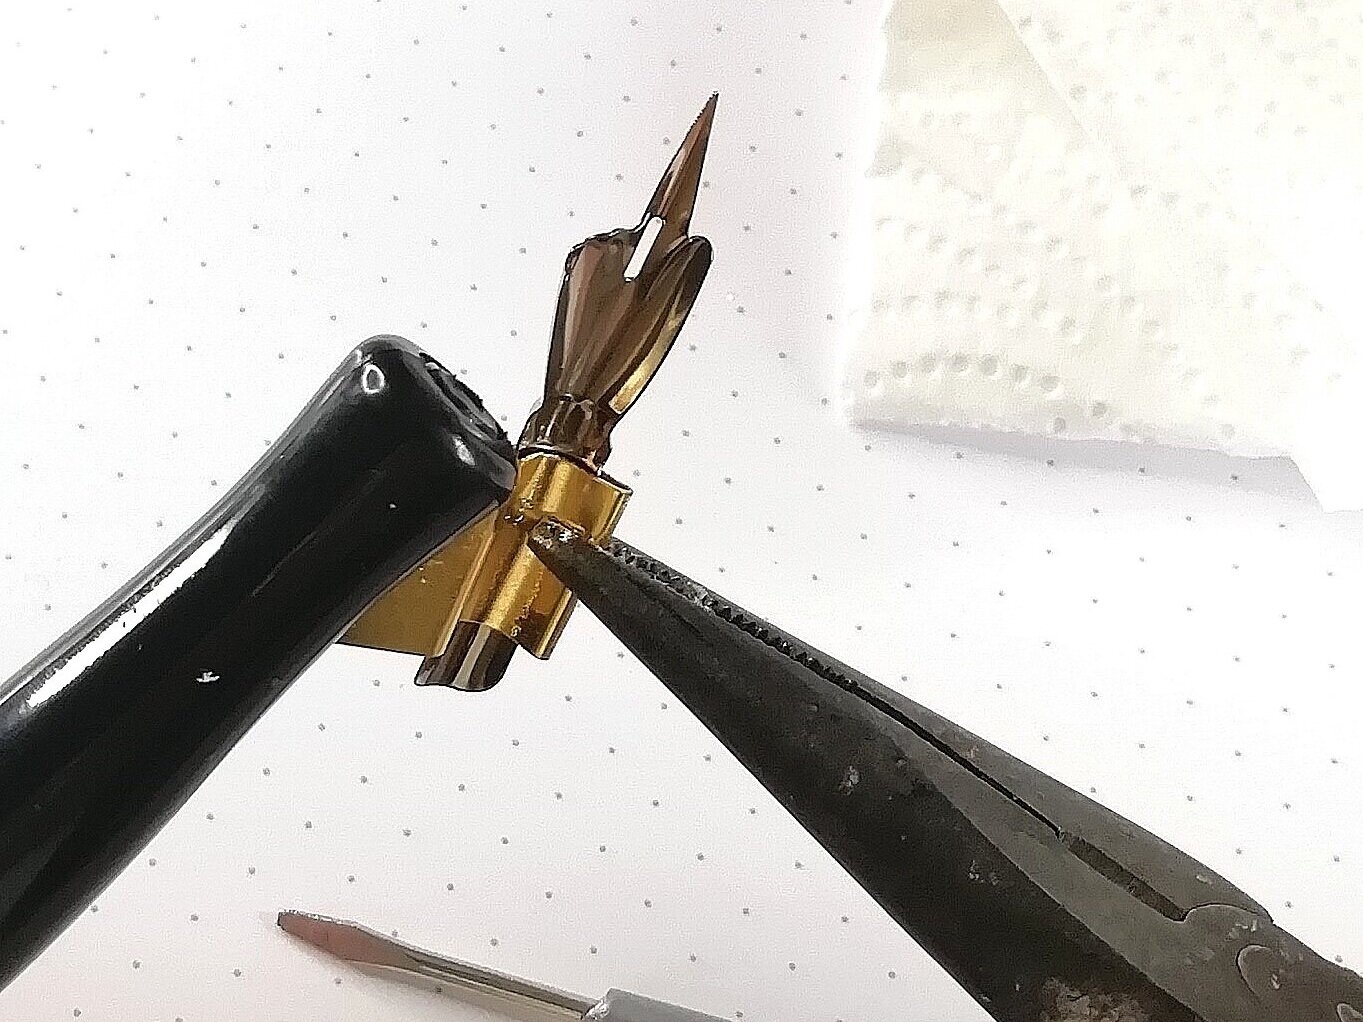
Gently tighten the flange with some pliers if the nib is moving around.
4. You can also adjust the angle of the flange itself by bringing it up or down. This is different for everyone so test it out by holding the pen ready to write and if the nib is too tilted then you might need to bend the flange using your hands or pliers.
A gentle adjustment of the flange can make the angle of the nib more comfortable to write with.
5. Make any final adjustments to the fit of the nib using pliers to bring it forward or back. To bring it forward - if the base of the nib is coming out the back of the flange - you can use the edge of a table to push it out.
It might seem like a bit of a faff, but 5 minutes of preparation should set your oblique pen up properly.
Once your nib is in place I wouldn’t recommend that you keep changing the nib around as it’ll weaken the flange; it’s more convenient to get more pen holders. Prolong the life of your calligraphy pen by keeping the flange dry - so don’t immerse the whole thing into water when you’re cleaning it, just the nib tip, and always fully dry it after.
Just on a side note and a great question that came up from the Facebook group: the same oblique pen can be used for beginners as for more advanced calligraphers. Pen holders don’t vary in terms of difficulty, unlike nibs for example. They do vary though in terms of how comfortable it feels to hold and how beautiful they are!
5. How to use an oblique pen to create beautiful calligraphy
Some tips for using your oblique pen:
1. Grip the pen like you normally would with a straight pen – it shouldn’t be different. Hold the base of the pen for maximum control with your thumb and index finger, using your middle finger to rest the pen on. Having said that, everyone holds pens differently, so as long as it’s comfortable and you feel in control then that’s fine.
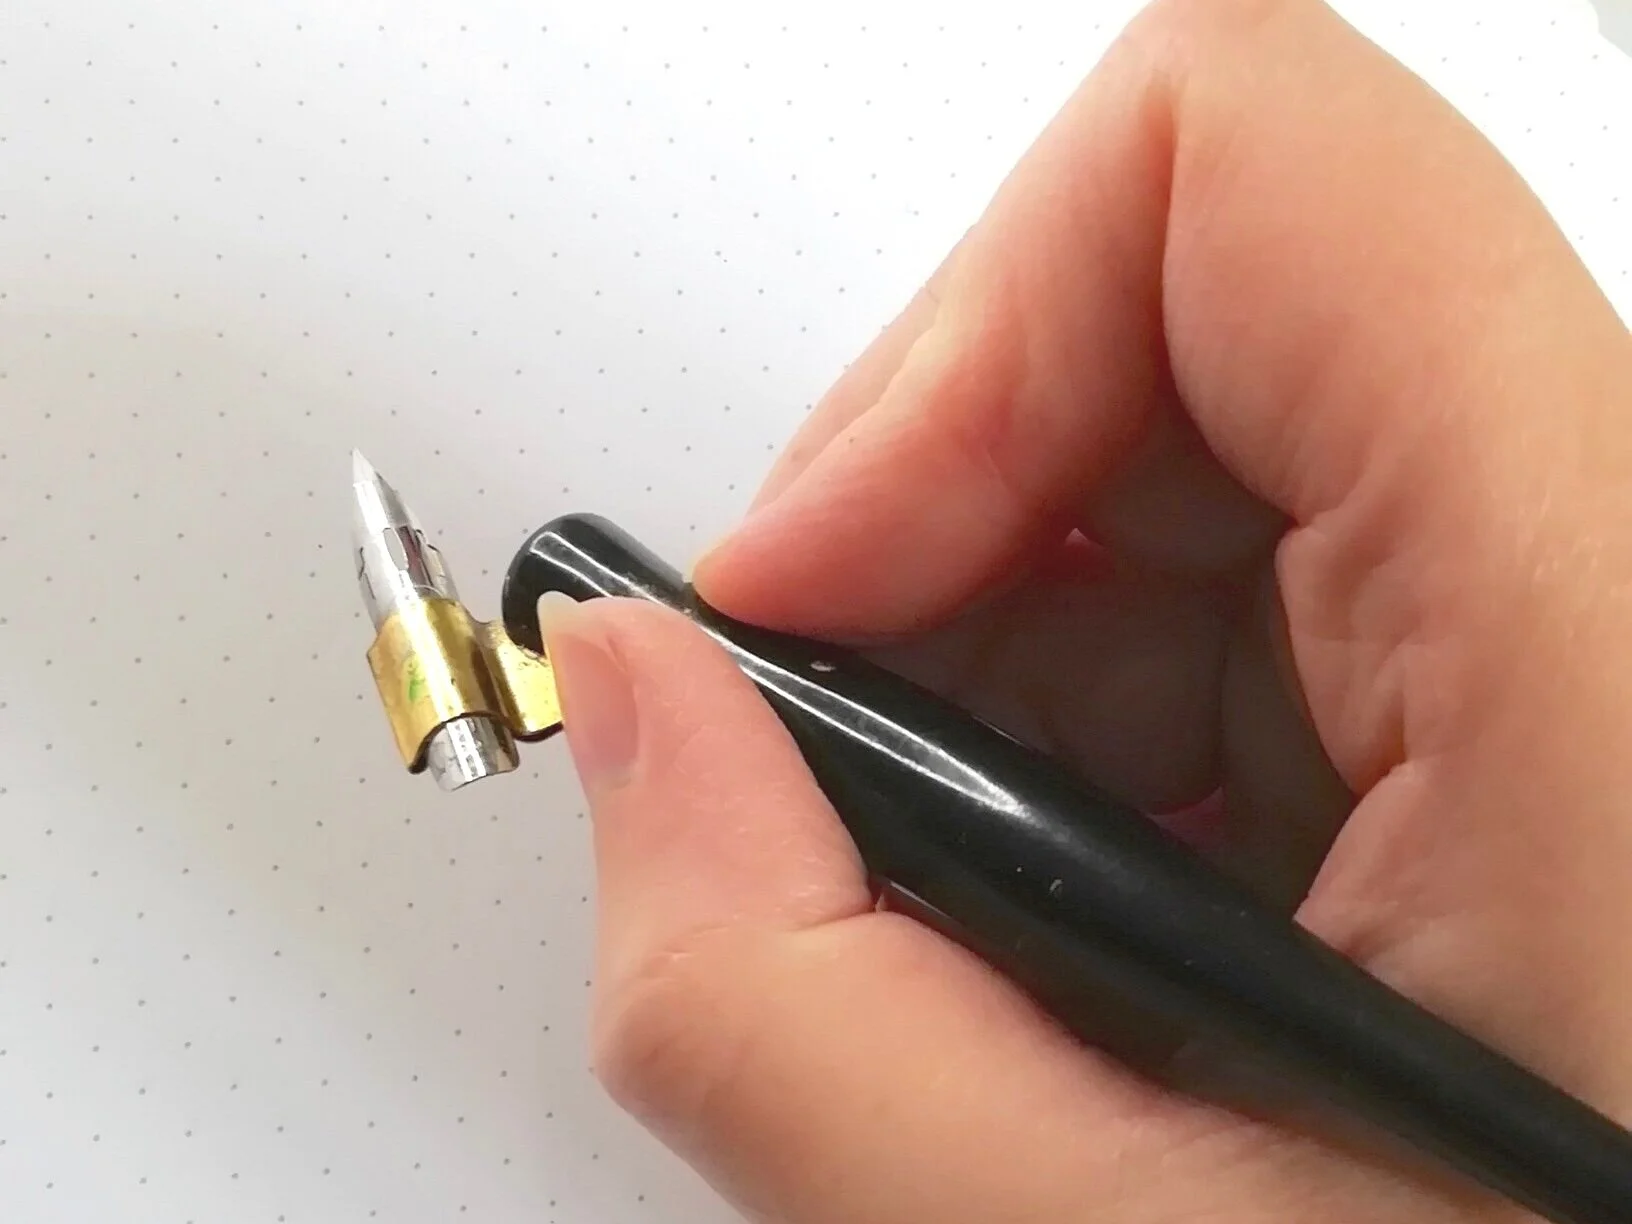
How to hold the oblique pen with your thumb and index finger.
2. You’ll find (rather annoyingly) that some ink jars will be too narrow for your oblique pen to fit! You could use a paint brush or a dropper, but for maximum ease decant your ink into a wide necked jar.
3. As with a straight pen, you’ll need to line up the nib with the angle you’re writing, and with an oblique pen it’ll mean that you don’t need to rotate your paper as much. Hopefully you’ll be able to see what you’re doing! Remember, always rotate the paper, not your hand.
4. Now write! If you just look at what the nib is doing and don’t worry about where your hand is then you’ll soon get the hang of it. You should find you can write with a steeper slant and with more ease than with a straight pen

It doesn’t take long to get used to writing with an oblique pen, although I’d better add a disclaimer here: oblique pens aren’t for everyone. Some people get on with them straight away – even complete beginners, others take a little while to adjust or prefer to stick with a straight pen. Always do what works for you and remember to enjoy your calligraphy :)
So, do you feel more confident about using an oblique pen? I hope so!
Let me know what’s worked for you or feel free to ask a question by leaving a comment a comment below.