How to Prepare Calligraphy Nibs
Find out how to clean dip pen calligraphy nibs for first time use with these easy methods
You’ve got your calligraphy materials set out in front of you and you’re raring to go. But wait…there’s one small problem and it’s stopping you from getting started with creating gorgeous calligraphy.
Your nib’s sitting snugly in its pen holder then you go to load it with ink but it’s not covering the nib as well as it should. It’s patchy and you can see metal shining through.
This exact thing happened to me and it put the brakes on learning calligraphy. But it’s so easy to overcome - you just need to know how!
LEARN CALLIGRAPHY
Sign up to receive calligraphy inspiration straight to your inbox

One thing that’s missing when you buy calligraphy nibs is that no one tells you that your nibs need cleaning first.
They look perfectly clean, gleaming in fact, but what you can’t see is a protective layer of oil - a coating applied by the manufacturer to prevent any rusting whilst the nibs are in storage.
This oily layer needs removing before you write with the nib otherwise the ink will resist and you’ll get nowhere.
Luckily it doesn’t take long to prepare. There are plenty of easy ways to choose from (some I recommend more than others) so you’ll be able to get inky with your next calligraphy project in no time at all!
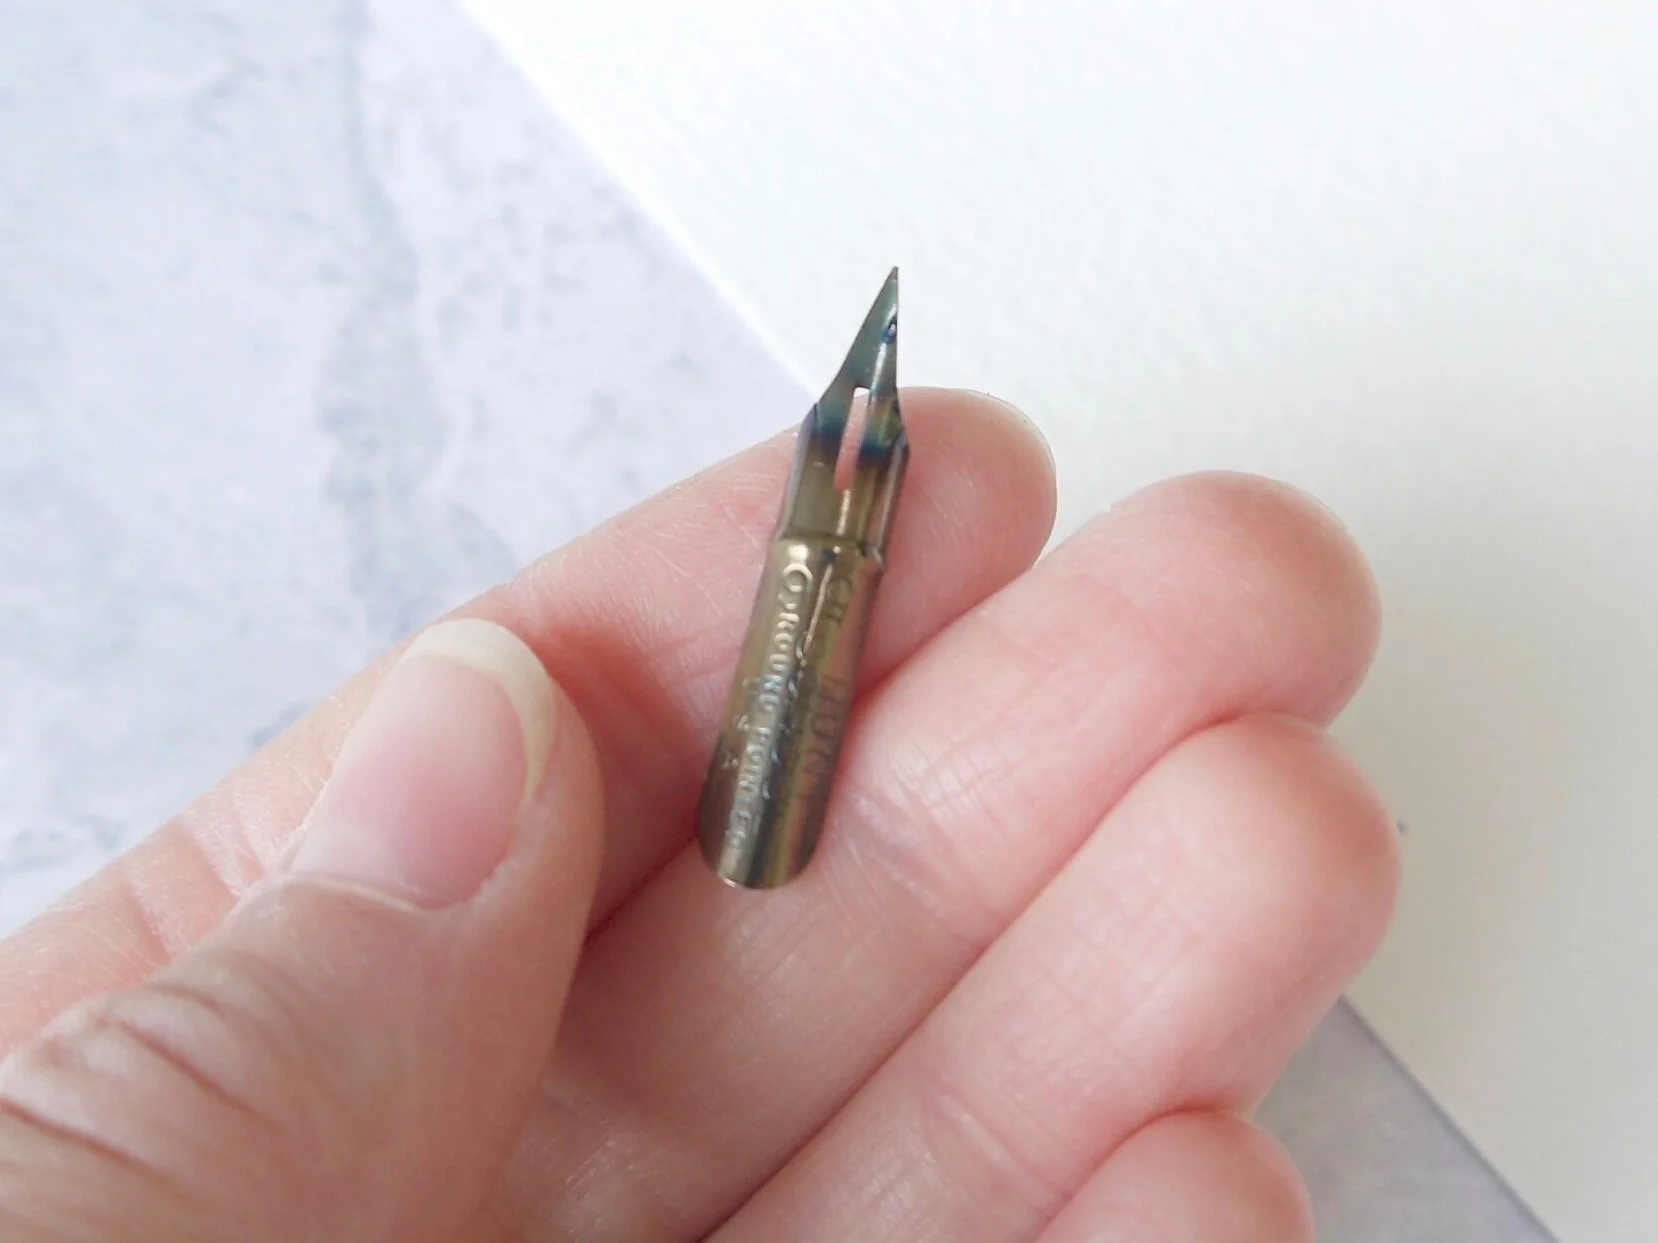
You’ll only need to clean the part of the nib that you’ll actually want to be covered in ink, leaving you to hold the stem or insert it into a pen holder whilst you clean it. The added benefit of this is that if the stem accidentally gets wet it’ll prevent it from rusting.
And you’ll know when the cleaning method has worked effectively because your nib will be coated in glossy ink when you go to load it. There shouldn’t be any patches which have resisted, but if there are, just clean it again.

You can see the ink isn’t covering the nib evenly and is patchy meaning the ink won’t flow properly.
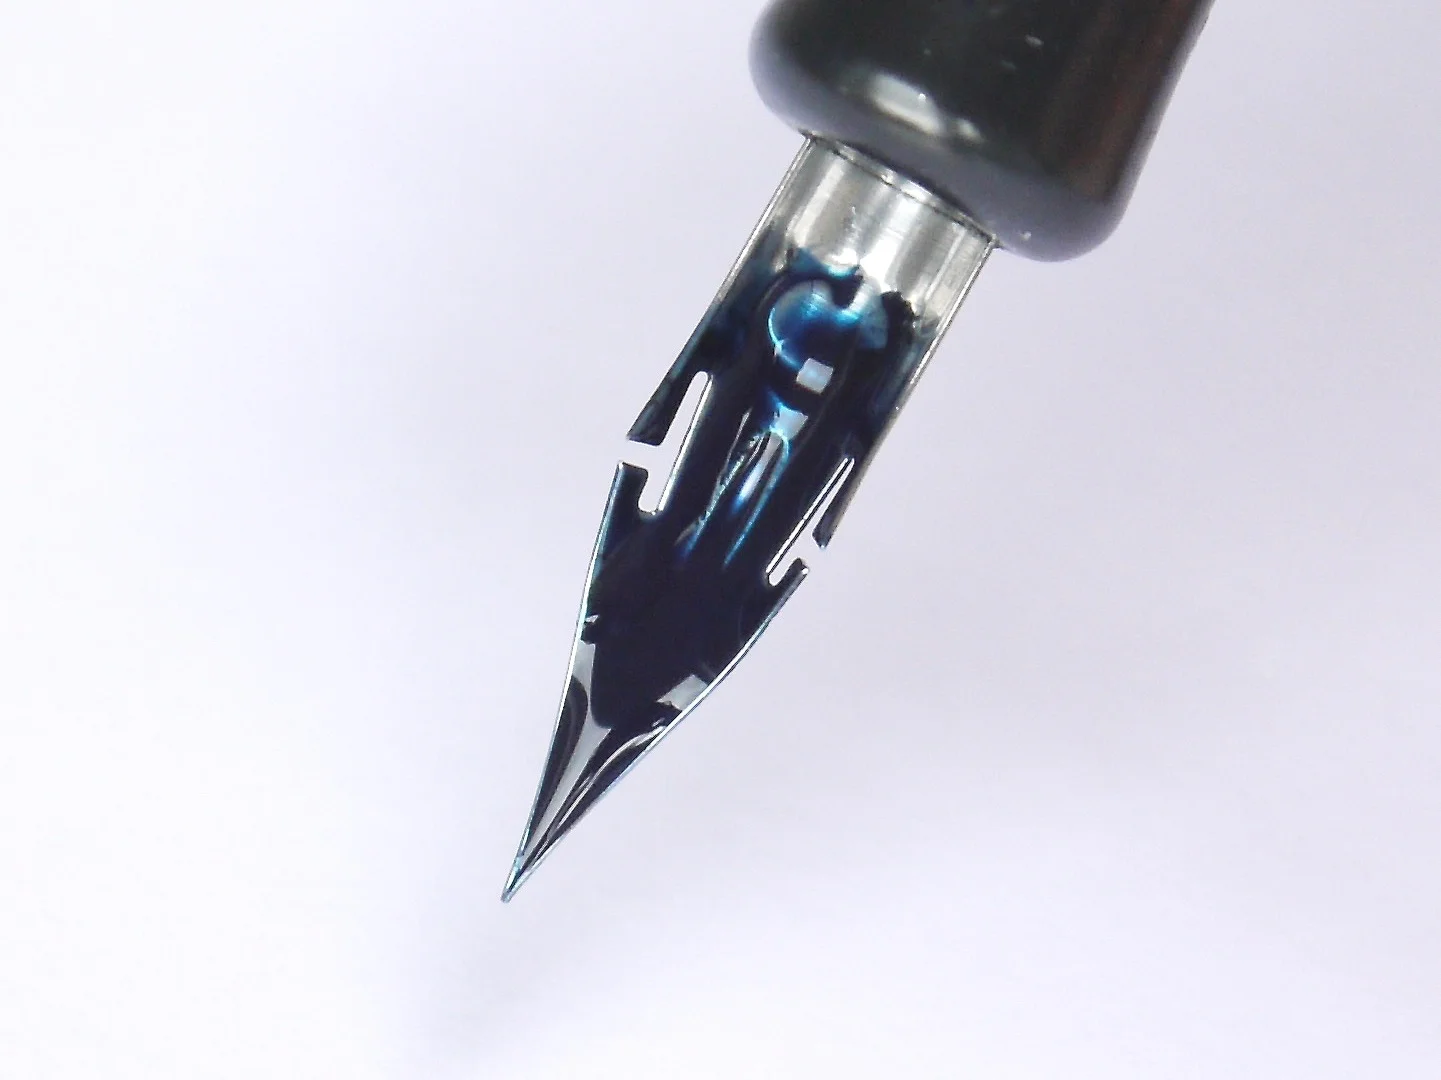
This nib has been cleaned properly and there aren’t any traces of oil left meaning that the ink holds onto the nib.
Different Ways to Clean Calligraphy Nibs
I’ve put these tried and tested methods into my order of preference with what I’ve found to be the quickest and most effective way. Pros and cons are included and you’ll find my go-to method at the end of this list in the number one spot.
6. Using a lighter
- quick but can damage the nib
I used this method often when I first started with pointed pen calligraphy - it must be the dare devil in me ;) But I’ve since found some better ways, and I’m not entirely convinced that it’s that good for the nib.
But, if you want to give it a go, make sure that the nib in its holder first (this’ll protect your fingers from being burnt), then with the lighter lit, move the nib back and forth over the flame 3 times on each side for a count of 1 second each time.
The nib certainly looses its shine and ends up a bit charred and tarnished - or it did when I did it. It also gains a sooty residue so needs wiping.
As some calligraphy nibs are so delicate and made of fine metal I’ll only be using this method in an absolute emergency.
5. Pop it into a potato
- great if you’re not in a hurry
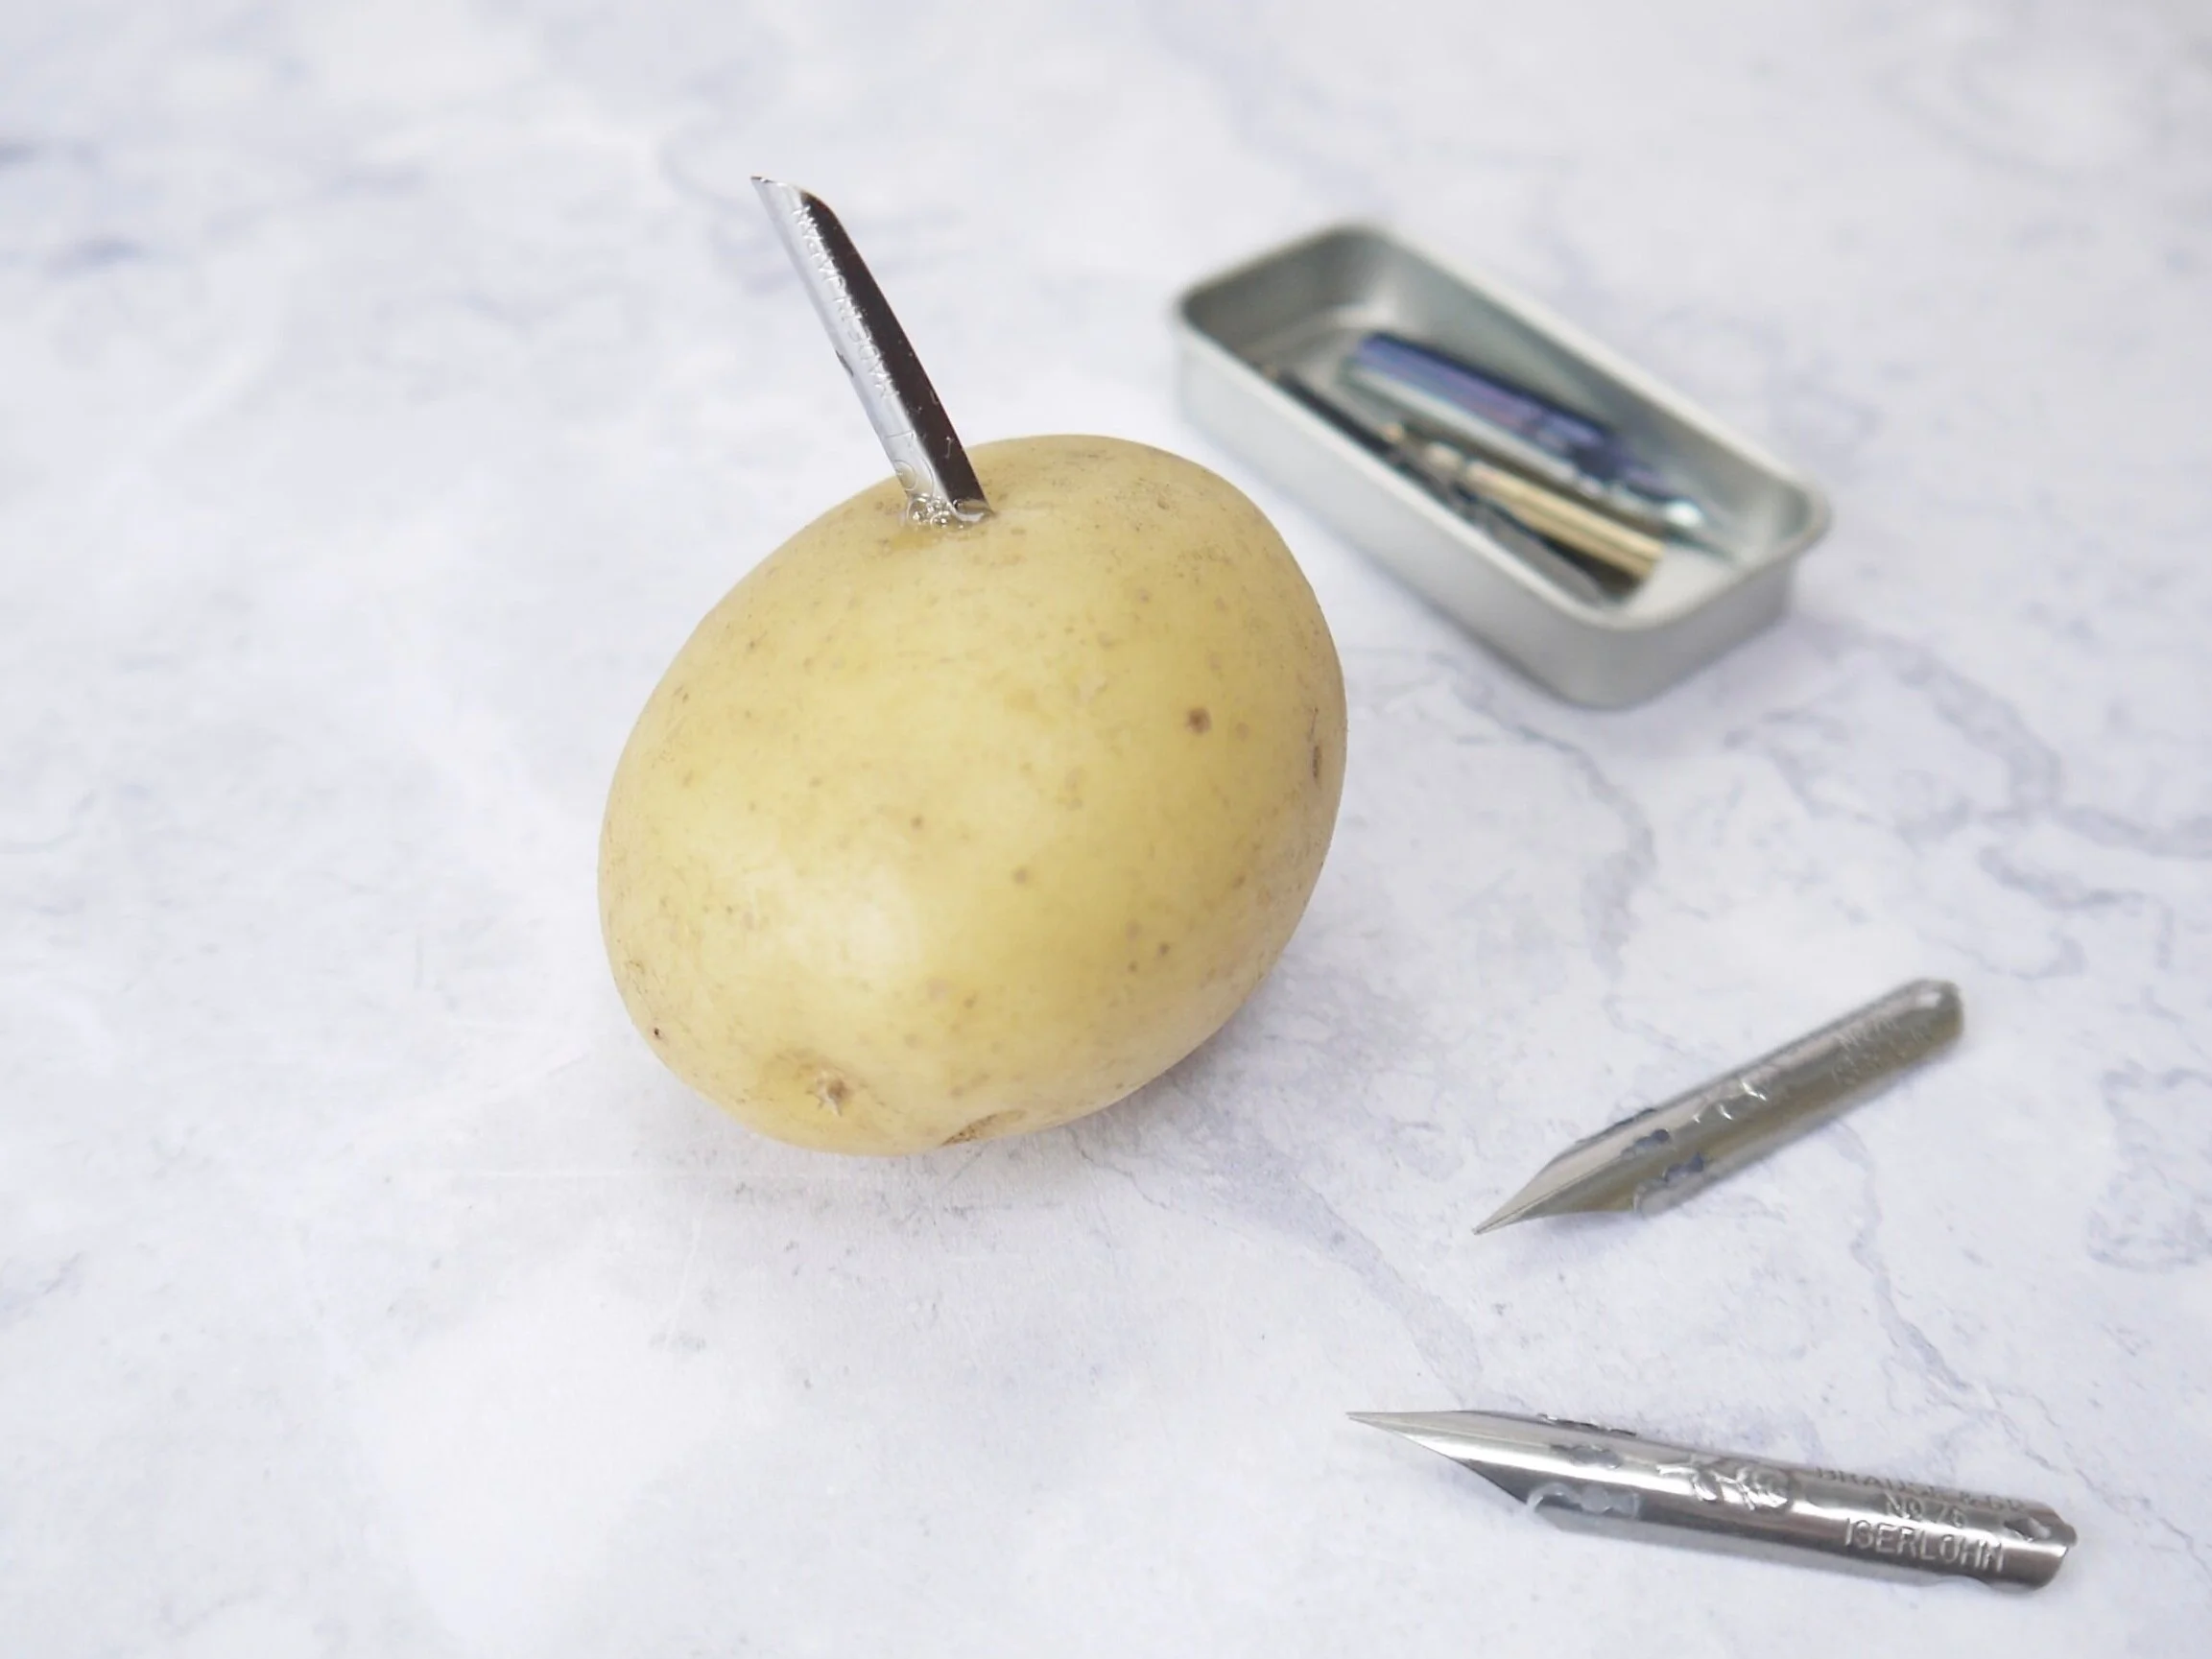
If you’ve got some time along with a raw potato then this method could be for you - it’s certainly one for the curious and never fails to intrigue people who come to my calligraphy classes.
Personally, if I’m about to prepare a new calligraphy nib it’s because I wan’t to use it right away, but if you’ve got a big batch of nibs to clean then it could come in handy.
Carefully insert your new nib into the potato as far up as the eye, leaving the base out (otherwise you’ll lose the nib and have to cut it out!). I worried that the nib might get bent out of shape, but it seemed to be fine - although I’d be wary of cleaning flexible nibs like the Brause Rose this way. Remove the nib after 15 minutes then rinse in water and dry before using.
4. Nail polish remover
- a very ‘handy’ method ; )
This is a really quick - if not a bit fumey - method, and is a bit harsh if you want to look after your nibs.
You can either hold the nib into a bottle of nail polish for 5 seconds or alternatively apply some of the liquid onto some cotton wool. Like you’d remove polish off your nails, press the cotton wool onto the nib and hold for a few seconds then wipe. Make sure both sides are clean then rinse off.
3. Toothbrush and toothpaste
- an eco-friendly method
Old toothbrushes are great for cleaning an infinite number of things, including calligraphy nibs.
Just pop a small amount of toothpaste onto the brush and gently scrub the back and front for about 30 seconds in total.
The abrasive nature of the toothpaste will gently break down the oil in an eco-friendly way which is a big tick in my book. If you’re doing this over a sink just put the plug in first incase of any accidental slippages!
2. Washing up liquid
– for squeaky clean nibs
Another easy method for cleaning calligraphy nibs. Again, with an old toothbrush or washing up cloth just place on some washing up liquid and gently scrub away at the nib for about 30 seconds on both sides then rinse. So easy!
1. Window cleaner
- my favourite method
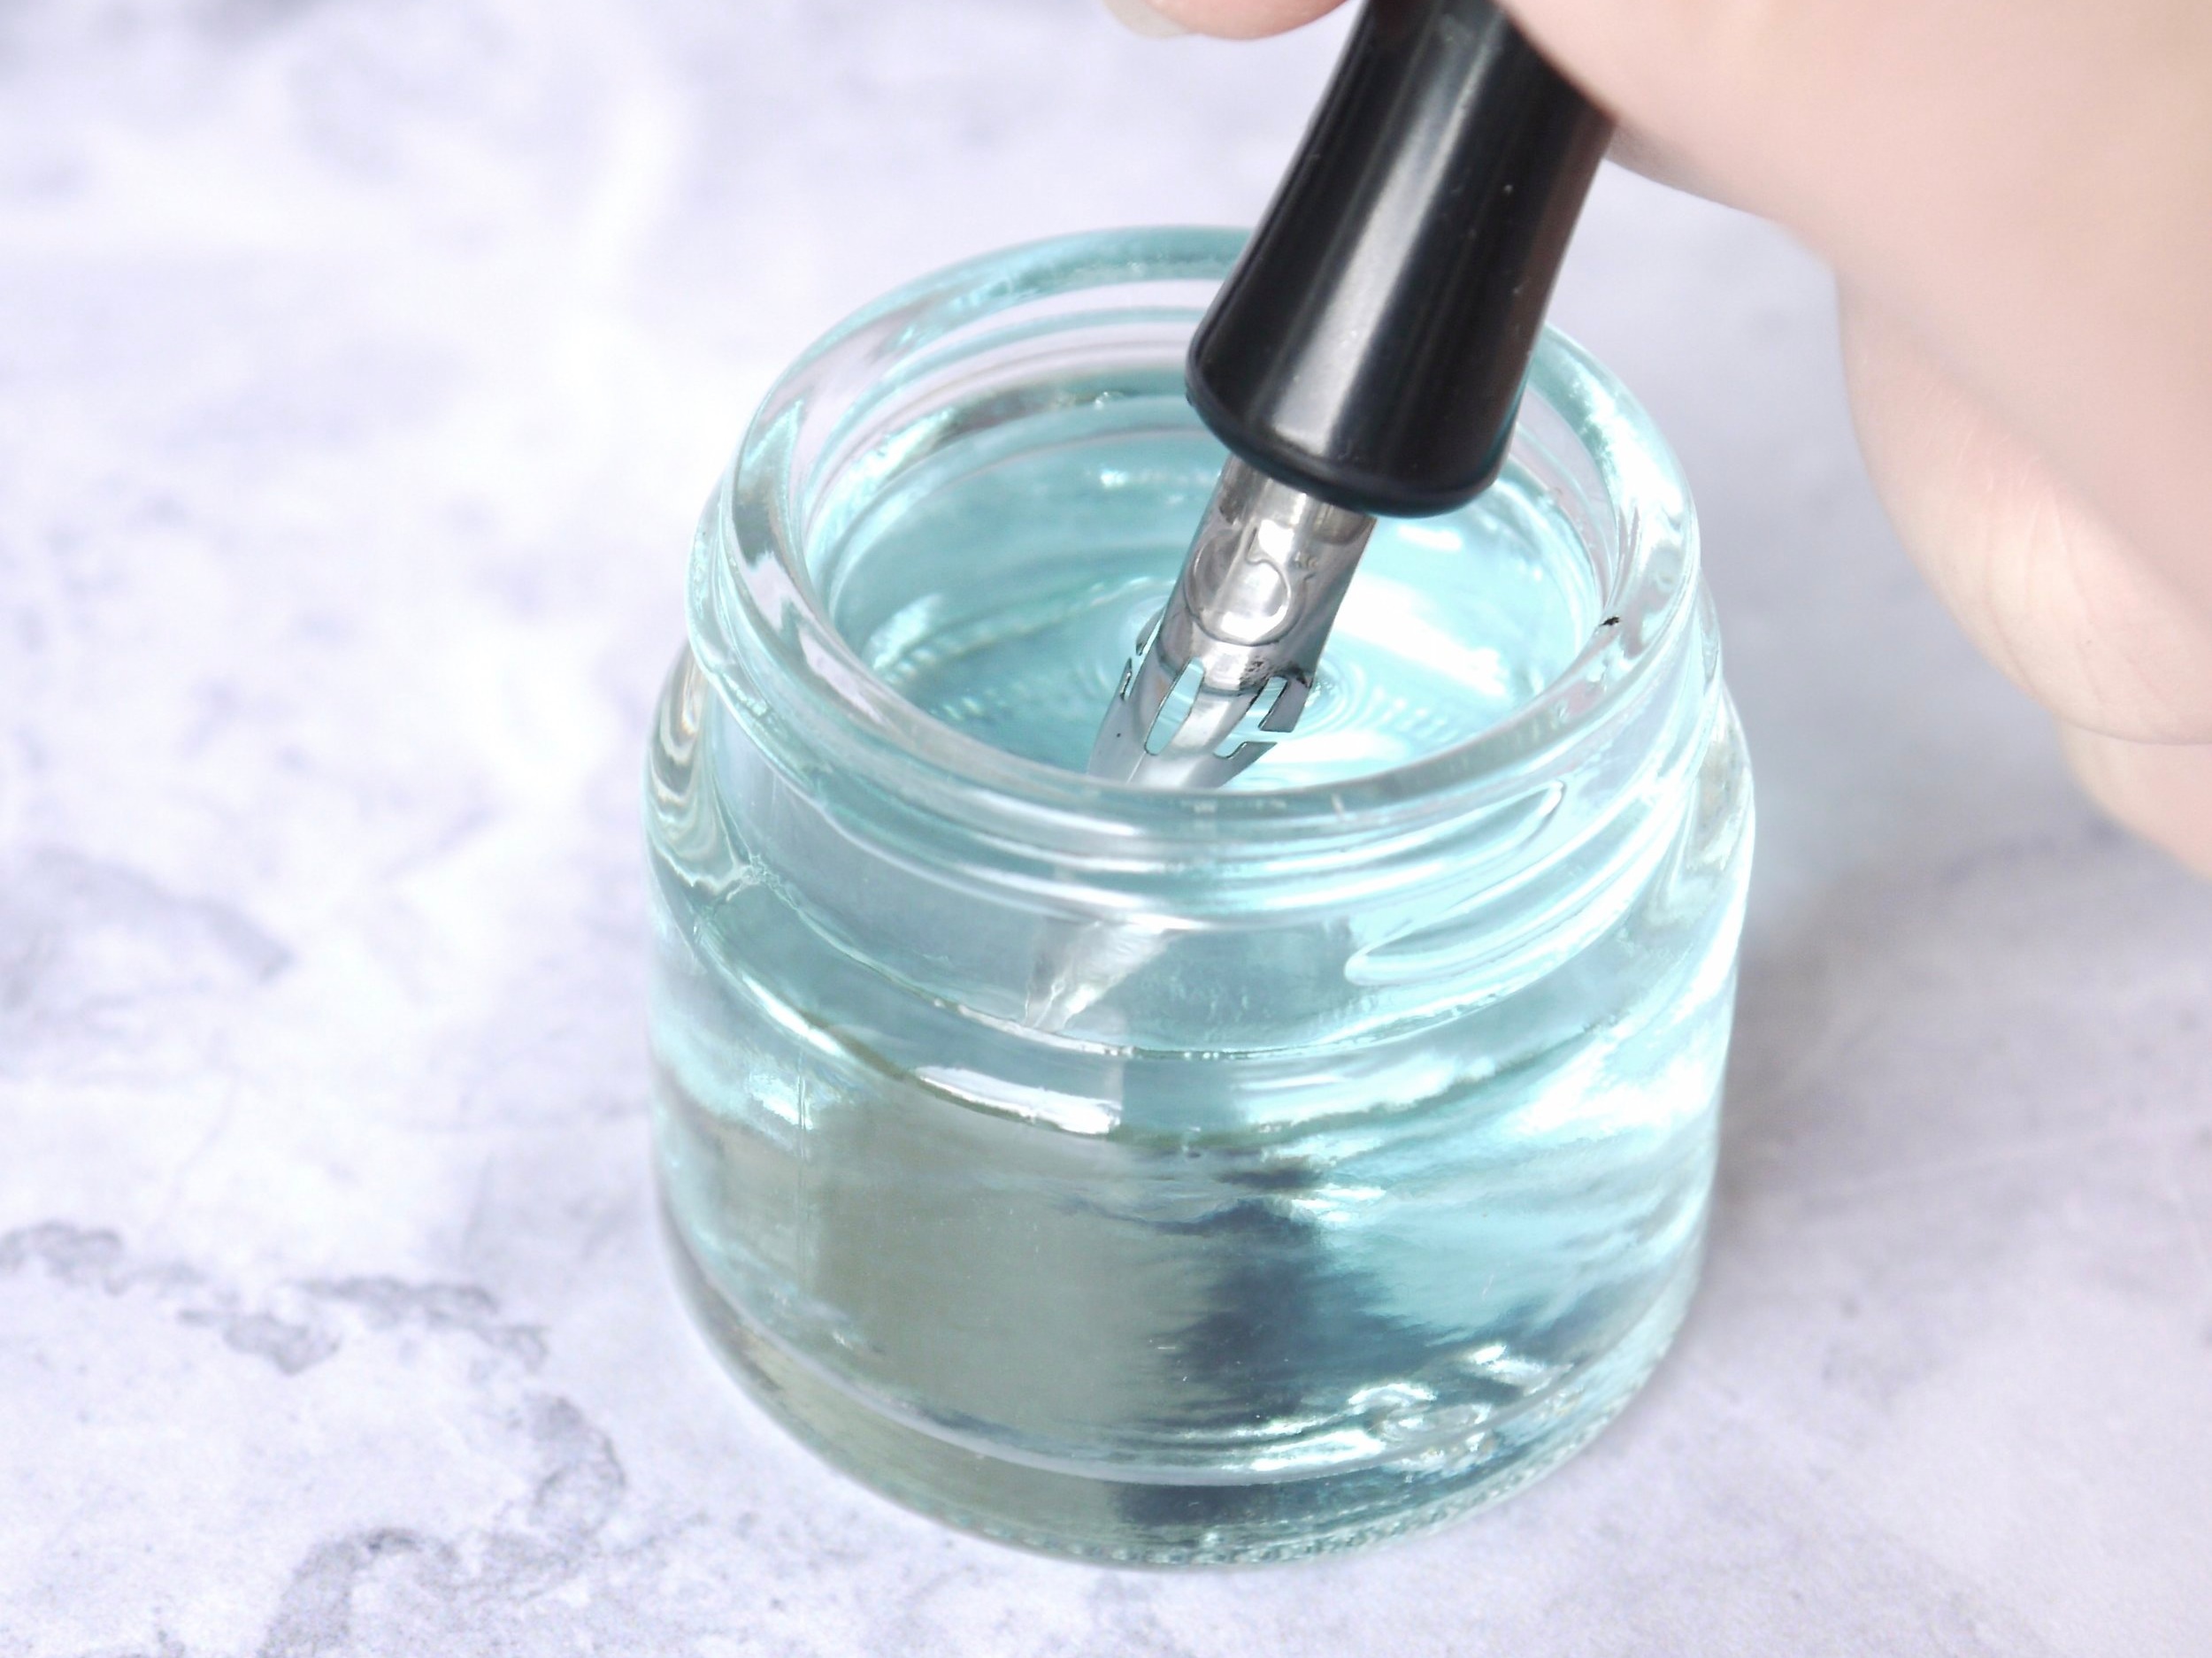
I find this method by far the easiest and most effective way to clean calligraphy nibs - which is great if you’ve got a stash of unwanted window cleaner hiding under the sink.
Since trying to make my home as chemical free as possible, my bottle of window cleaner is now redundant, although to throw it out would be wasteful. So as it’s there I use it to clean calligraphy nibs.
If you decant the solution into a small glass jar (those tiny jam jars are ideal) your nib cleaner will be ready and waiting every time. Pop the nib into it’s pen holder, then lower the nib into the cleaner and hold for about 15 seconds, without getting the pen holder wet. Rinse it in a jar of water then wipe it dry and you’ll be good to go.
Keeping your calligraphy nibs clean
Loading and unloading the nib with your fingers will transfer natural oils onto the nib so repeat one of these cleaning methods if your nib’s up to no good and resisting ink again.
I hope you find a method here that suits you and preps your nibs so you can get on with calligraphing!
Do you have a favourite method? I’d love for you to leave a comment below to let me know!