Setting up your Calligraphy Supplies
How to prepare your pen, nib and table set-up with these tips for beginners of modern calligraphy

If you’ve just been introduced to the world of dip pen calligraphy then you’ll want to get the basics right with these tips about setting up your supplies.
Maybe you’ve purchased a calligraphy set or have been given a kit as a gift but you’re wondering - now what???
This beginner’s guide will get your materials all set up from knowing how to insert a nib into the pen holder and preparing the nib ready for writing.
Table set up

Not to be missed out, you’ll need to set your materials out in front of you - and I’ve found there’s a right way to do this.
If you’re not sure what calligraphy tools you need in your essential beginners kit then take a look at this blog post here.
Although you don’t need masses of space, having a clear and flat table surface with enough room to manoeuvre your paper is going to be needed.
Your paper or writing surface will be directly in front of you and will likely end up at an angle - with the top tilted to the left for right handers or to the right for left hander.
All of your other calligraphy tools: pens, pencil, ink and water should be positioned on the same side as your writing hand and near the top corner to prevent knocking things over - or you can always find out the hard way! The above photo is set up for a right-handed writer and would be flipped for left-handers.
This way, you’ll avoid crossing your work with wet ink as much as possible!
Just as an extra layer of protection (because calligraphy ink can stain horribly), some scrap paper or oil cloth placed on your work space will help to keep everything clean.
LEARN CALLIGRAPHY
Sign up for inspiration, tip and tricks to begin lettering beautifully
Inserting the nib into the pen

As a beginner, it’s likely you’ll be using a straight pen, but I’ve included how to insert a nib into an oblique pen holder too as some beginners get on better with them.
Most beginner pointed nibs - like the Nikko or Zebra G, Manuscript G or Blue Pumpkin - will fit easily into these pen holders as they’re a standard size but some pens will allow for a bit of adjustment.
Speedball straight pen holder
By far the easiest pen holder to insert a nib into is the Speedball straight pen holder (pictured in the middle). It’s simply a case of pushing the nib into the circular groove so that it fits snugly.
As getting the nib out is so easy I’d advise cleaning both the nib and pen holder after every use - you’ll be surprised at the amount of ink that made it’s way into the holder!
Clean tools means less rusting and clogging of ink so they’ll last longer.
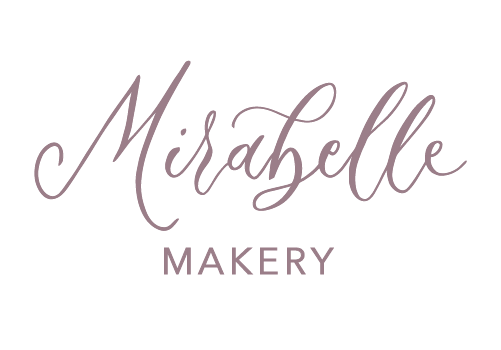
Straight pen with metal petals
It’s tempting to put the nib straight into the middle of the insert of this pen but you’ll find that the nib just wobbles about.
First, make sure the ‘petals’ are pushed in - this can easily be done with your finger nail - then find the notch at the edge of the insert where the metal doesn’t meet. The nib goes just below that notch and the edge of the pen.

Getting the nib in and out can be fiddly, so always use a cloth or piece of kitchen towel to protect yourself - and it’ll protect the tines of the nib too.
A side-to-side wiggling motion between the calligraphy pen and the nib will help with inserting and removing the nib - and always do this with the nib facing away from you. Calligraphy nibs are very sharp!
Again, you’ll want a snug fit, but not too tight. As long as the nib isn’t wobbling about it and you have control over it when you’re writing, it should be fine.
The petals are adjustable and can be moved out so that they’re pushing against the nib if it’s moving around.
Oblique pens
Oblique pens tend to have a metal bit, a.k.a. the flange, coming out the side which helps to create an angle for writing.
If your nib slides straight into the flange and fits well then consider yourself lucky, but they often require a small flat-headed screw driver (the kind that you get in Christmas crackers) and some pliers.
This is a fiddly process so make sure you're able to rest you hands on a table or flat surface - rather than attempting this in mid air - and go slowly.
Very carefully and working away from your body, you’ll need to use the screwdriver to gently prize the arched part of the brass flange apart. Once the screwdriver is partly in, give it a twist to open it up. Repeat this process until the body of the nib fits inside the squeeze shut with the pliers as necessary.
There are some more adjustments that can be done but that requires another blog post! Just make sure that the nib is inserted enough so that the point of the nib is lined up with the centre of the pen and isn’t over or under-shooting it.
Preparing the nib for calligraphy
There are many different ways to prepare calligraphy nibs as they come with a coated surface to protect them from rusting before they get to you.
Try using a nib without removing the coating first and the ink will just resist, meaning no flow and no calligraphy!
Fortunately there are many way to prepare nibs for first time use, but here are a couple of the easiest and most effective methods.

Ink resisting on an un-prepared or oily nib.
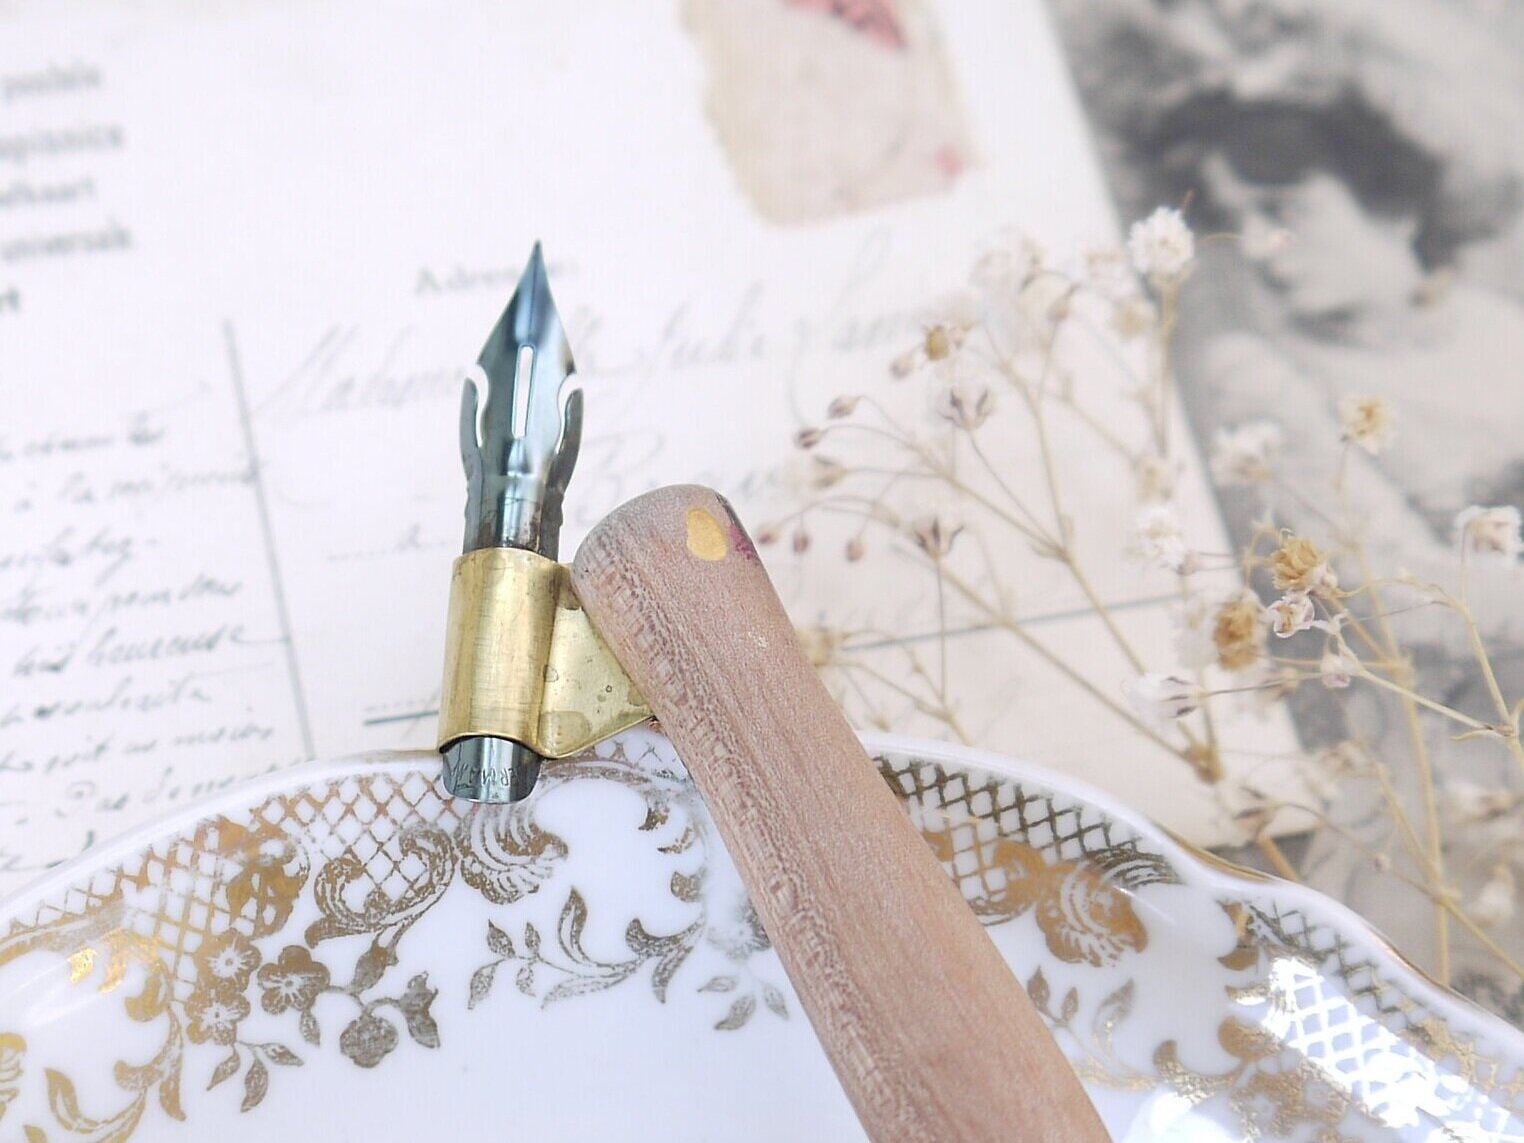
Ink will fully coat a clean calligraphy nib
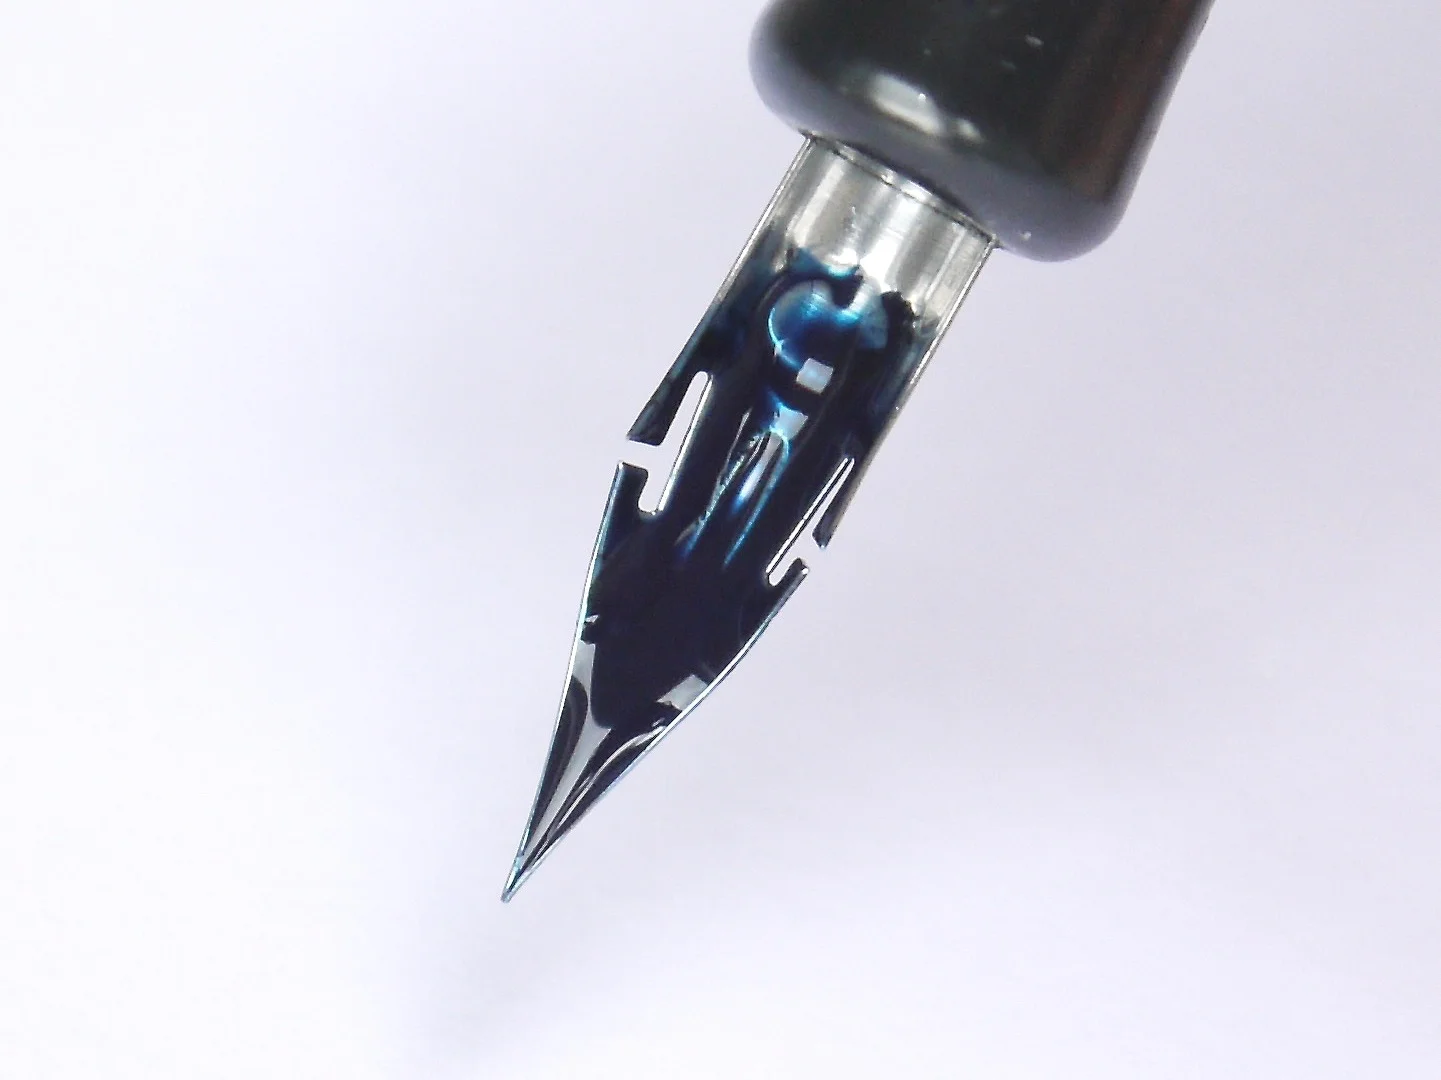
My go-to method is dipping the nib in window cleaning fluid. I have a small glass jar with some de-canted cleaner in. Whenever I need to prepare a new nib I just hold the nib in for about 15 seconds, rinse in clean water then wipe dry.
The entire nib needn’t go in - and probably shouldn’t as this helps protect the base from rusting - but just past the vent hole where the ink will go in is fine.
If you don’t have any window cleaner to hand then applying some liquid soap or washing-up liquid or a small dab of toothpaste onto an old toothbrush or cloth then rubbing gently on both sides for 20 seconds should do the trick.
Hopefully by now you know what to do with your calligraphy supplies so that you’re ready for writing!
I’d love to know how you get on so feel free to leave a comment or a question!
Charlotte x