Getting Started with Pointed Pen Modern Calligraphy
The essential tools and supplies you need to learn modern calligraphy - A GUIDE FOR BEGINNERS
If you’ve ever wanted to create your own greeting cards for friends and family or beautifully lettered art work to display around your home then learning modern calligraphy with a dip pen and ink is a great place to start.
One of the benefits about getting started with calligraphy is that you don’t need many tools.
Some you’ll no-doubt already have lying around at home and the ones that you do need to buy new won’t break the bank.
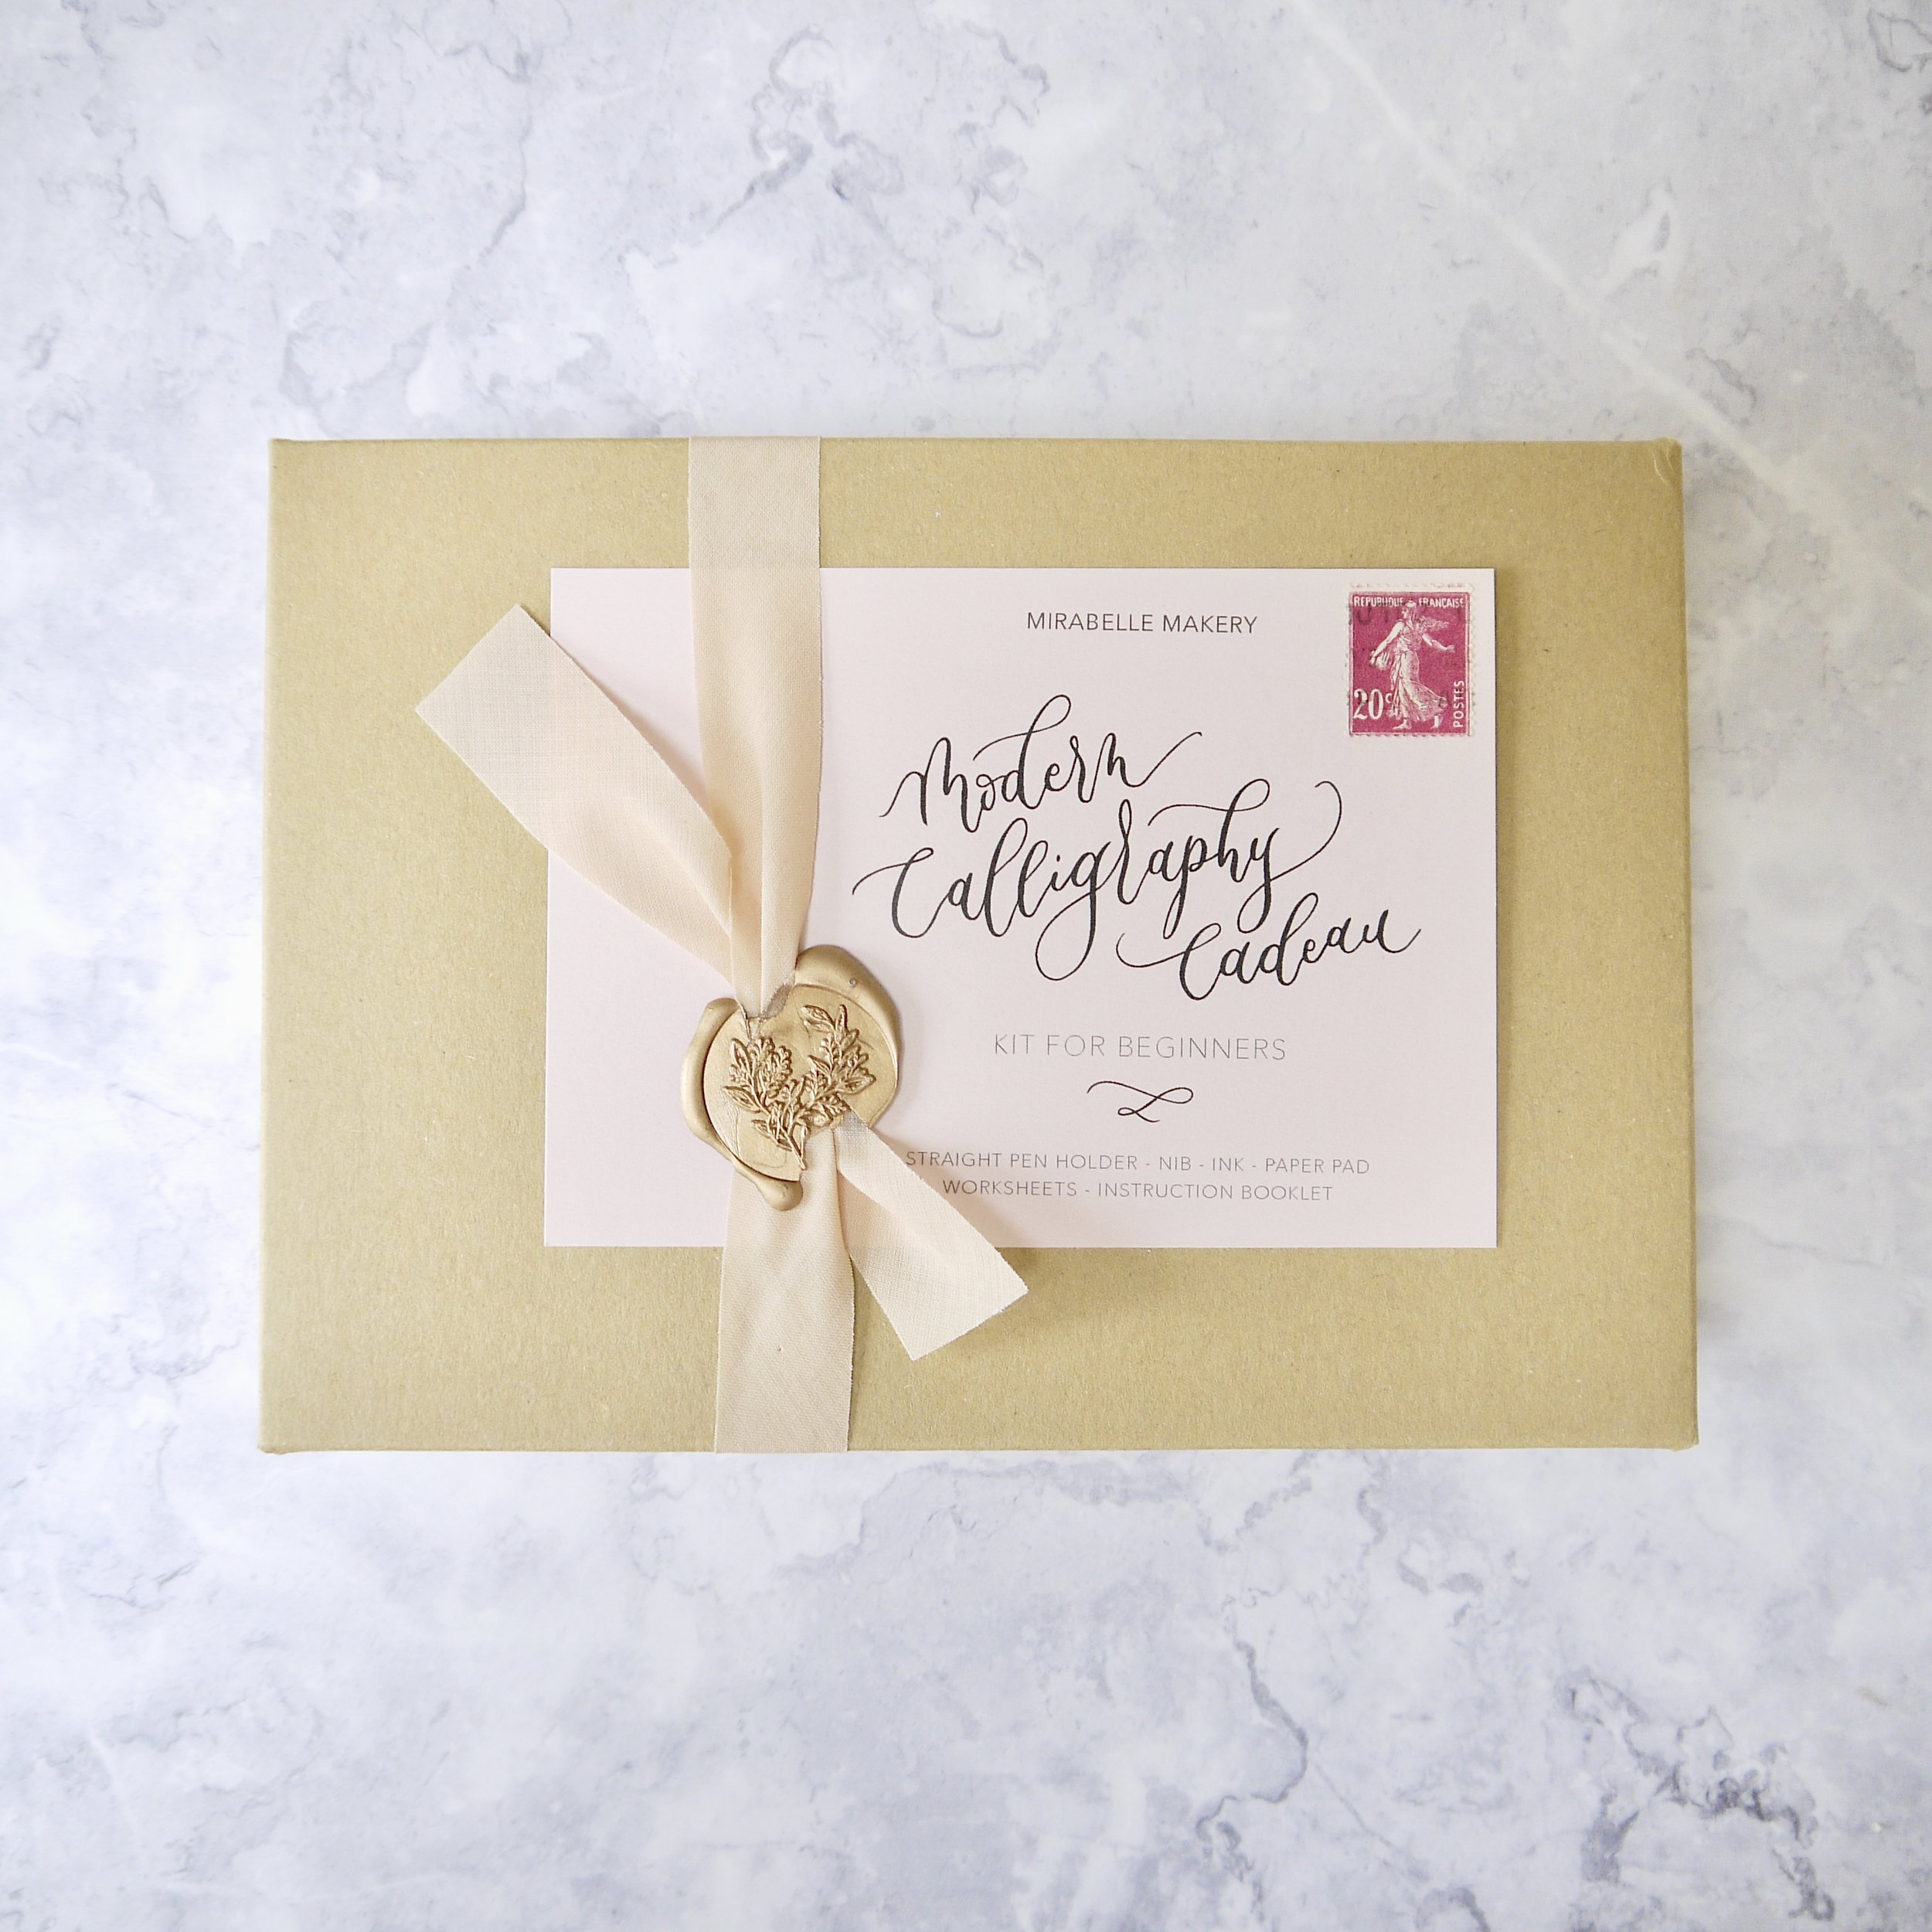
Learn how to write with a pointed nib and ink with this modern calligraphy set, perfect for complete beginners.
All the supplies are carefully selected so you’ll know you’re getting started on the right foot - and be motivated to continue and create beautiful calligraphy!
SUBSCRIBE
Discover the art of beautiful calligraphy - and receive members-only treats straight to your inbox
Getting creative and taking the time to learn something new like calligraphy is also a wonderful antidote to the fast pace of modern life.
We all need to slow down once in a while and be mindful of what we’re doing - practicing your hand lettering with a pointed pen certainly encourages this.
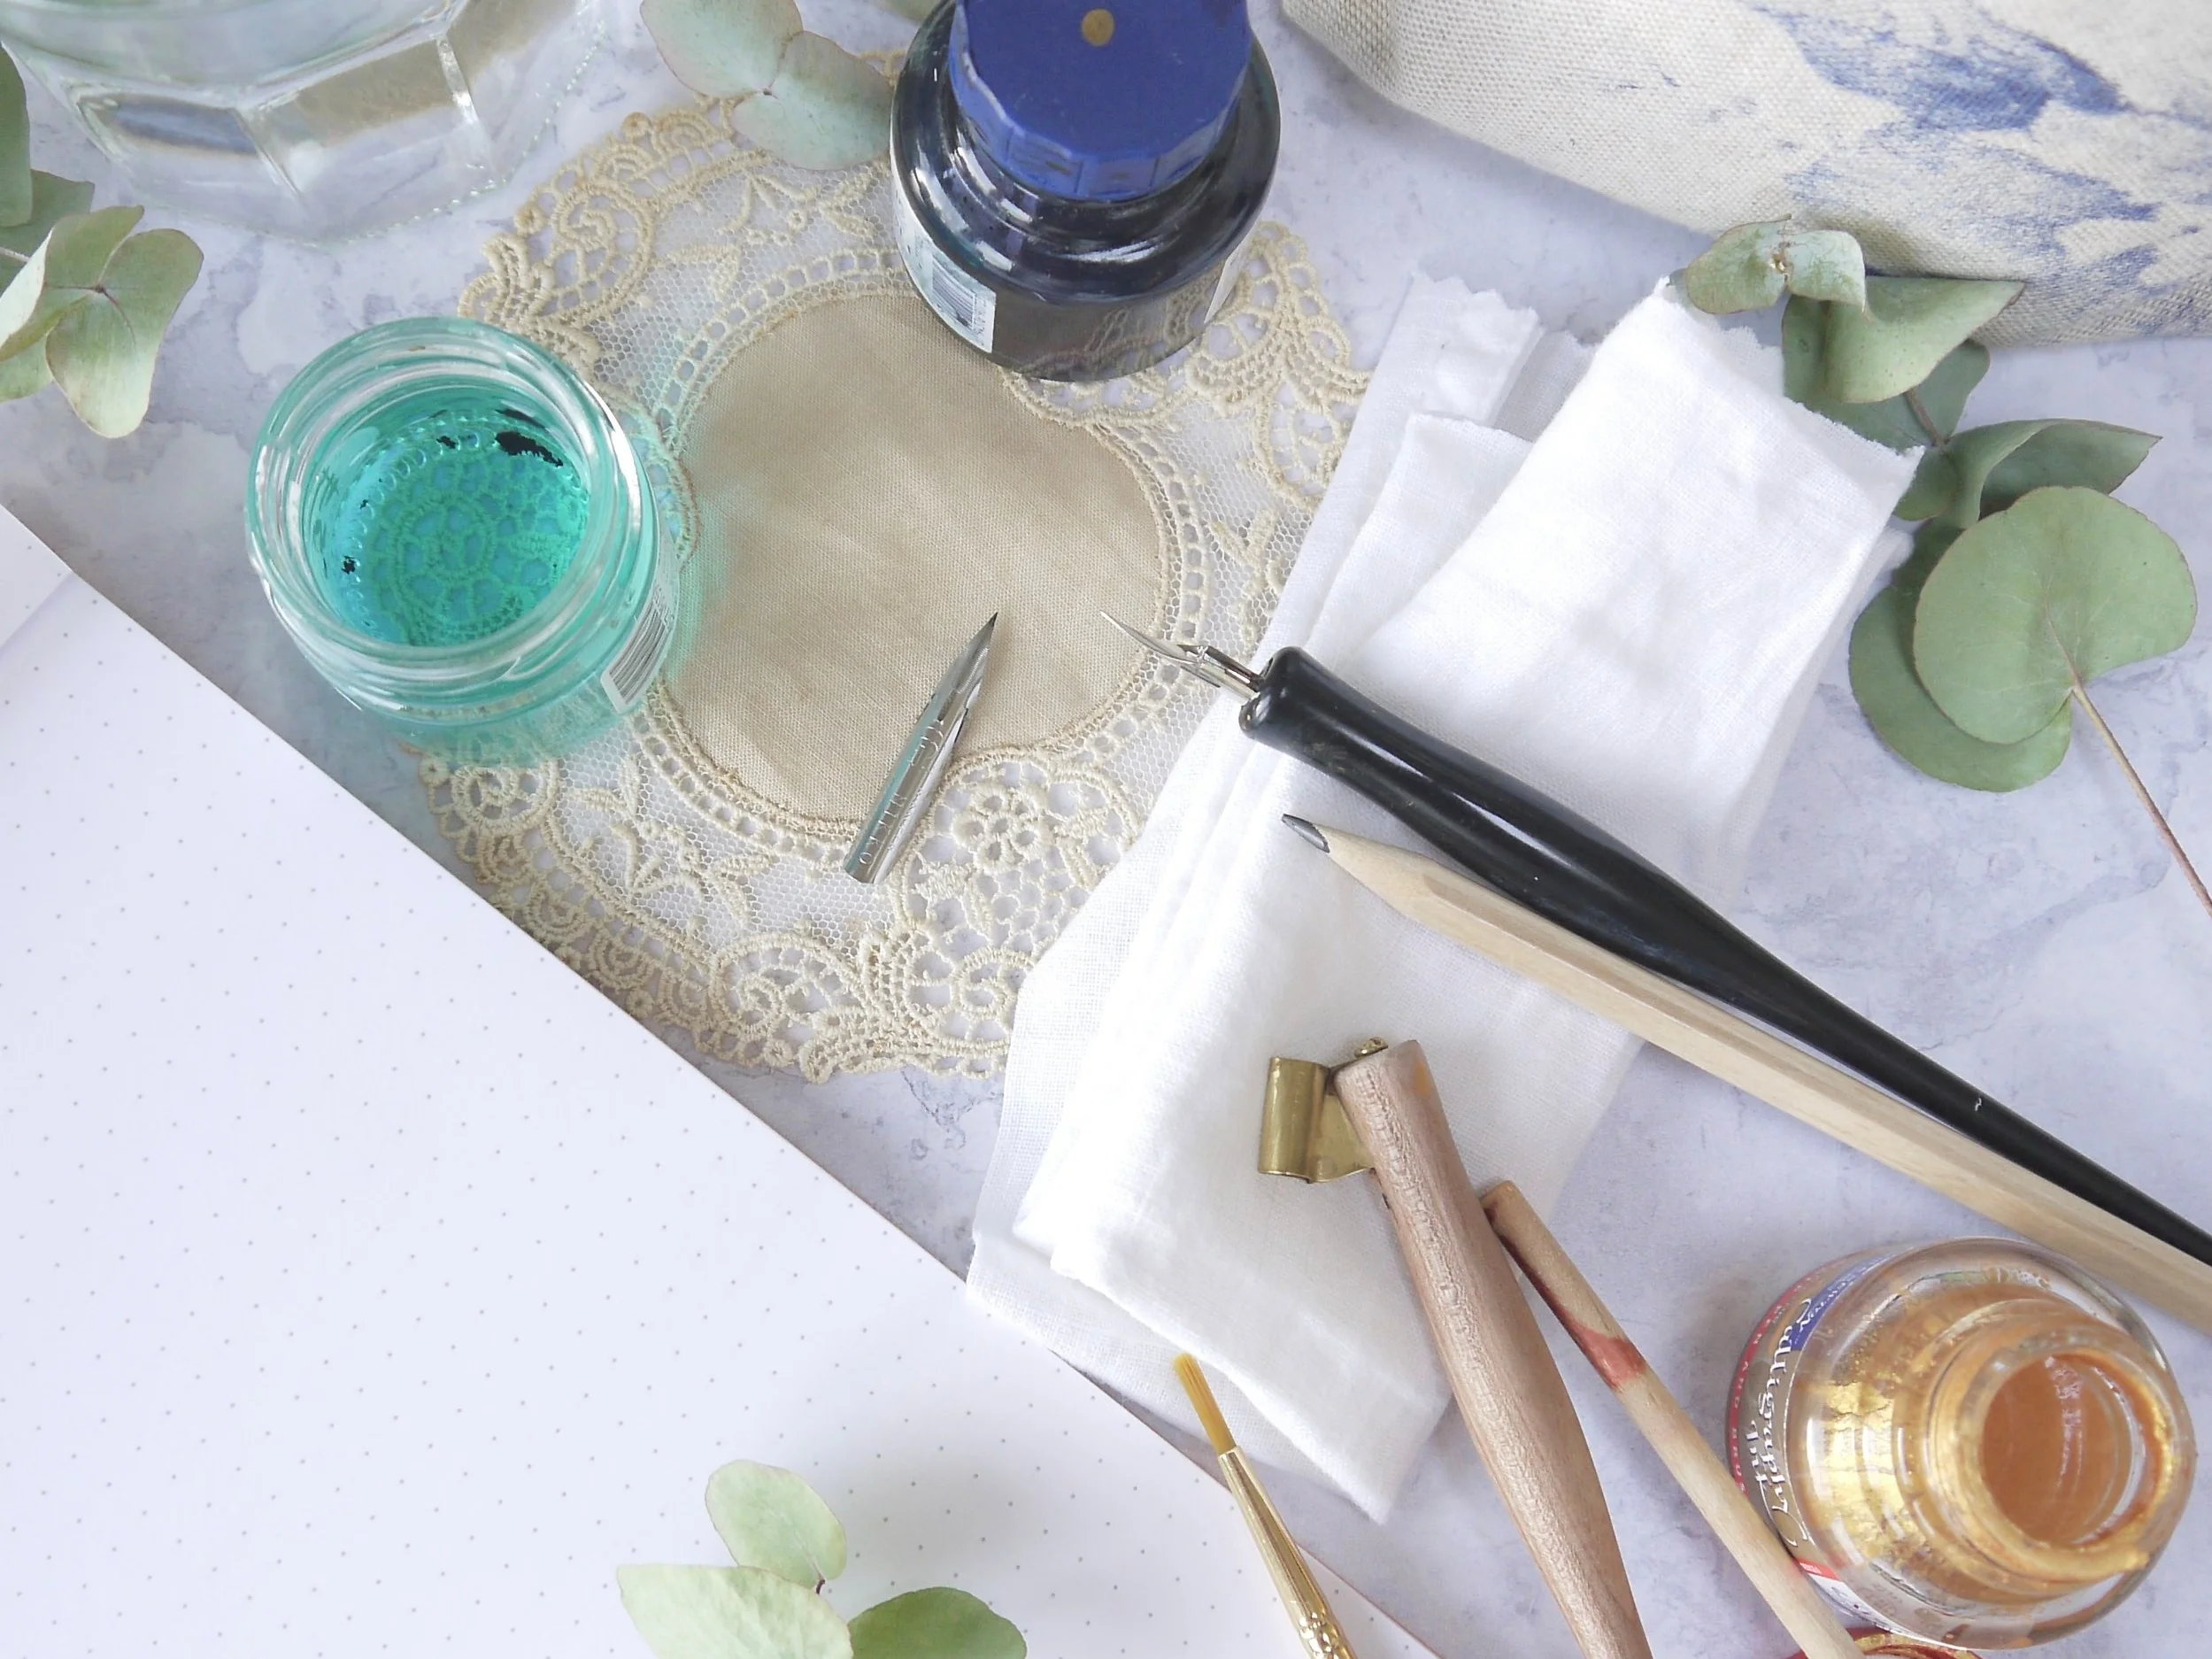
I’ve rounded up my favourite essential calligraphy tools - supplies I personally use - that you need for a calligraphy starter kit so you can get going and where to get them from so you can get started on your creative journey.
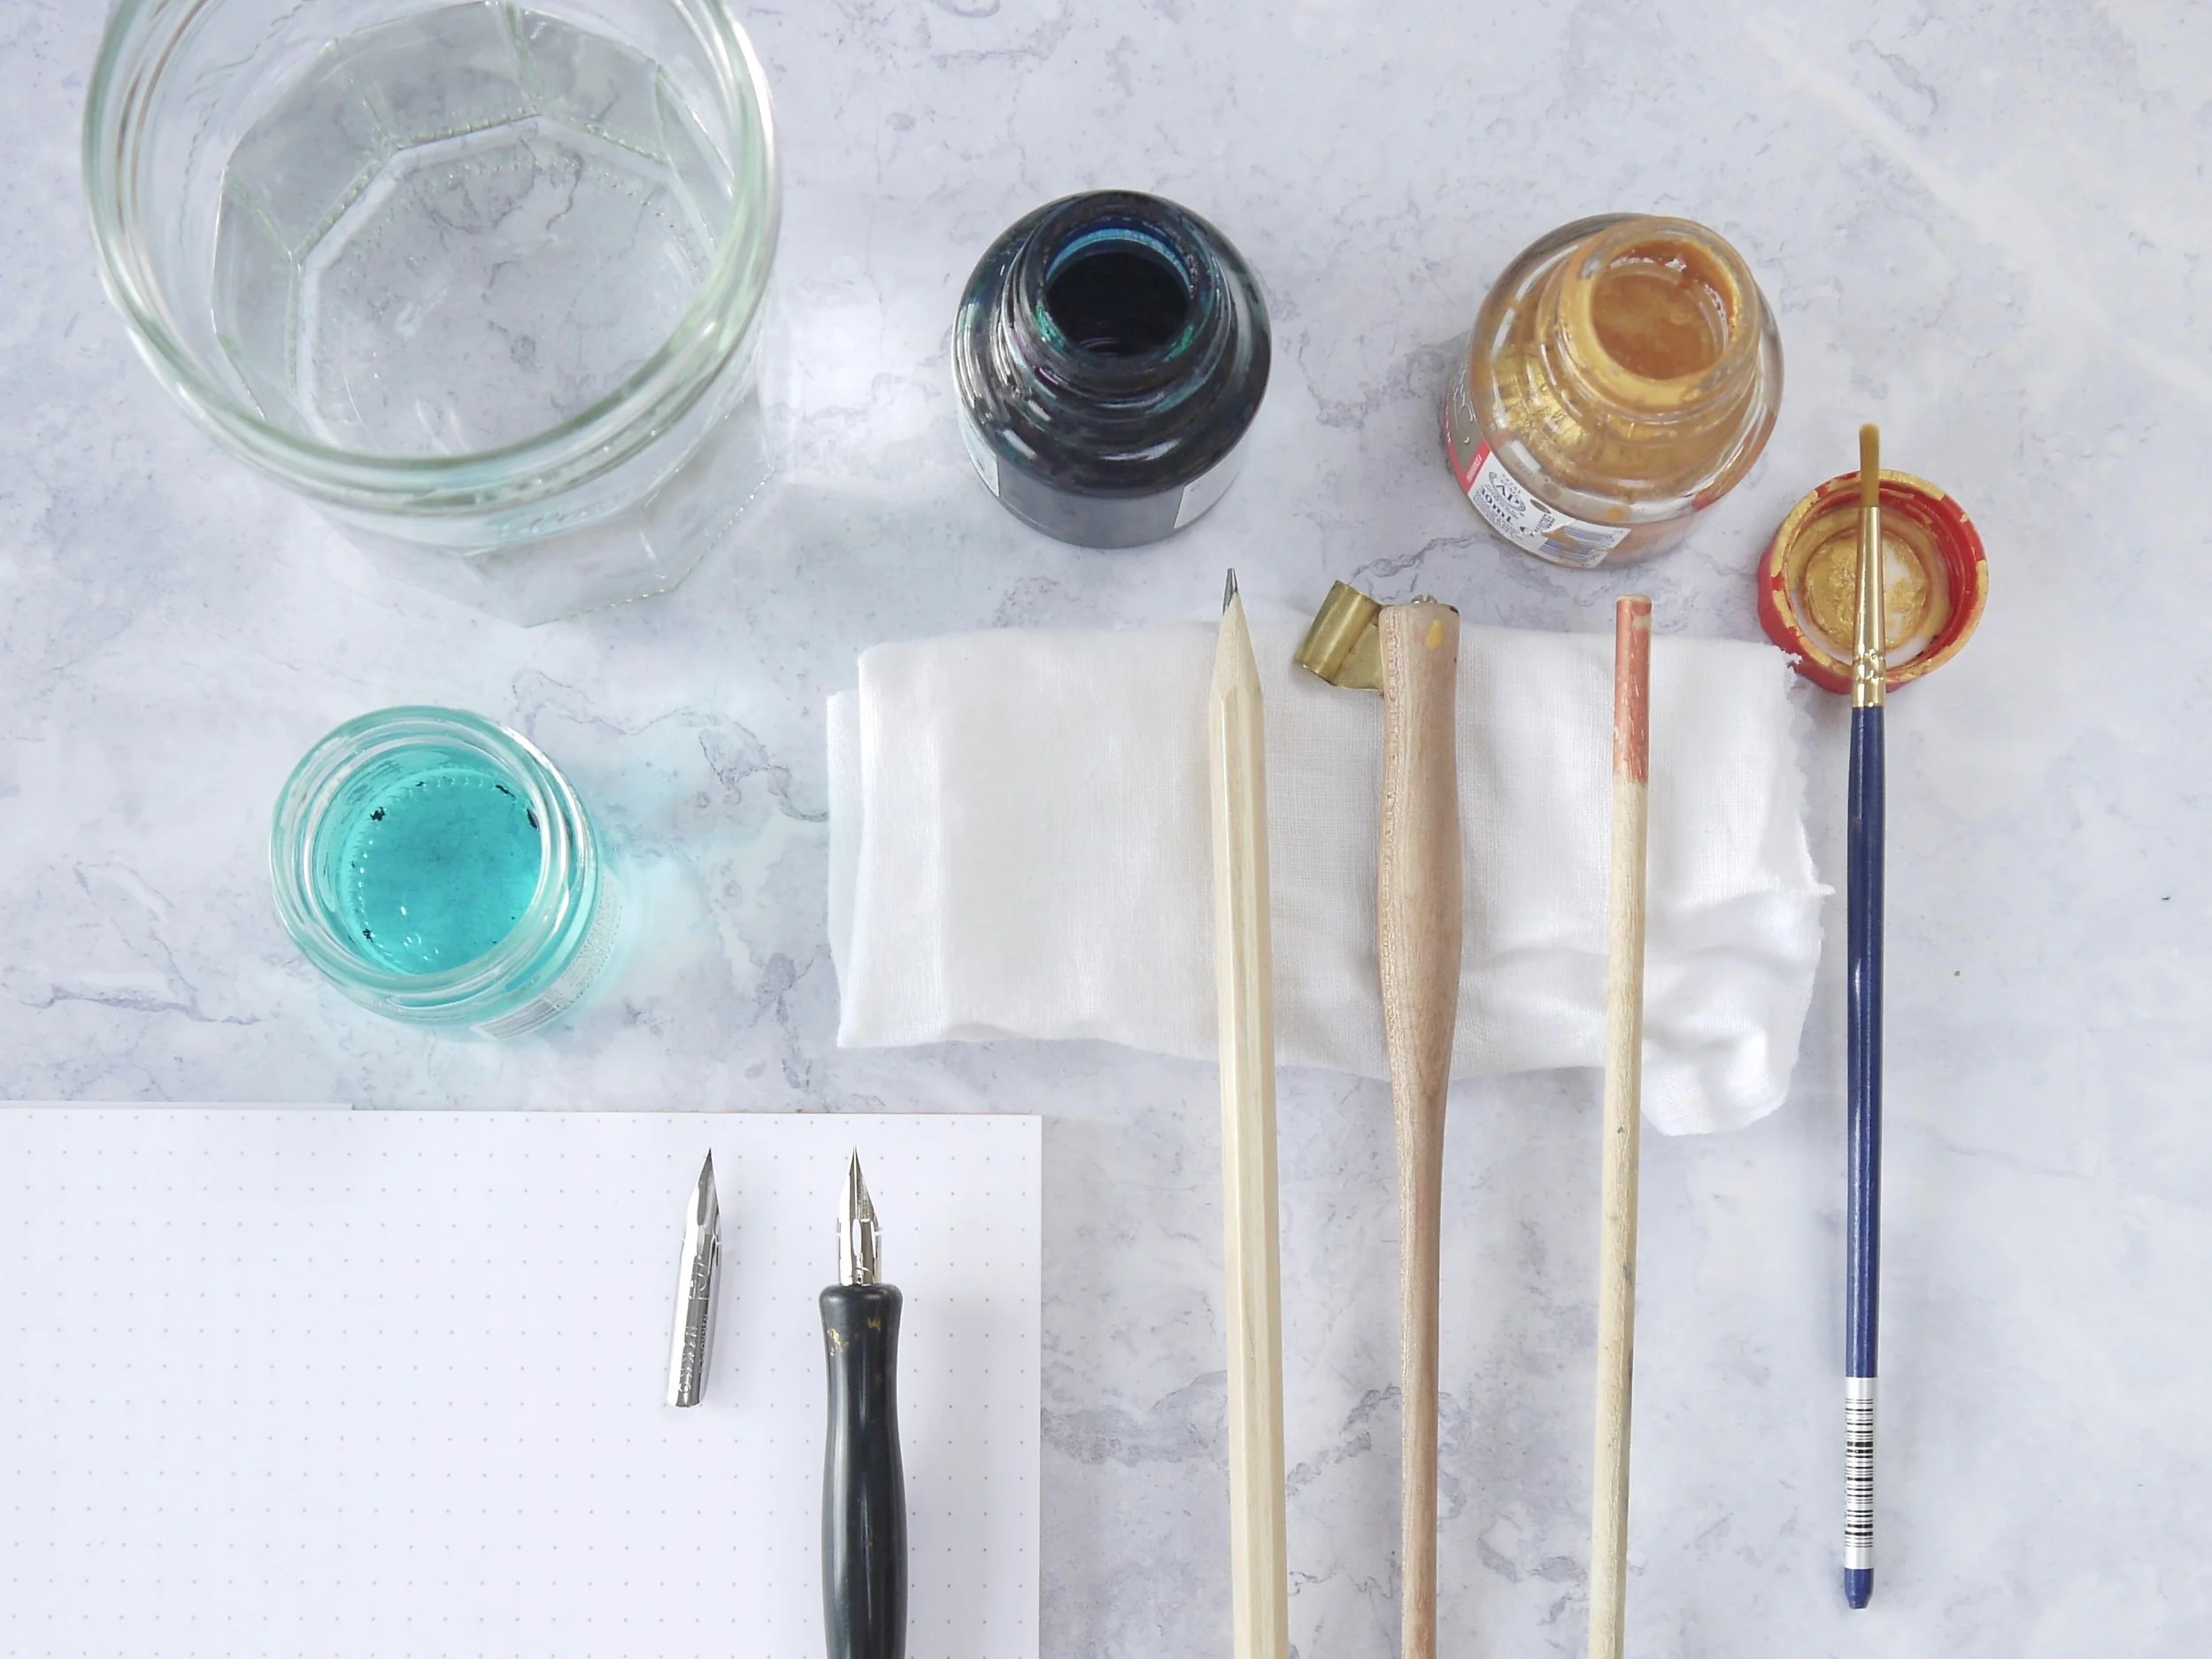
BEGINNER CALLIGRAPHY SUPpLIES
1. A pencil
Yes, I told you you’d have some of these tools already, and if a pencil is all you have then you’ve got enough to get started!
With a pencil you can practice modern calligraphy by applying pressure to those down strokes to create thick shaded lines and then releasing the pressure for those swoon-worthy ultra thin up strokes.
Grab the back of an envelope and you’ll be away! It really is that instant and they’re portable too, not to mention clean; there’s no need to worry about getting ink everywhere with this humble calligraphy tool.
2. Rhodia paper
Practicing calligraphy on scraps of paper is fine when you’re using a pencil but you’re going to want something more suitable when you’re using ink, and I love the Rhodia layout pads.
This calligraphy paper is smooth enough to let the nib glide yet has the right amount of absorbency so that the ink doesn’t pool or feather out.
It’s also thin enough to trace through whilst strong enough to hold its own. You can get these paper pads that are plain as well as with lines, dots and squares should you want them.

Practice beautiful calligraphy with the A5 Dotted Rhodia paper pad - perfect for both beginners and experienced calligraphers.
This high-quality, ultra-smooth paper is ideal for dip pens and brush pens, offering a bleed-proof writing surface with gentle dot guides to help you write straight while maintaining creative freedom.

Perfect your modern calligraphy with the A5 Rhodia blank paper pad - an essential for any calligrapher.
This smooth, high-quality paper is ideal for both dip pens and brush pens, providing a flawless, bleed-proof writing experience. Its compact A5 size is ideal for practice sessions at home or on the go.
3. A pen holder
So, what kind of pen do you use for modern calligraphy? Here you have a choice between a straight pen holder and an oblique pen (the one with the jutty-out bit, a.k.a. the flange).
You’ll probably want to try them both out although left handers should be able to get away with the straight pen. This pen is low-priced and will hold the suggested nibs securely, plus they’re really easy to insert.
I wouldn’t advise that you buy the plastic speedball oblique pen though (like I first did), despite the tempting price - go for this one instead. It’s comfortable and will create that all-important angle. just shift your paper rather than your hand or seating position.
For me, the switch from a straight calligraphy pen to an oblique was a complete game-changer and I’ve never looked back since.
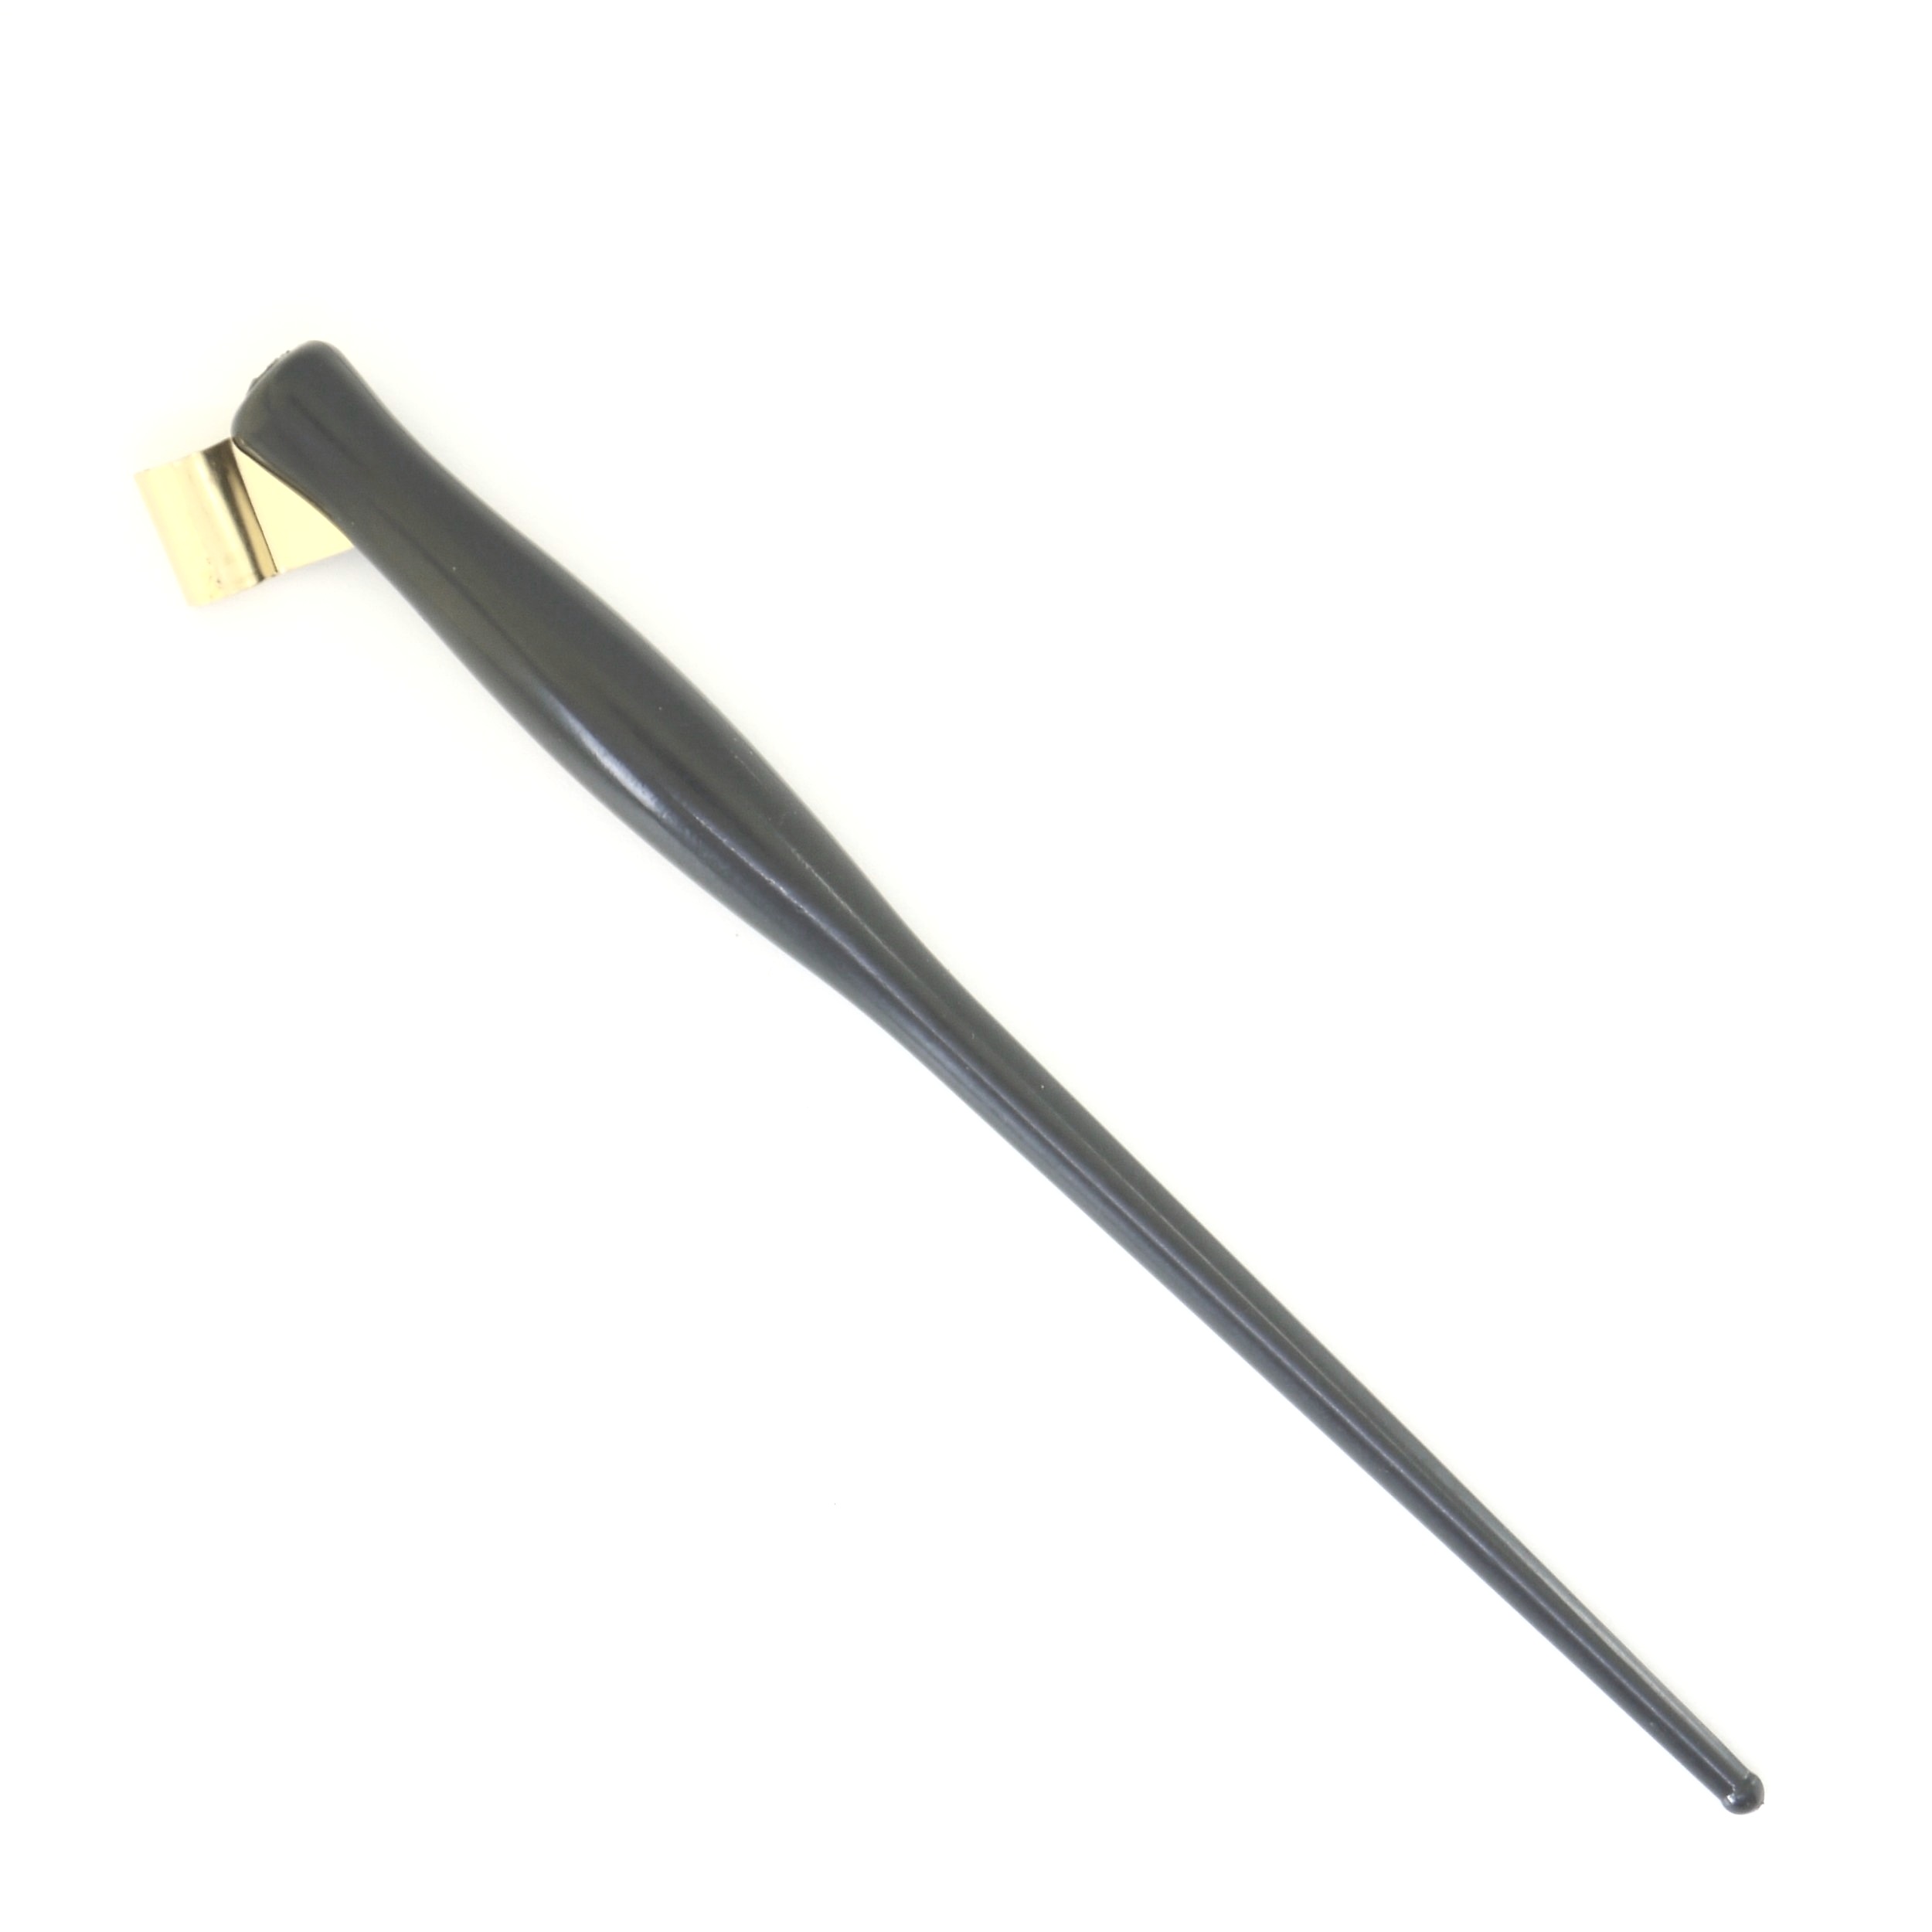

Perfect your copperplate and modern calligraphy with this Black Oblique Pen Holder featuring a comfortable grip and a sturdy metal flange.
The oblique design ensures your nib sits at the optimal angle for achieving beautifully slanted calligraphy strokes, making it an essential tool for beginners and experienced calligraphers alike.
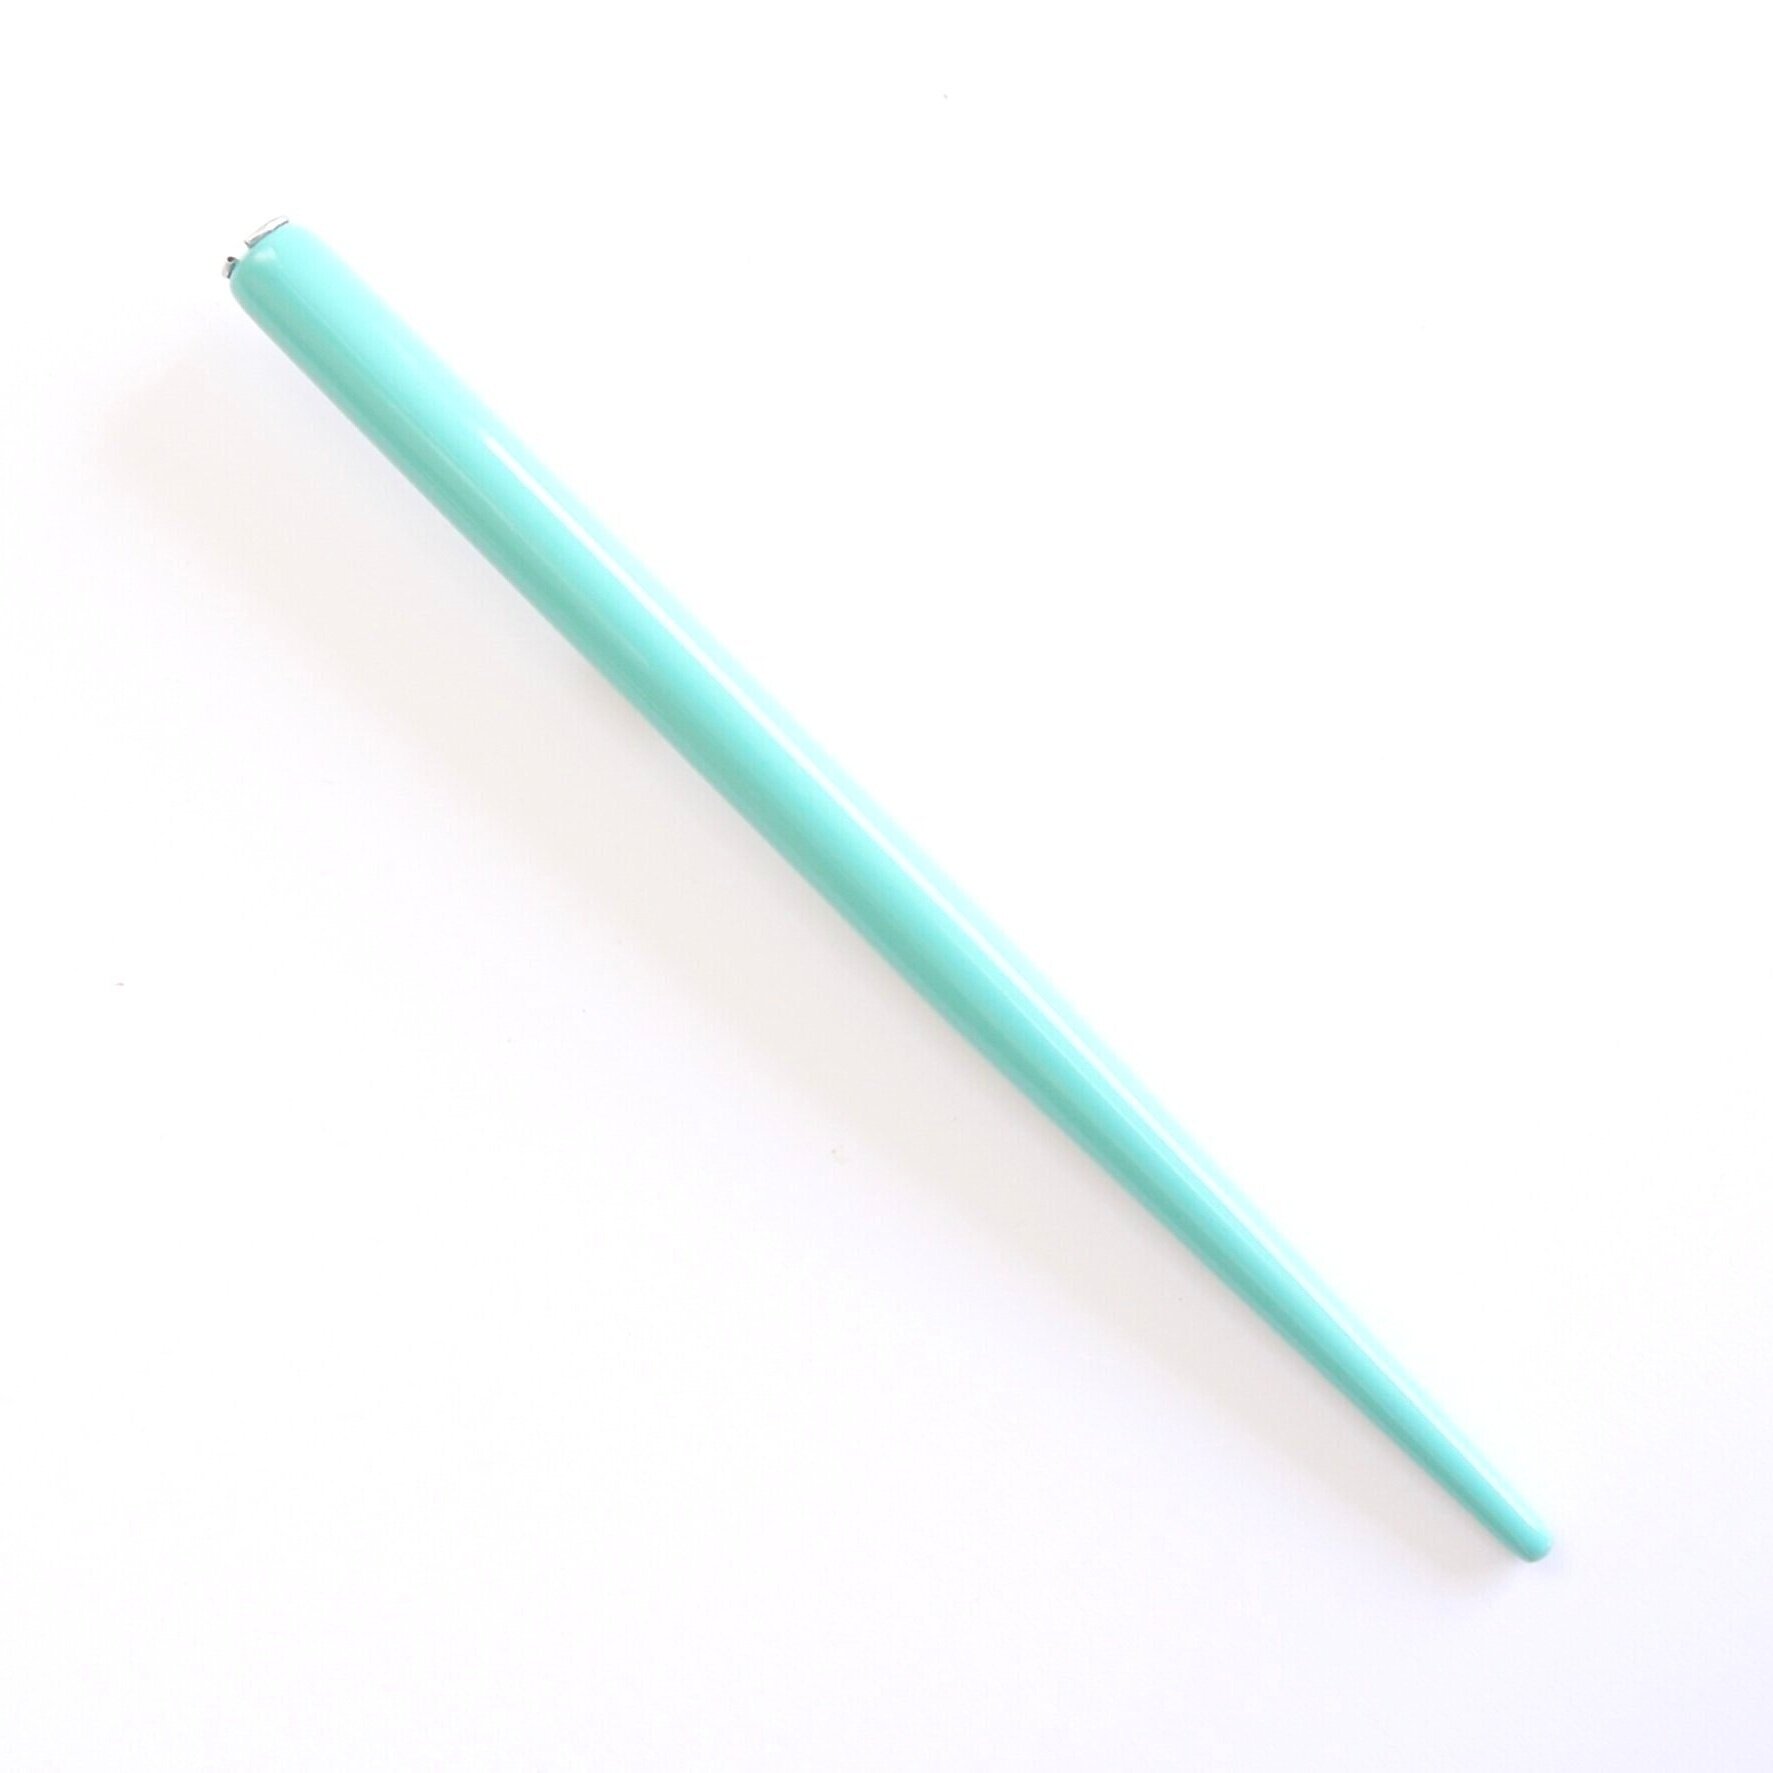

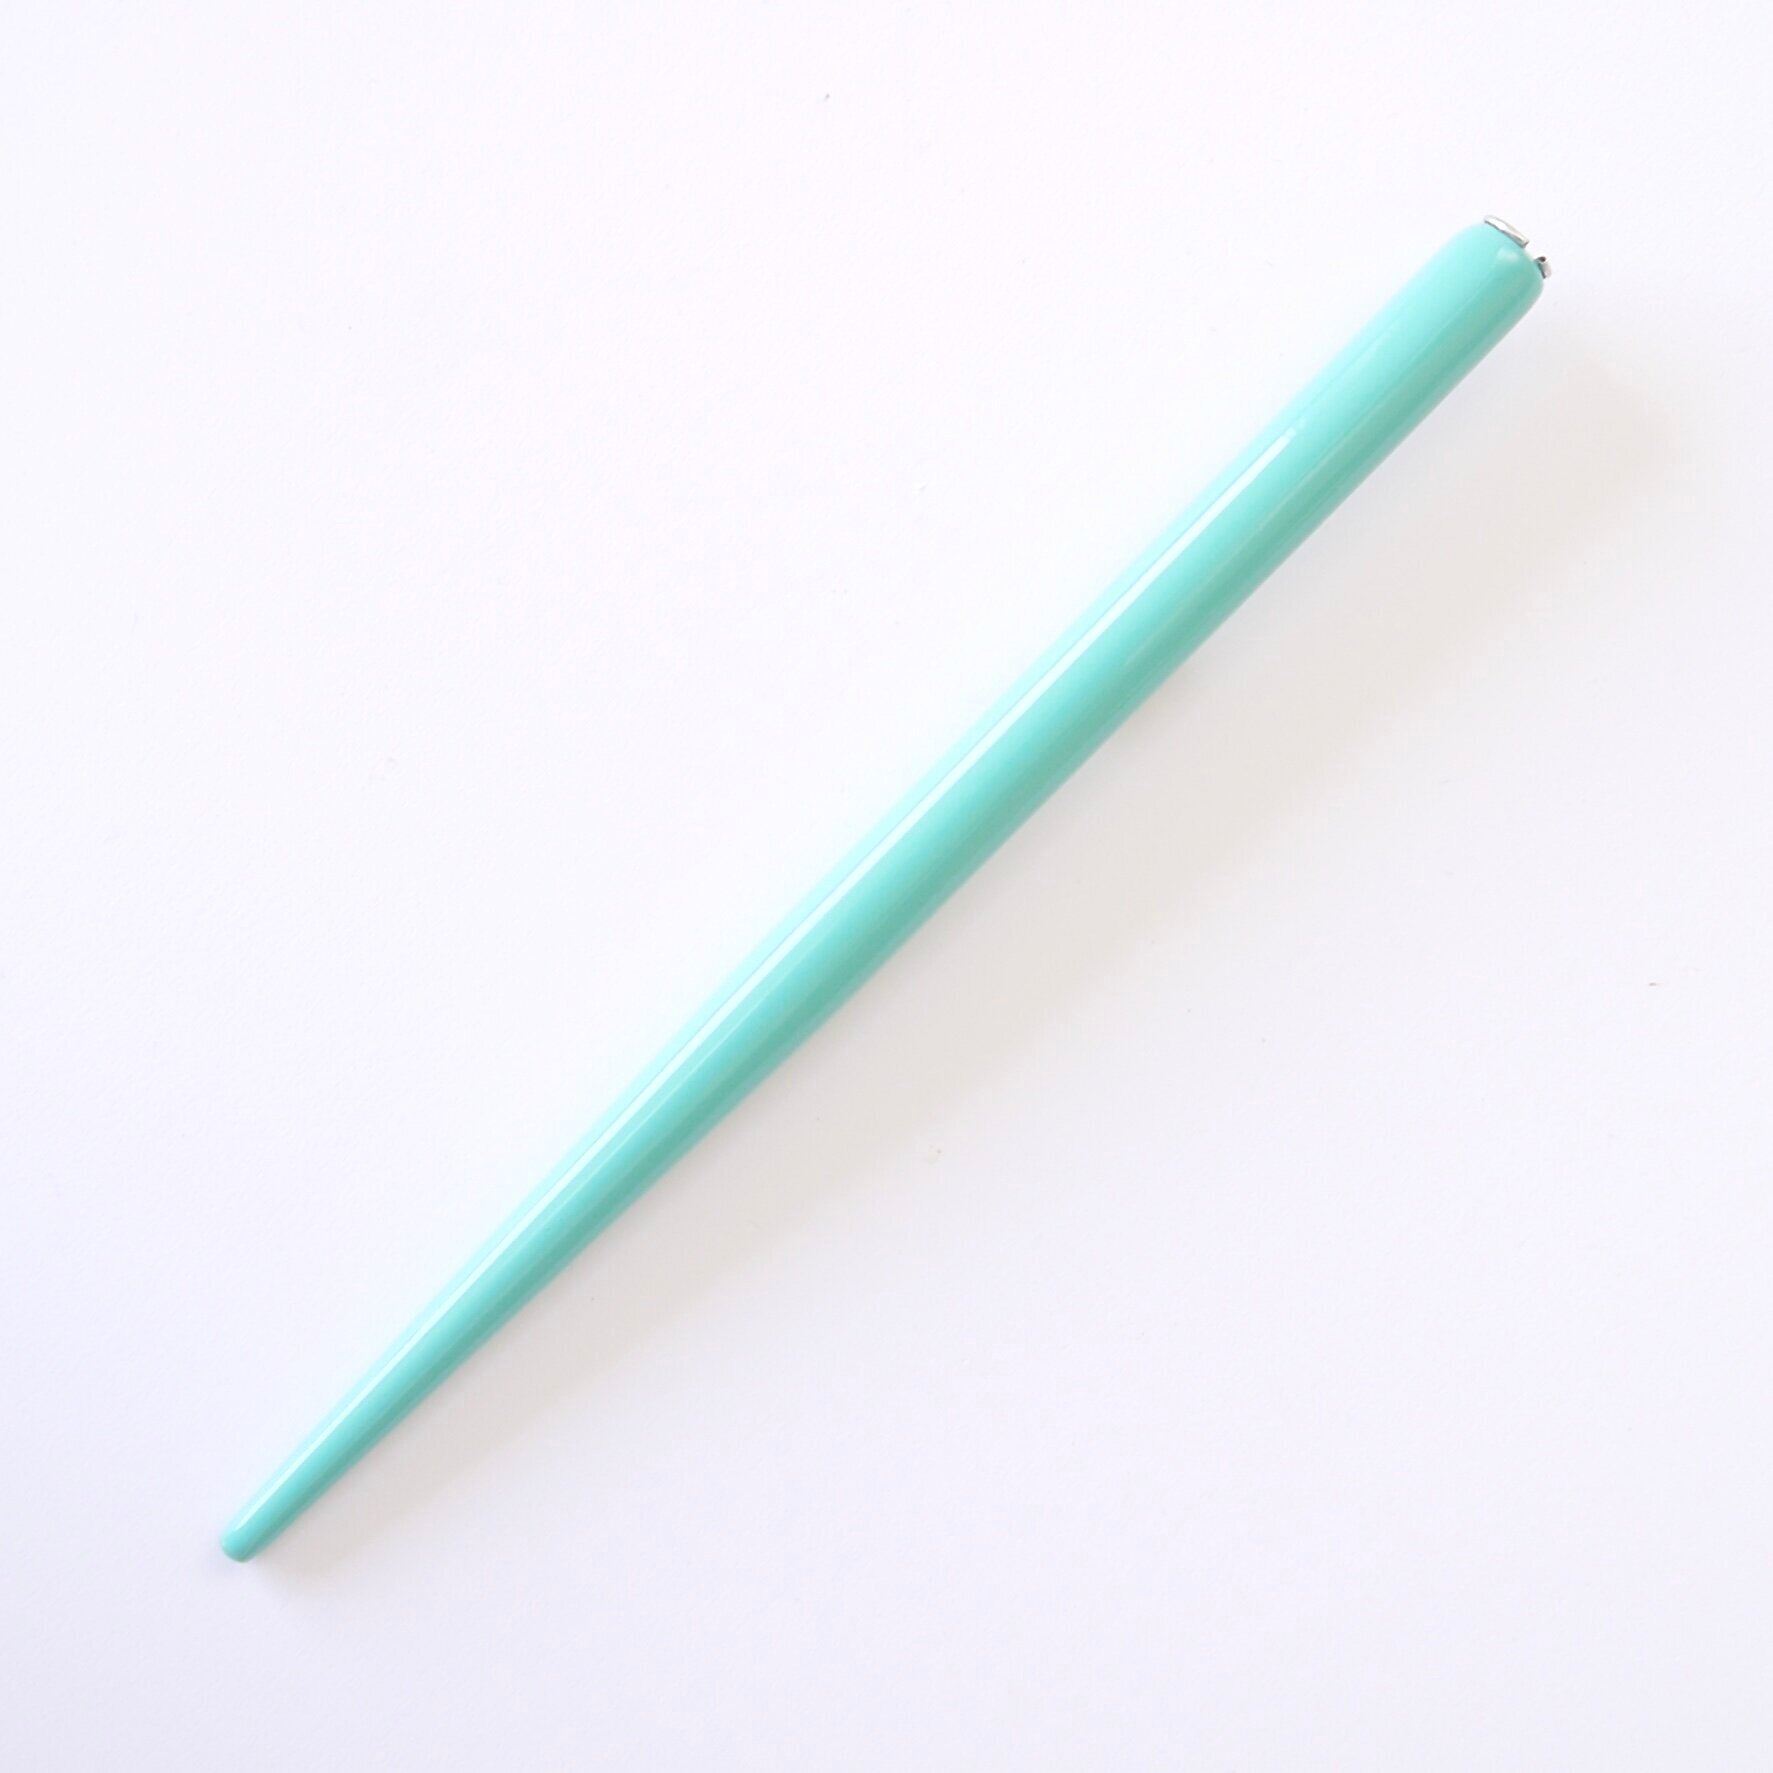
Brighten your calligraphy practice with this elegant turquoise straight pen holder, crafted from lacquered wood and designed with a universal insert compatible with a wide range of dip pen nibs.
Whether you are a complete beginner or an experienced calligrapher, this pen holder ensures a comfortable and balanced grip, suitable for both right-handed and left-handed writers.
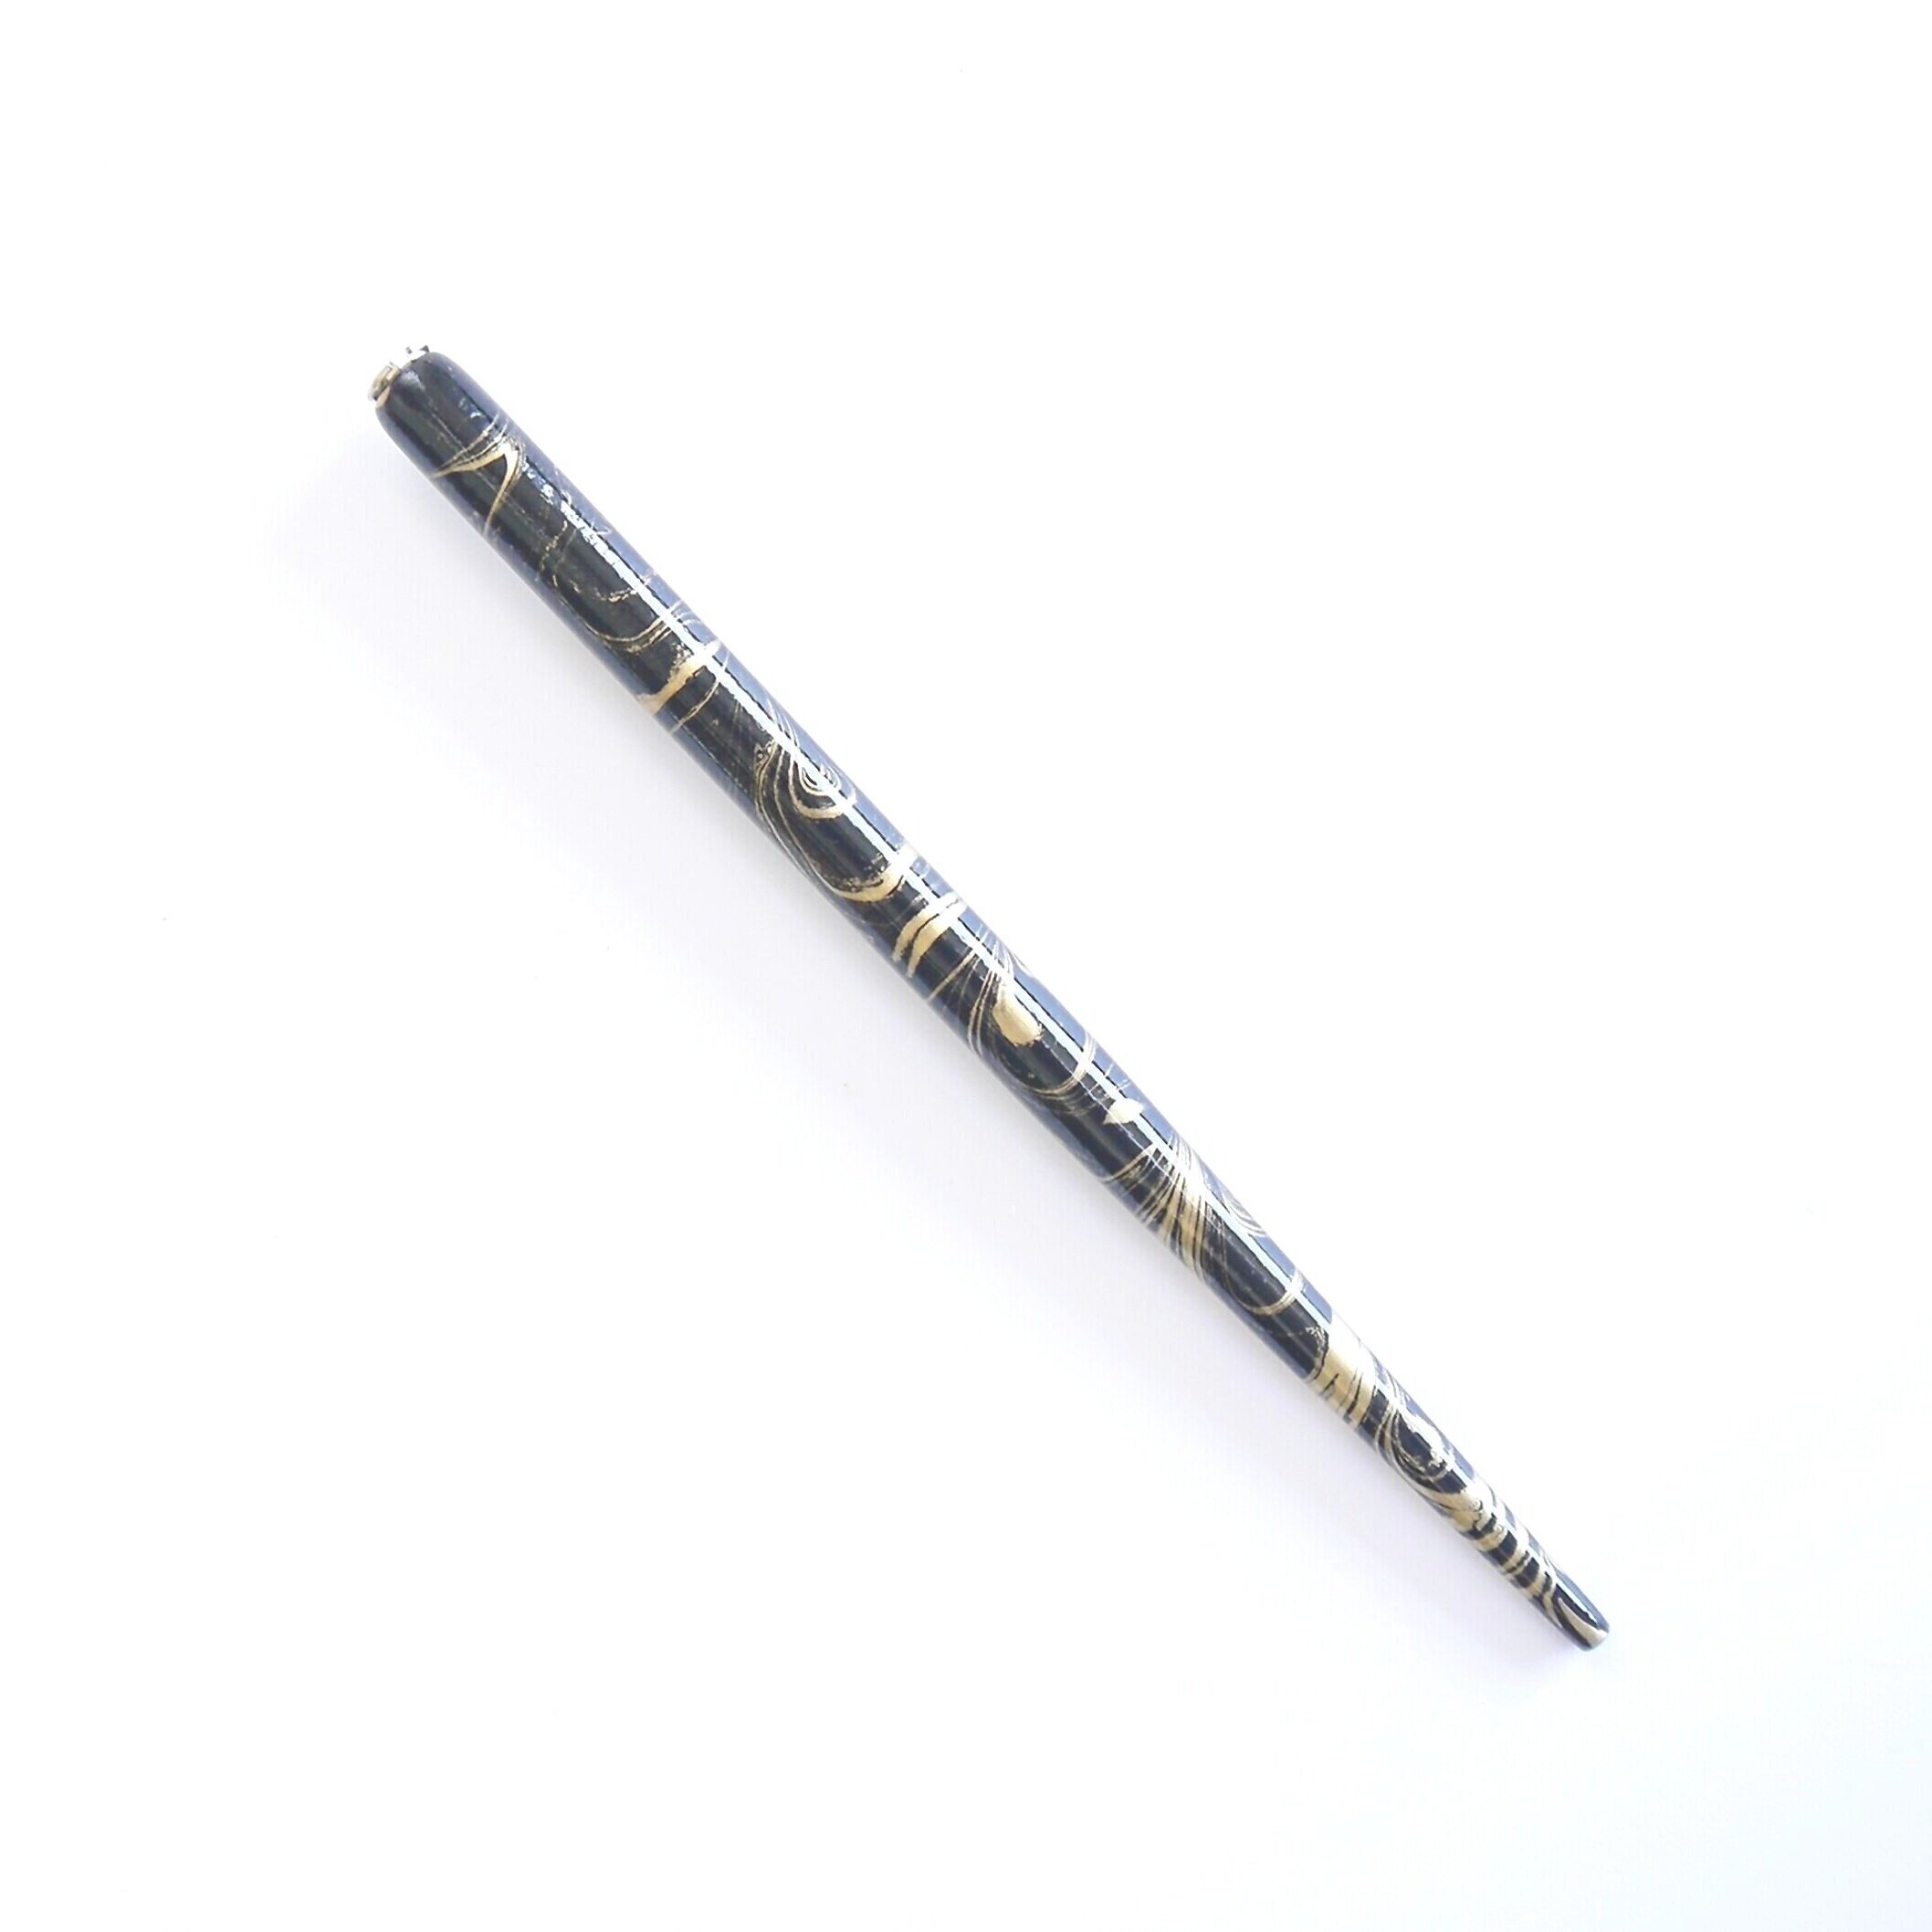

Elevate your calligraphy experience with this elegant Black and Gold Dip Pen, designed for writers of all levels - from absolute beginners to seasoned calligraphers.
Crafted from smooth lacquered wood, this pen offers a luxurious look and feel while providing versatility with its universal nib insert, compatible with a wide variety of pointed and broad-edge calligraphy nibs.
4. Pointed Calligraphy Nibs
As a beginner to pointed pen modern calligraphy, you’ll want a nib that’s not too flexible but can still give you those thick and thin strokes whilst lettering the alphabet without too many problems. The Zebra G and the Manuscript G Handwriting Nib are two of the best nibs for beginners.
I’d suggest buying 2 or 3 so that you have another one on standby as, like with all nibs, they won’t last forever (no matter how hard you wish!)
You can learn more about Different Types of Calligraphy Nibs here including some more beginner-friendly nibs.
The Manuscript G handwriting nib is a fantastic choice for beginners and improvers in modern calligraphy.
Featuring a fine point and medium flexibility, it offers a slightly softer feel than the Nikko G and Zebra G, providing a smoother, ink-rich writing experience - perfect for creating expressive, flowing calligraphy.

Get started with modern calligraphy using this carefully curated set of three beginner-friendly nibs.
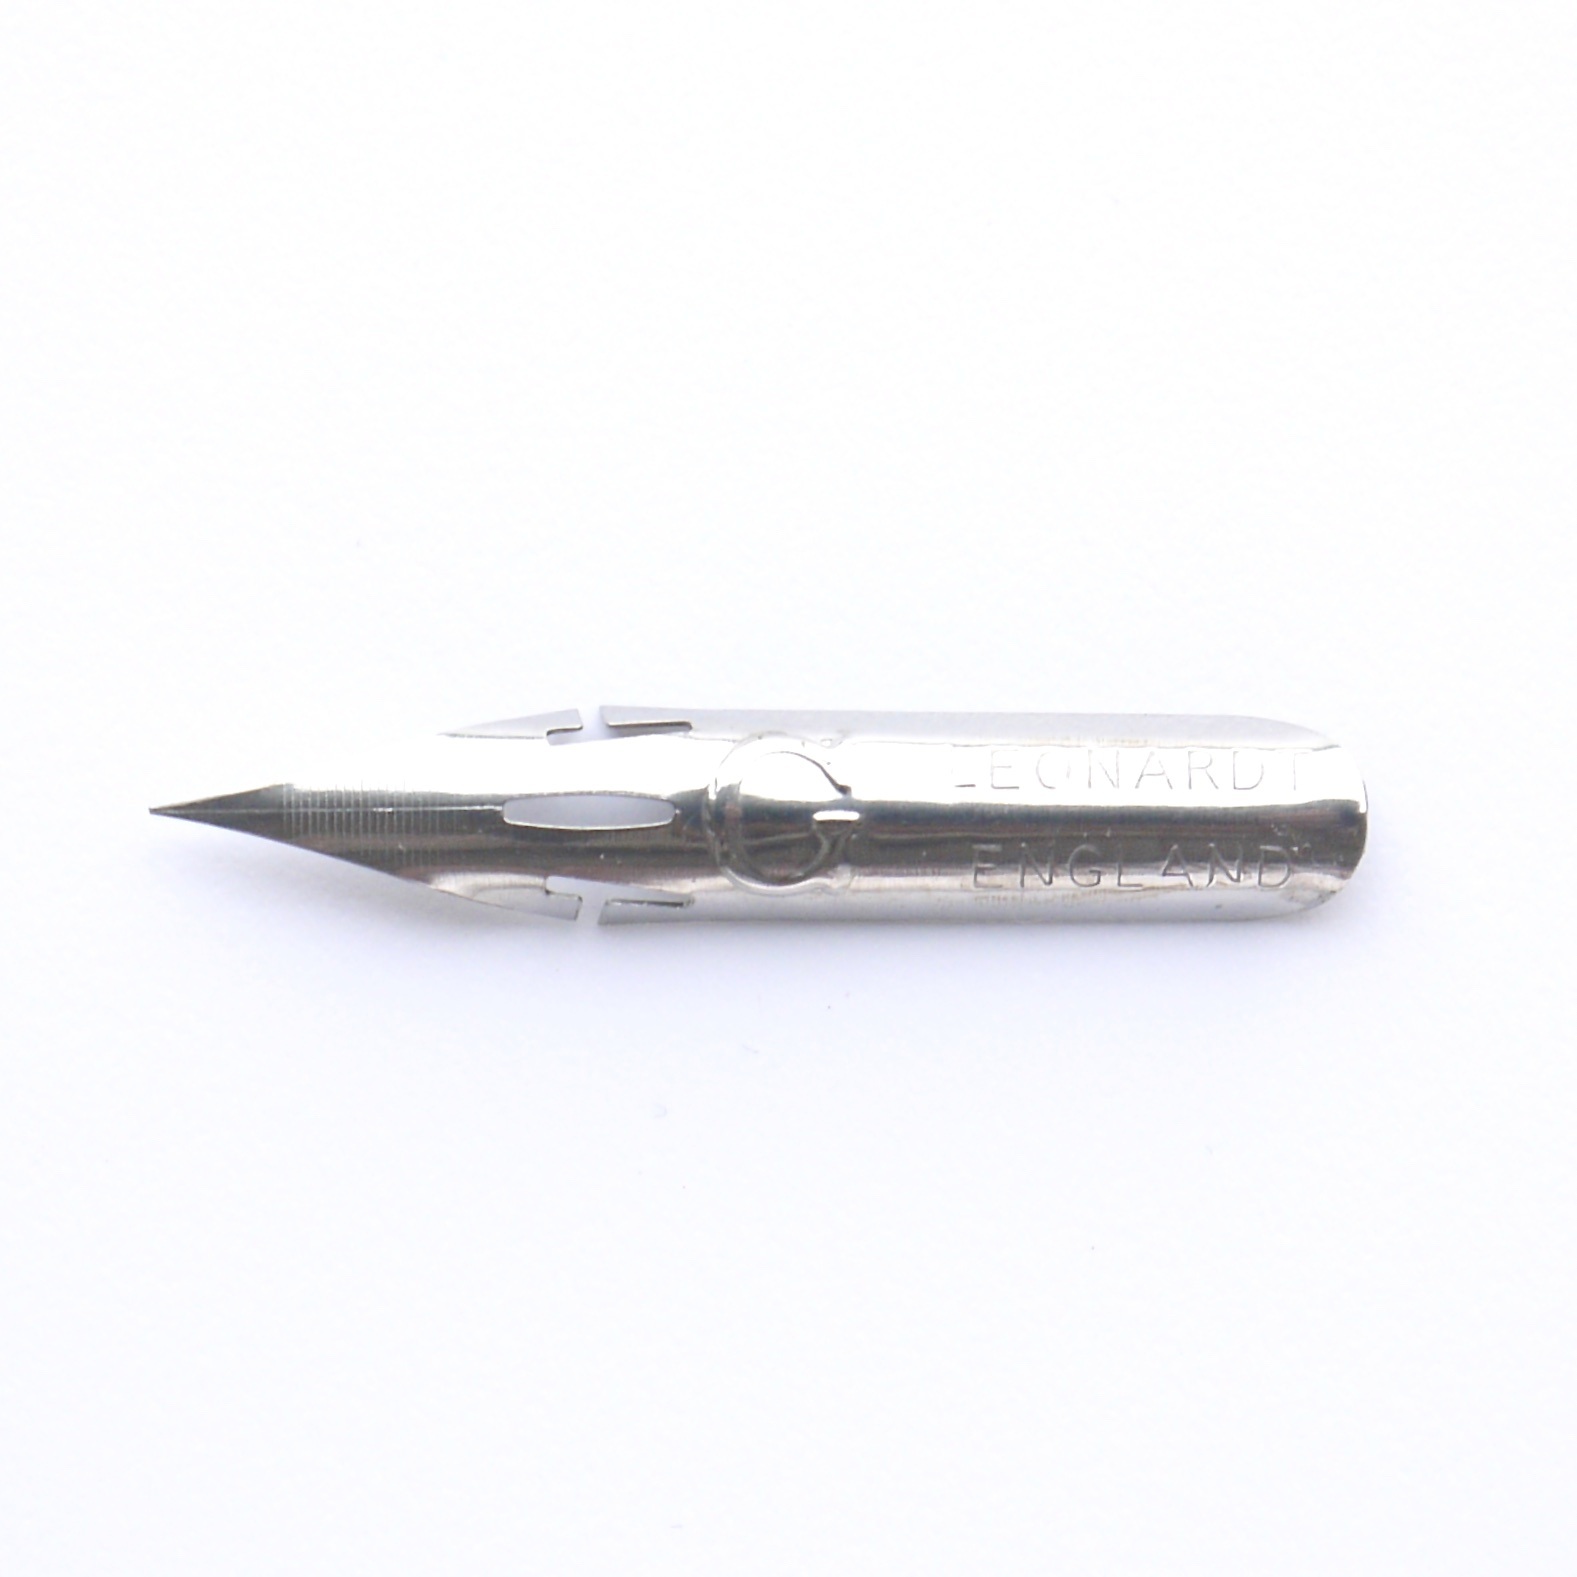
Each set includes a Brause 361 (Blue Pumpkin), a Zebra G, and a Leonardt 30 - offering a mix of firm and medium flex nibs ideal for learning control and exploring your personal style.
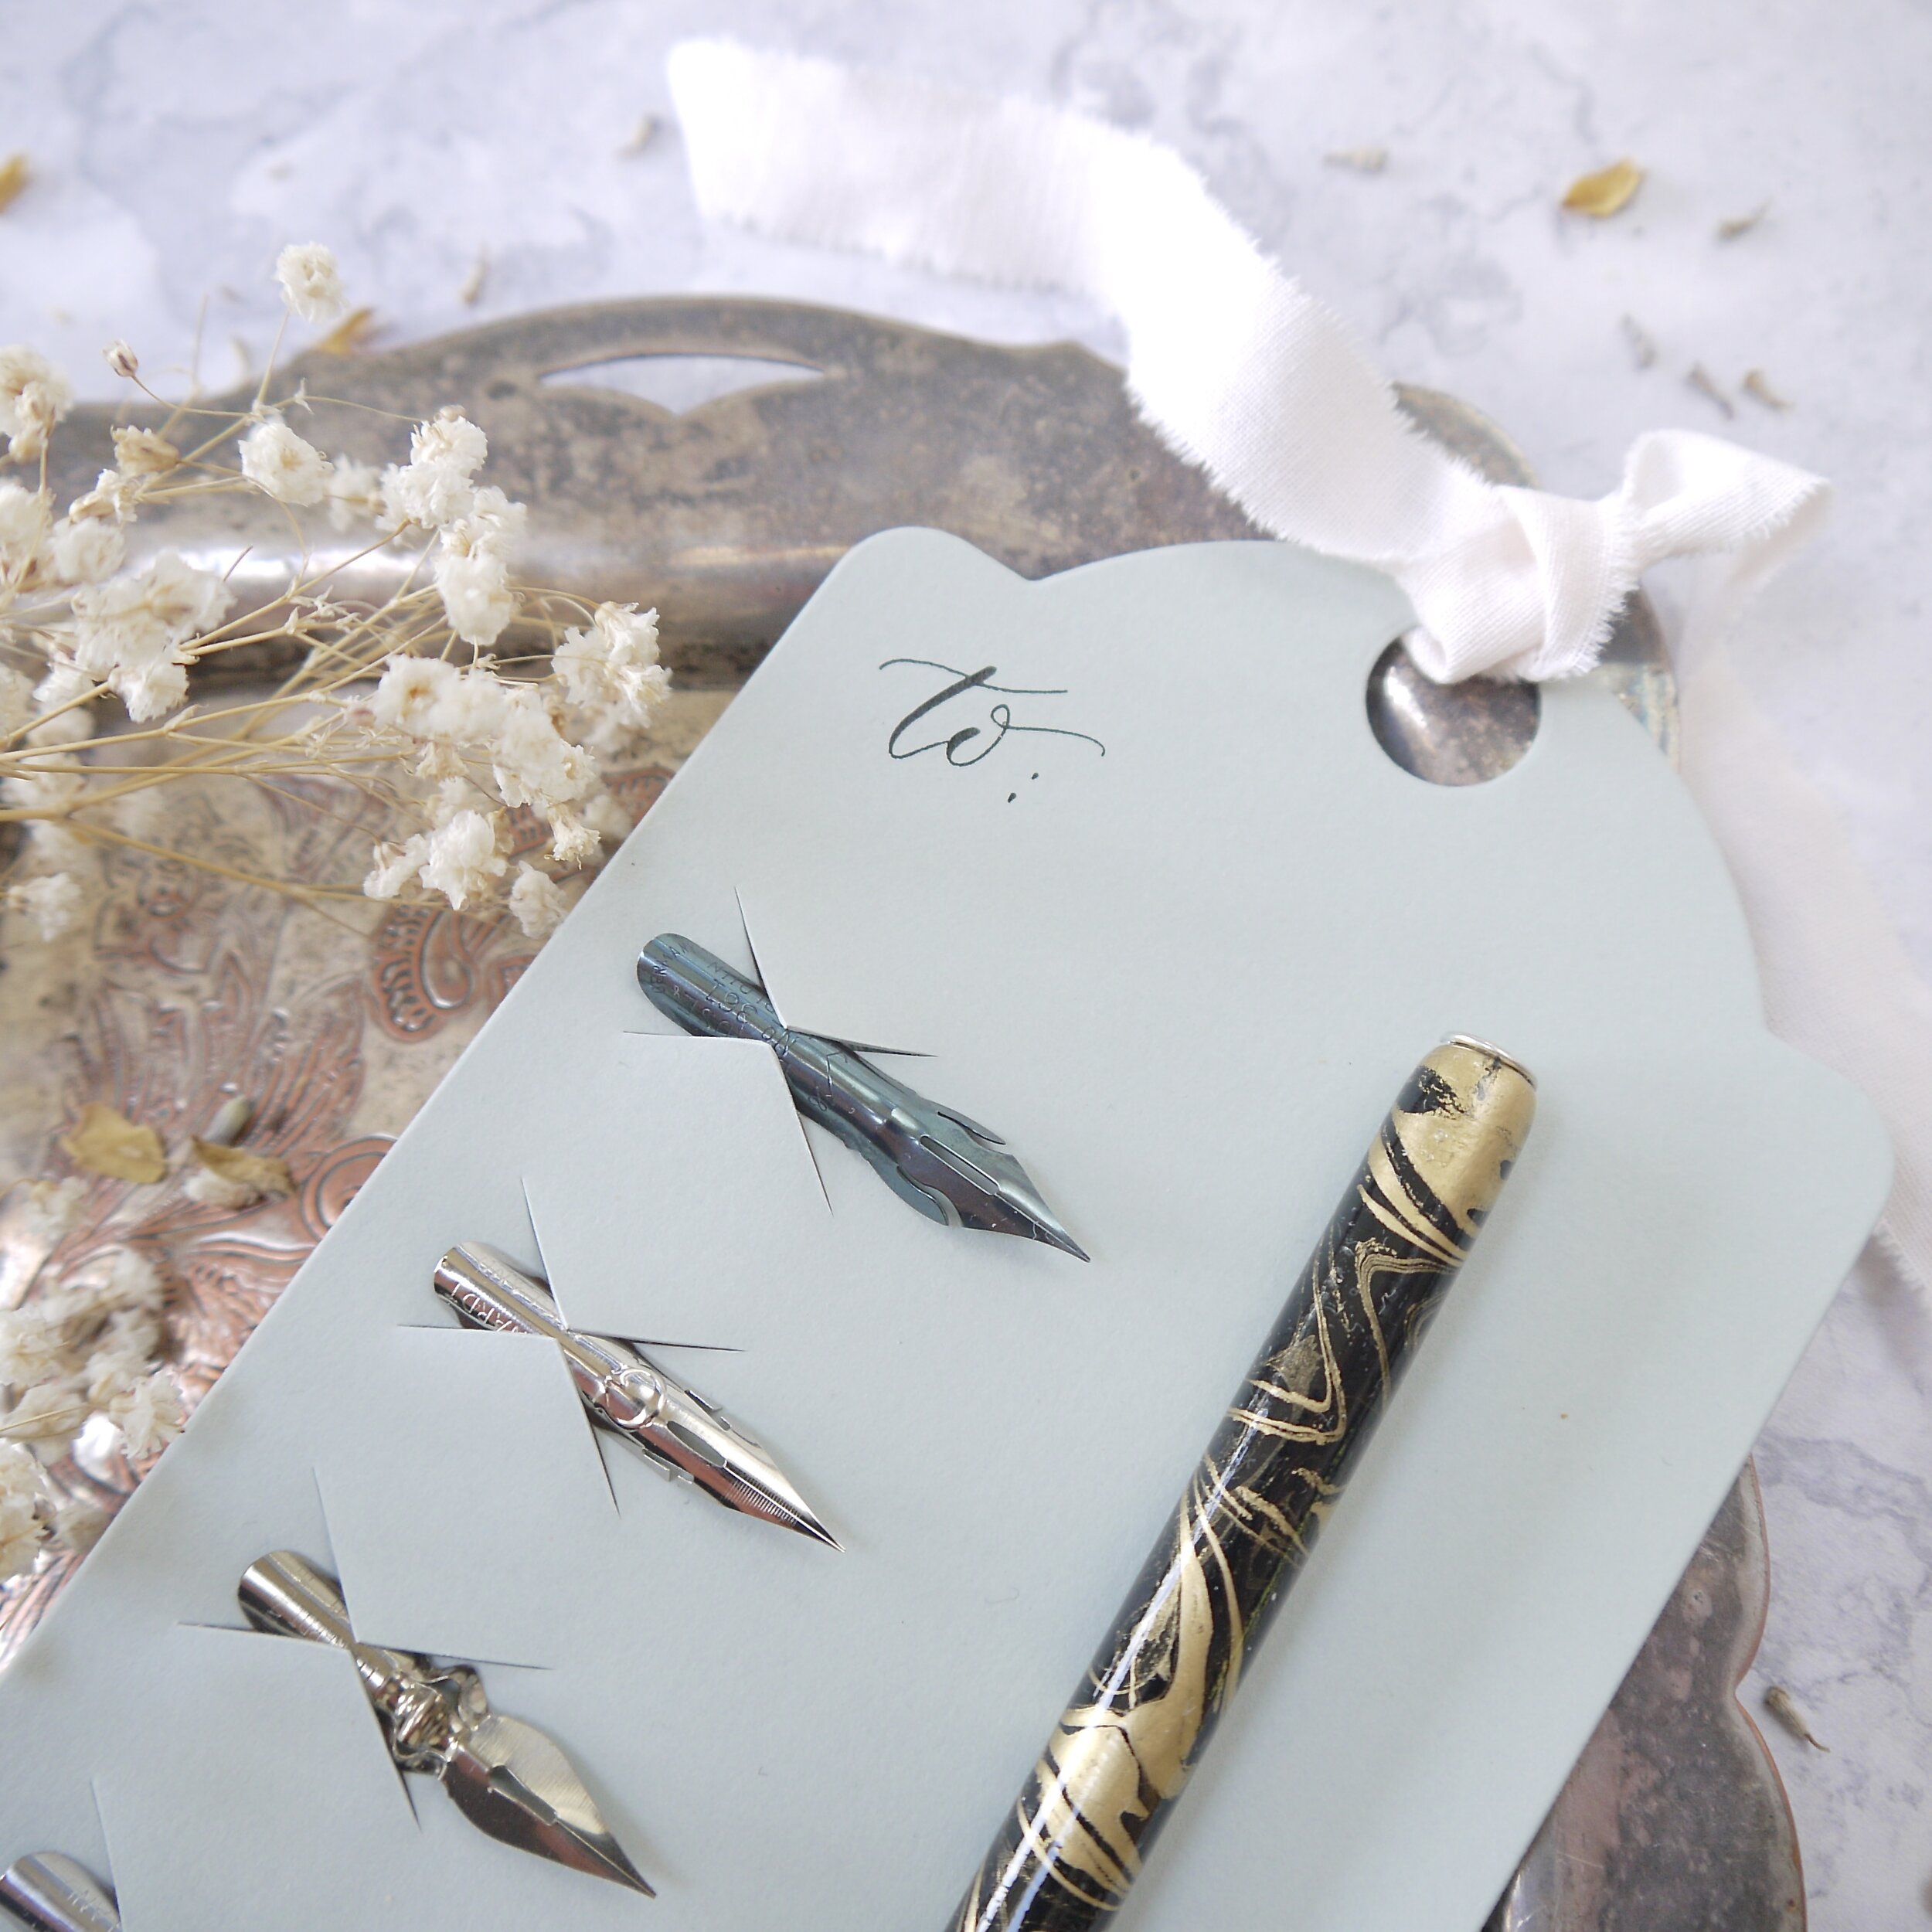

This modern calligraphy pen and nib set is a beautiful gift for creatives or a practical treat for yourself. It includes five essential pointed nibs, carefully selected for beginners and improvers working in modern or copperplate styles.
Choose from a straight black and gold marble-effect pen, a turquoise pen, or an oblique pen holder - each compatible with the included nibs.
5. Window cleaning fluid
You’ll need to prepare your new calligraphy nibs by removing the protective coating applied in the manufacturing stage which keeps them rust-free. As it resists ink it’ll prevent the ink from flowing down the nib if you don’t - you want you nib to have an even coverage of ink.
My favourite method of preparing calligraphy nibs is using window cleaner as it’s convenient to keep a small jar on the desk as well as effective. Simply place the nib into the pen holder then dip it into the fluid for around 20 seconds then rinse in water and dry.
Alternatively, gently scrub the nib with an old toothbrush and a little toothpaste or washing up liquid on both sides.
For more Ways to Clean Calligraphy Nibs see here.
6. A pot of ink (or 2!)
Technically, you only need one pot of ink to get going – but it’s near-impossible to resist all of the colours, not to mention the metallics. I love the Winsor and Newton calligraphy ink in the round pots (not to be mistaken with the small pots of drawing ink as I find it too thin).
It’s of a decent thickness so you shouldn’t need to refill the nib too often, plus it’s even in tone. If you’re going to treat yourself then go for gold ink - it shows up well on white and holds its shape as it’s thicker.

Premium vegan calligraphy ink, perfect for dip and brush pens. Winsor & Newton's 30ml calligraphy ink offers a smooth, opaque matte finish and is ideal for both beginners and experienced calligraphers. Available in a wide range of vibrant colours and rich metallics.
These inks are non-waterproof, lightfast, and carefully formulated to flow beautifully on the page without clogging.
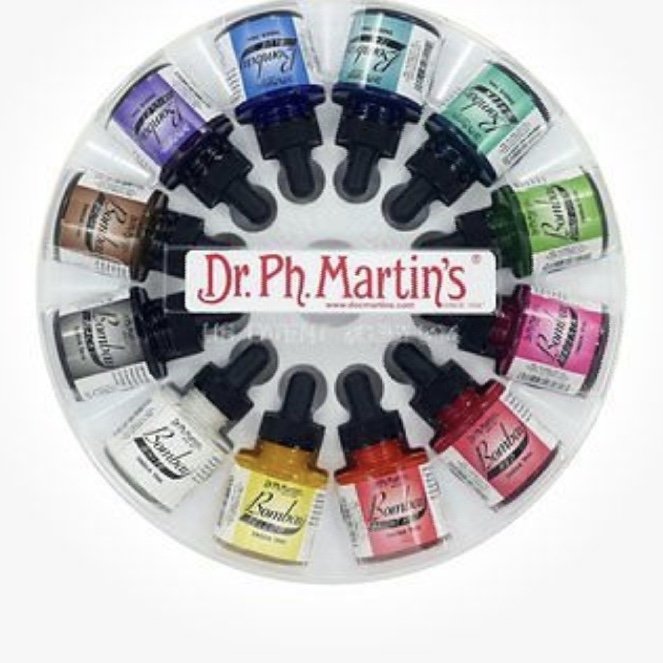
Dr. Ph. Martin’s Bombay India Ink is a high-quality, richly pigmented ink perfect for dip pens and brushes. Known for its smooth flow and vibrant colour range, this professional-grade ink is ideal for everyday calligraphy, illustration, and lettering projects.
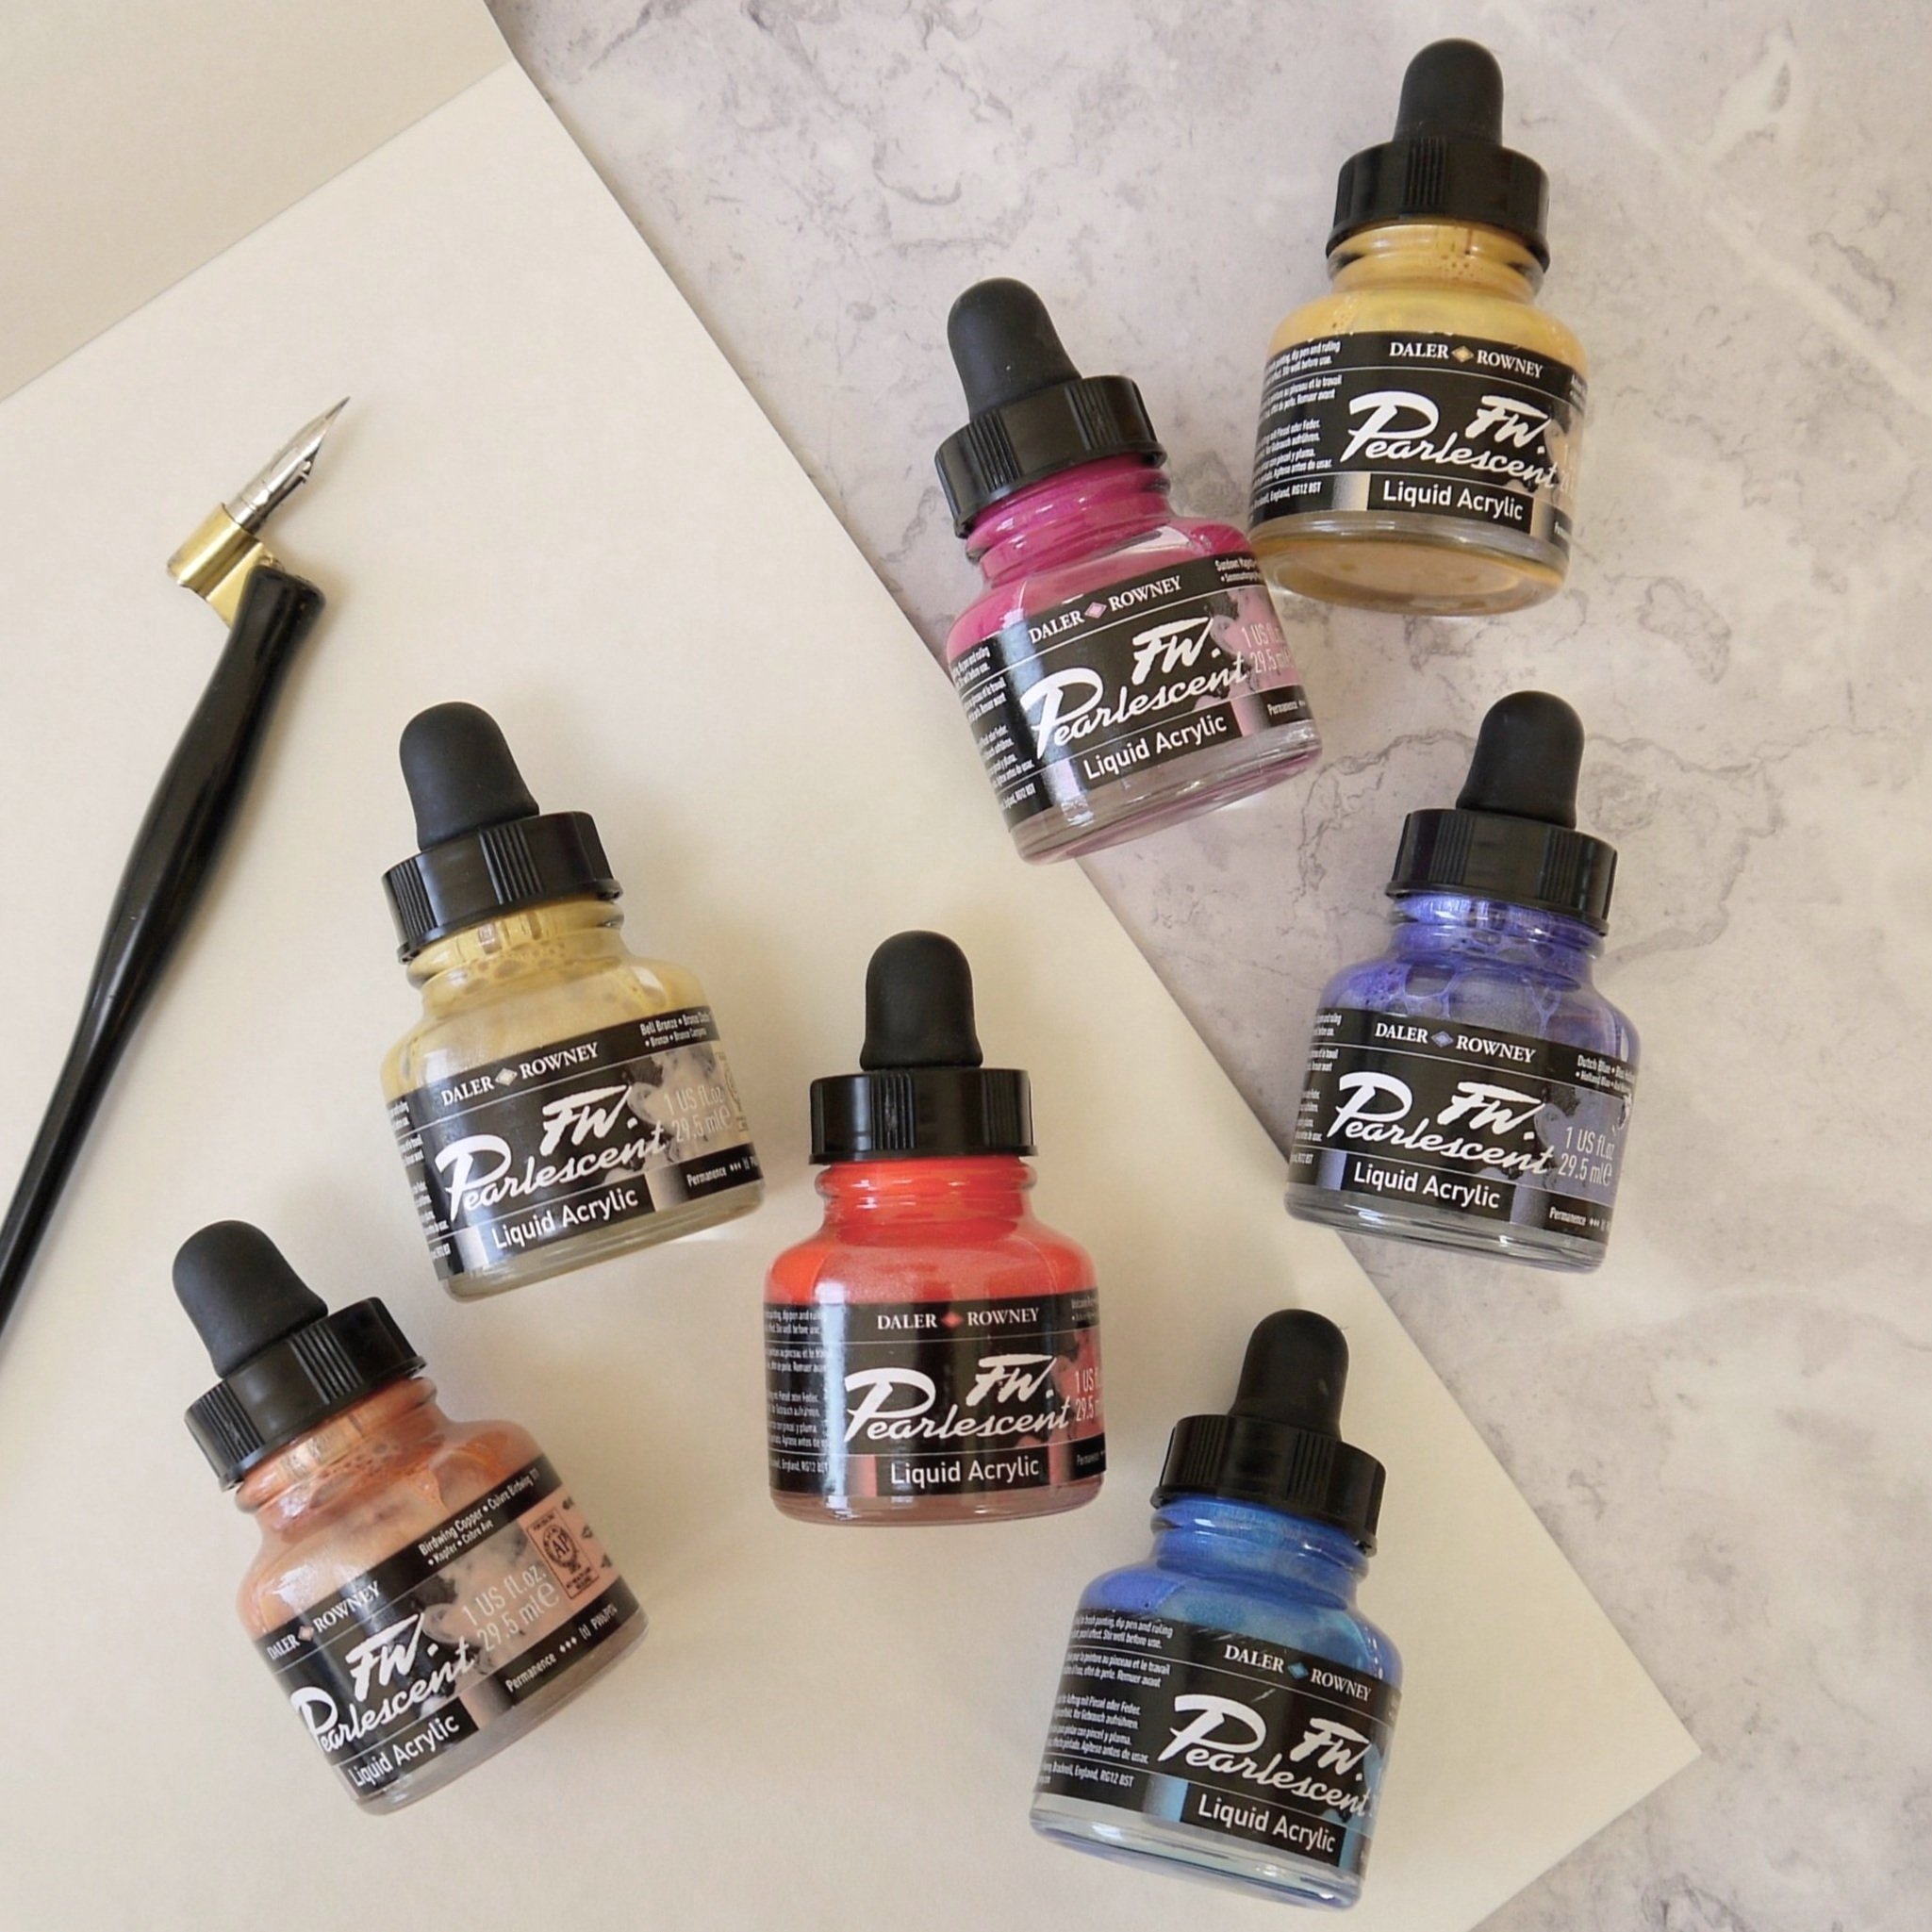
Bring vibrant colour to your calligraphy with Daler Rowney FW Acrylic Calligraphy Ink, perfect for both brush and dip pens. Each 29.5ml glass bottle features a built-in pipette for easy ink application, helping you load your nib cleanly and precisely.
7. A glass jar - or small paint brush
For some mystical reason unknown to me, many inks - designed for calligraphy - come in pots which are too small to fit a nib attached to an oblique holder in. They’re fine for straight pens, but if you’re like me and don’t get on well with a straight pen you’ll be wanting a wider neck on the jar.
Applying the ink with a paint brush is an easy answer and you can use the end of it to stir metallic inks that tend to separate.
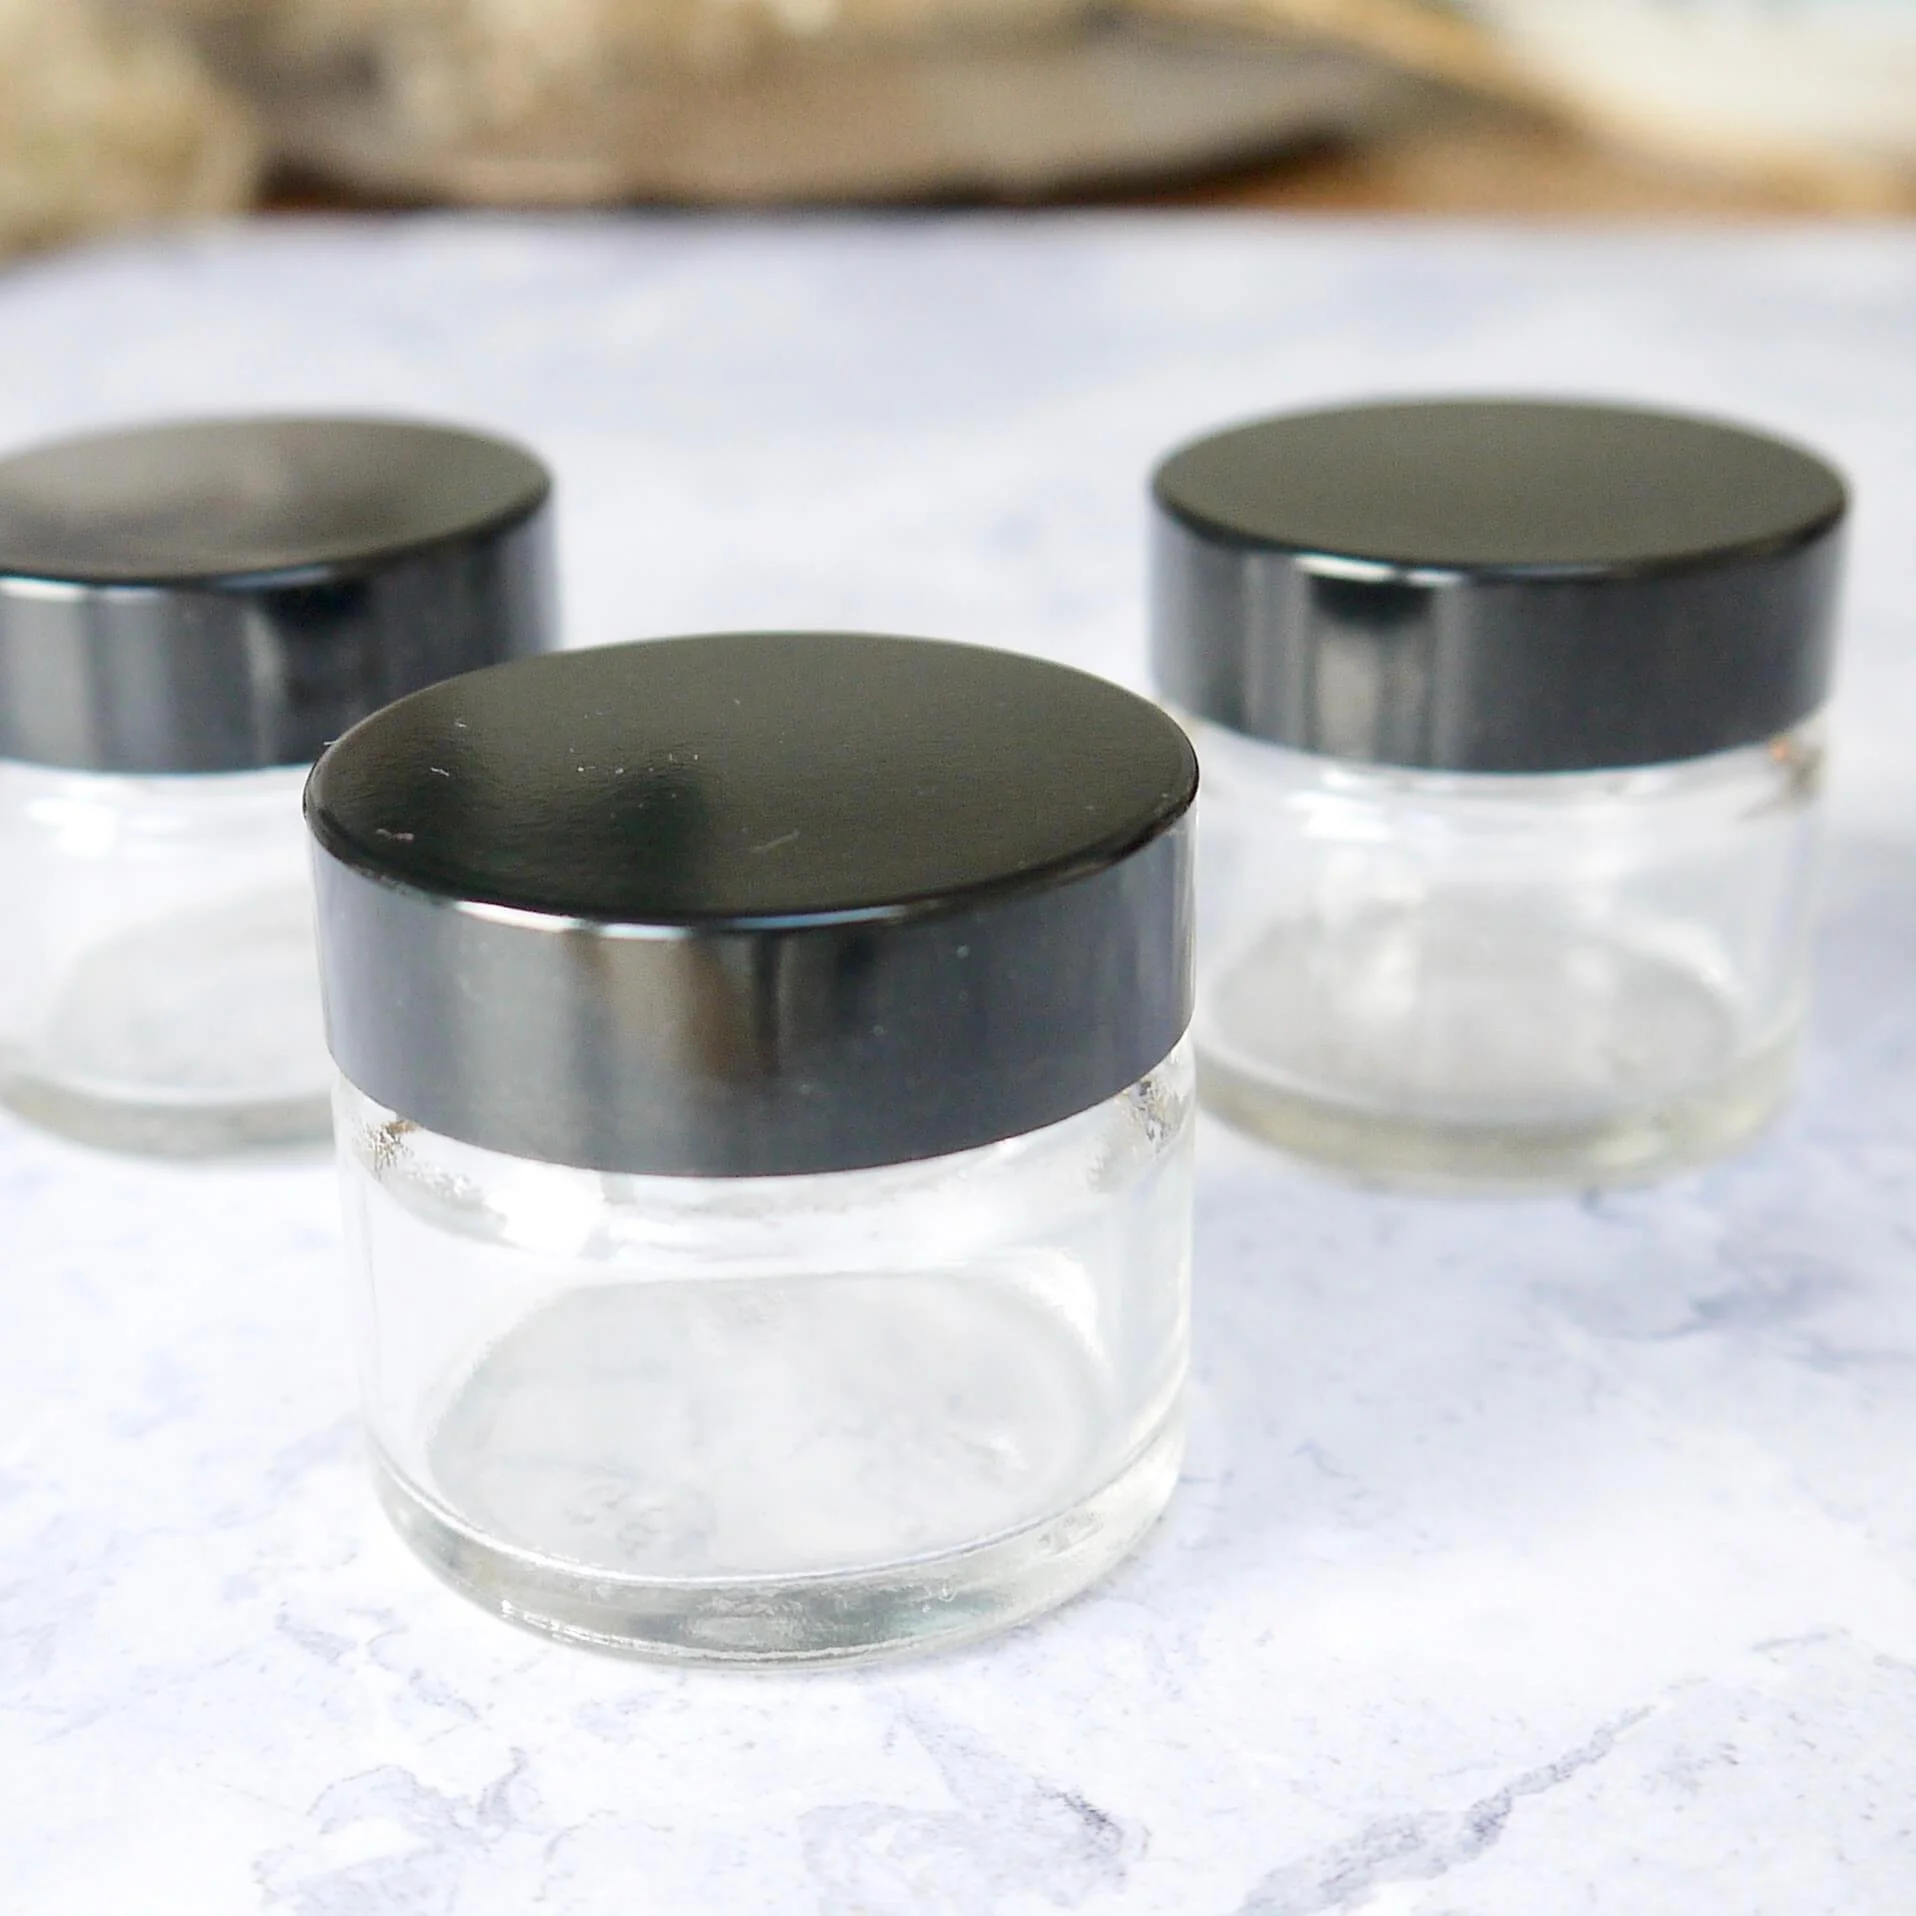
Keep your calligraphy workspace organized with this versatile 15ml small glass jar, featuring a secure black plastic lid.
Perfect for decanting your favourite inks, mixing custom shades, or conveniently dipping oblique pens thanks to the wide mouth design.
8. A jar of water for cleaning the nib
Something else that you need for modern calligraphy is a jar of water on standby at all times to ensure a smooth flow of ink through your nib. As you’re working, the ink will dry around the nib so they require cleaning every now and again, not just at the end. I like to keep an old toothbrush in the jar too to get every last bit of ink off.
9. A rag to wipe the calligraphy nib dry
Ideally use a cloth that’s tightly woven so that the fibres can’t catch on the nib and cause damage. Ensuring that your nib is cleaned and dried properly will prolong its life. I always take mine out of the holder so I can clean it along with the pen holder thoroughly.
I learnt my lesson the hard way: my first nib is heavily welded in with ink into the holder that it’s there to stay forever!
Just a final note about setting your calligraphy supplies up…I always place my water, ink and paintbrush to the side of my work on the same side as the hand I’m writing with; in my case, on the right.
If you do this you’ll avoid crossing your page with an inky pen and making more mess than you need to - always a bonus!
I hope that helps and solves the question of ‘what do I need to get started with modern calligraphy?’
With just a small investment on a few key supplies along with digging around cupboards you’ll be ready to start writing beautiful calligraphy in no time.